The versatility of baskets and how to decorate with them

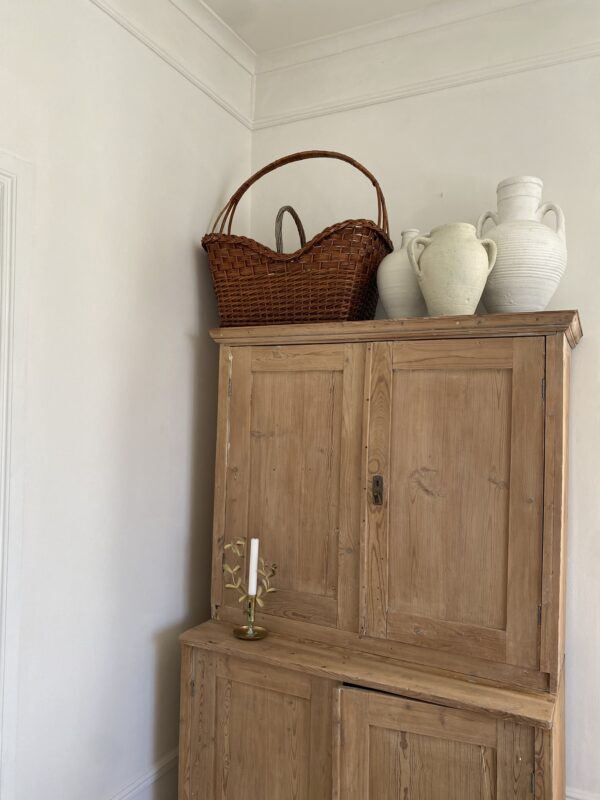
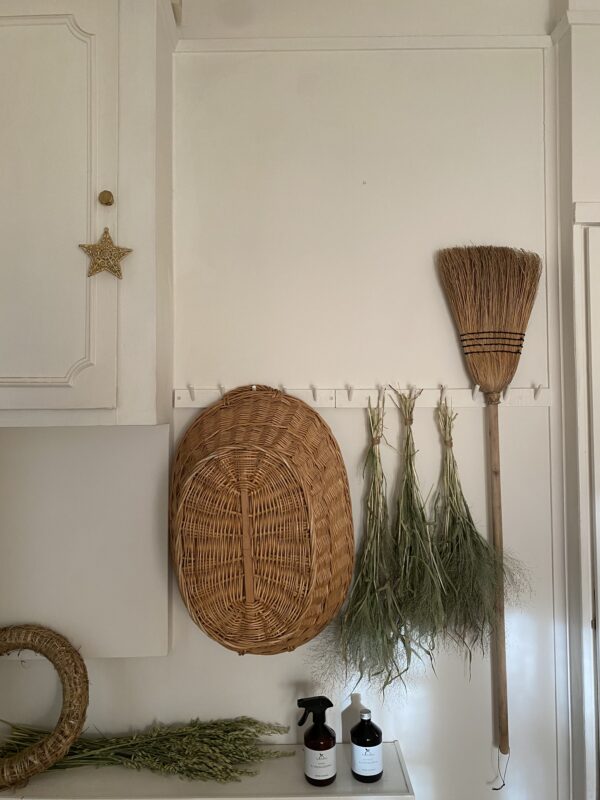
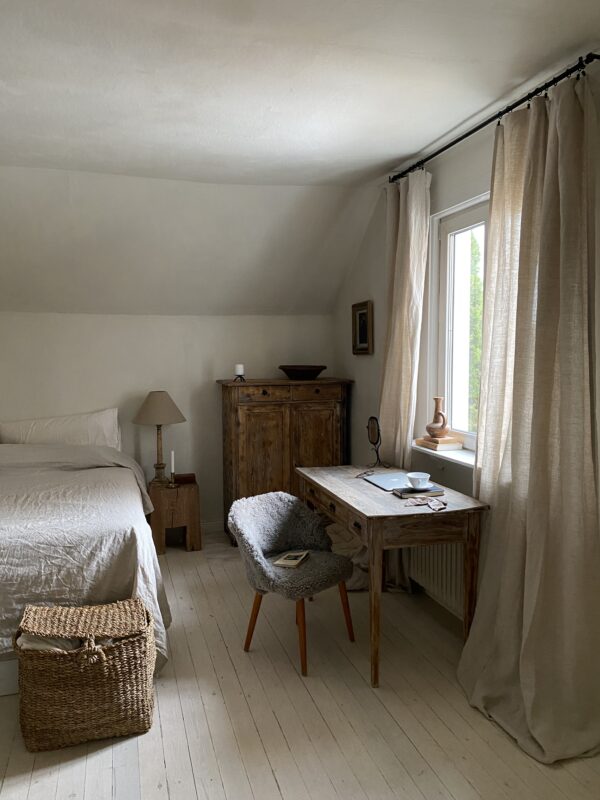
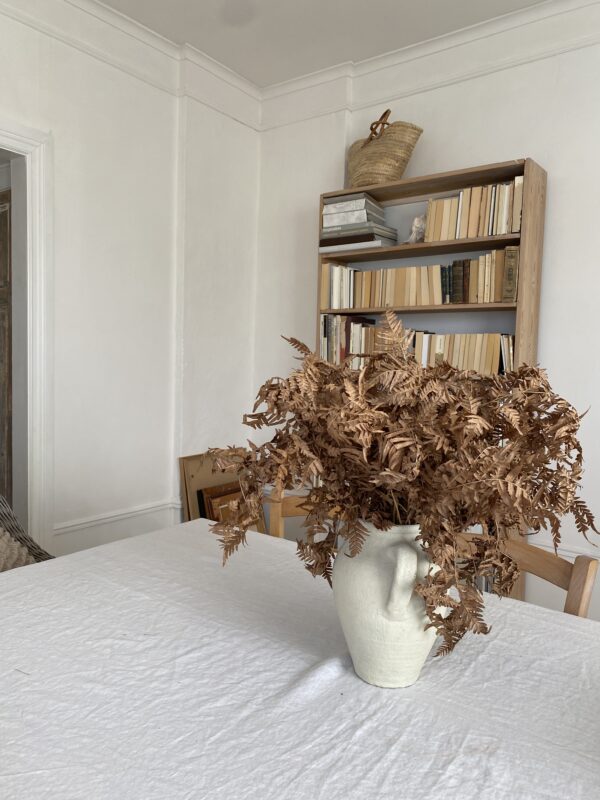
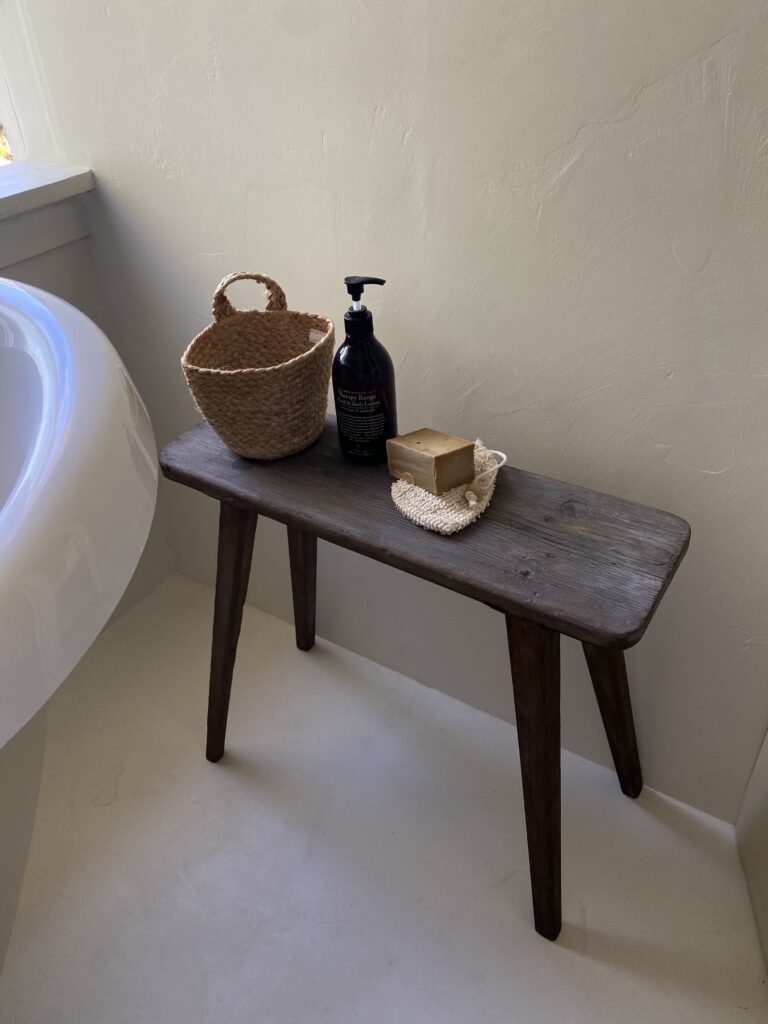
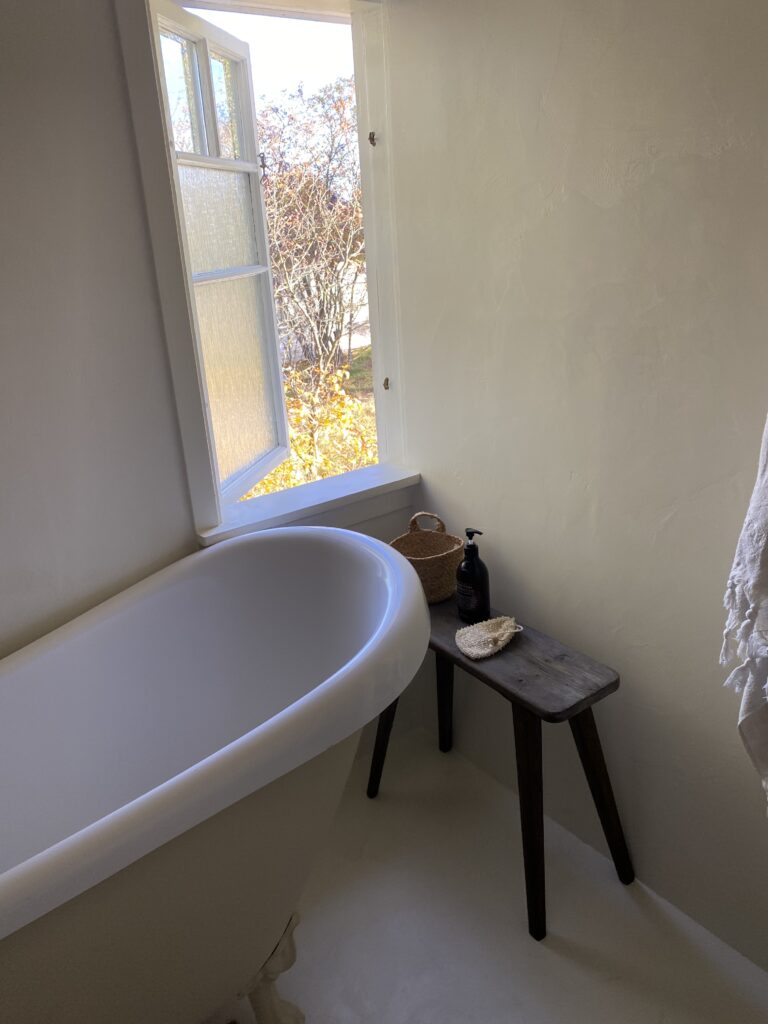
As a lover of natural materials and craft, baskets will always have a place in my home.

The practice of basket weaving is a time honoured tradition steeped in history. Found in almost all cultures across the world, basketry is one of the oldest known crafts, pre-dating ceramics and textiles. Using grasses, rushes, vines and branches from their natural habitats, people have always handwoven baskets to transport and store goods. Baskets continue to have longevity because the beautiful natural fibres they are crafted from are readily available, strong and enduring, as well as being biodegradable.

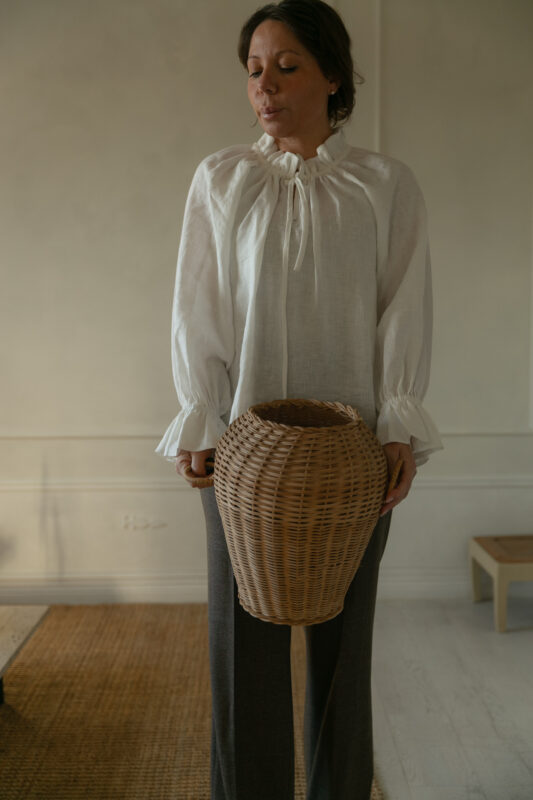
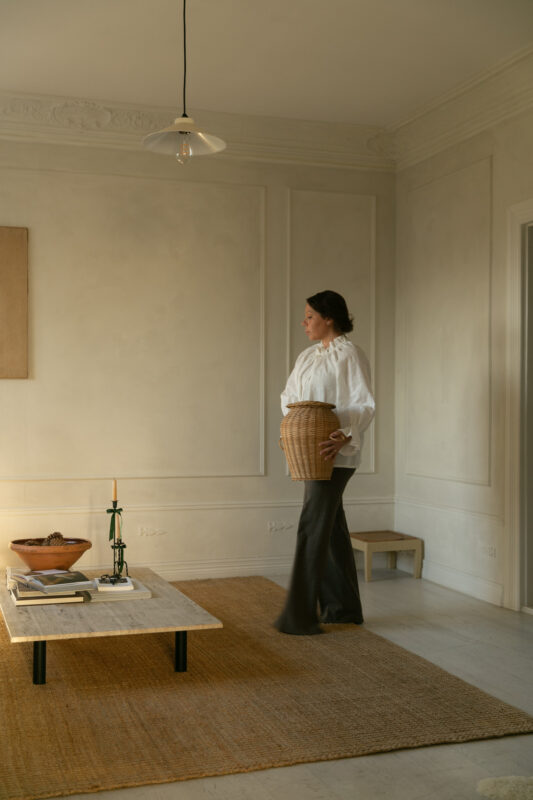
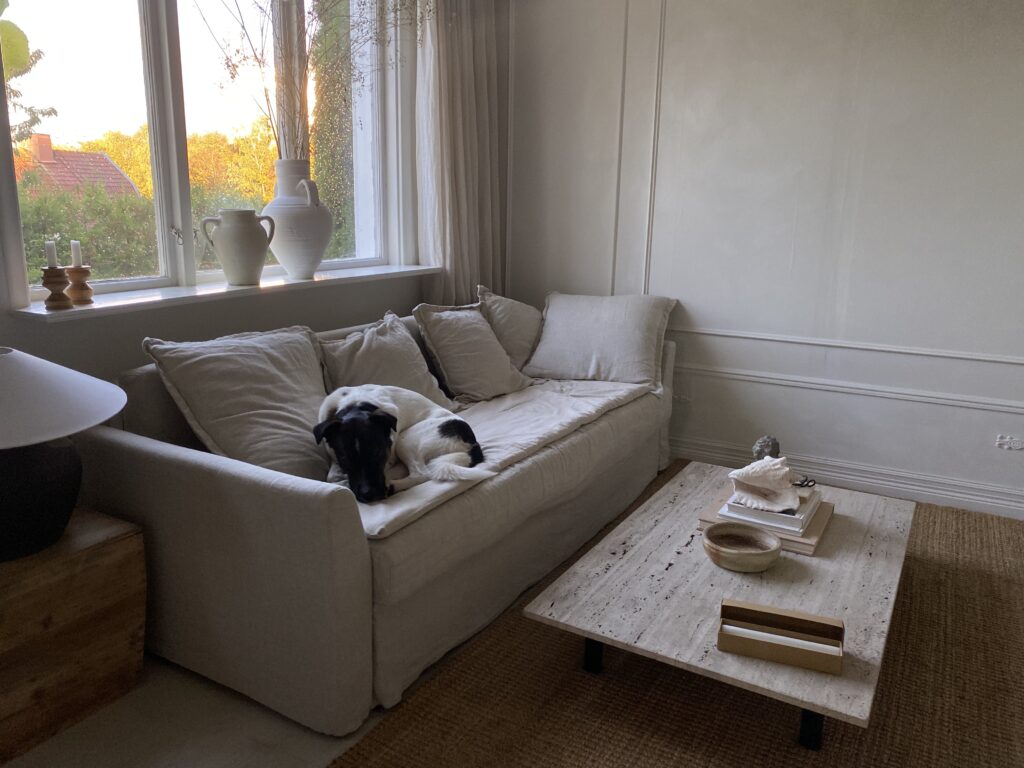
The beauty of baskets is also their endless versatility and ability to fit seamlessly into all interiors. I also love how a basket instantly adds warmth and effortless charm to the space.
I have baskets in every room and they just blend effortlessly blend in.
Because they tend to be a neutral colour, baskets work with any colour scheme, while their weaves add organic texture. Whether the style of a home is traditional or modern, polished or laidback, there is a basket, old or new to suit every space.

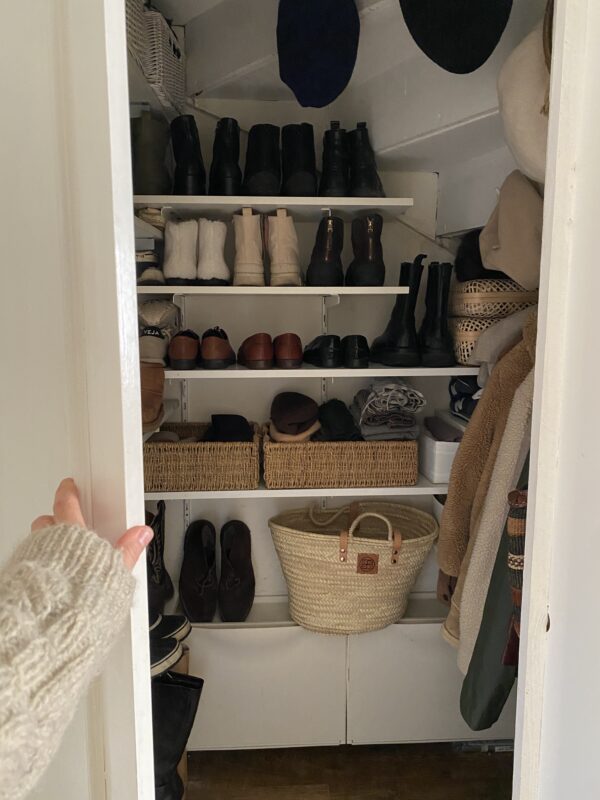
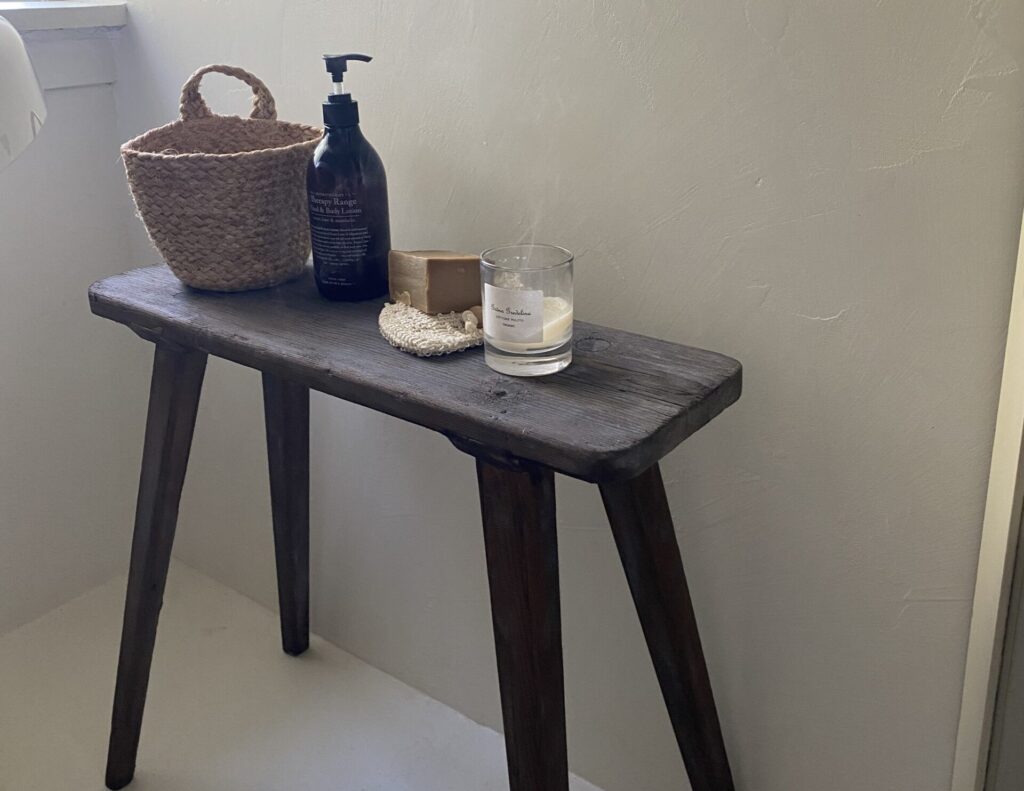
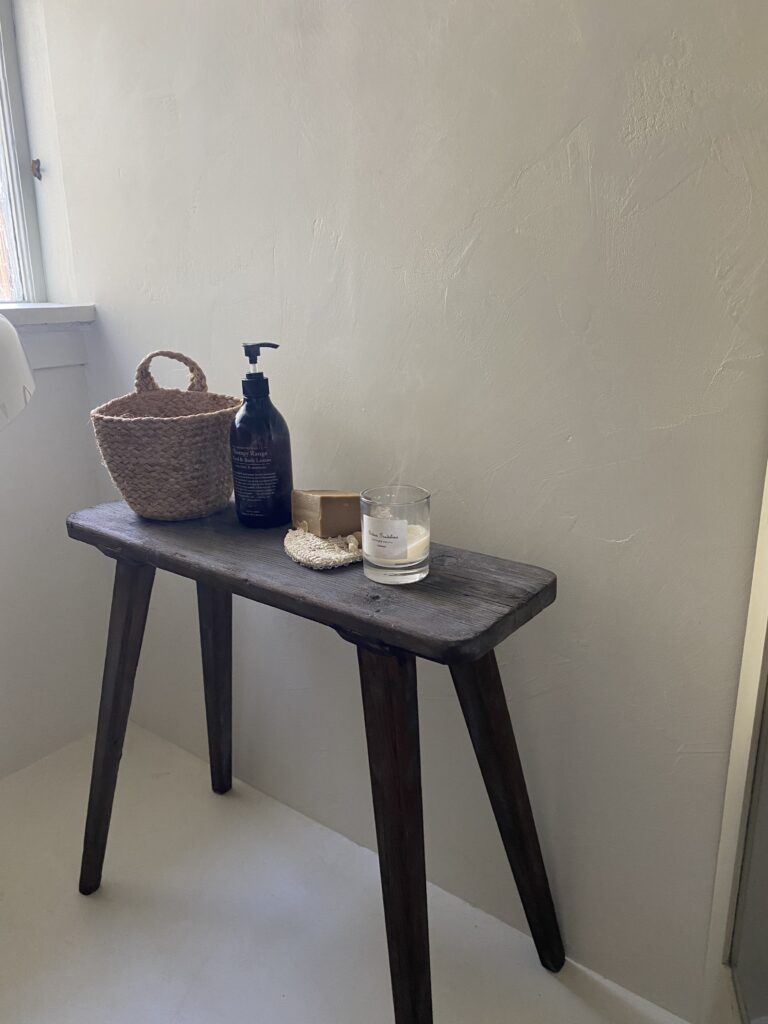
Baskets are an incredibly practical addition to the home and are endlessly useful in any room. They can be stored under benches and beds, in cupboards, or act as decorative accents in their own right. Baskets combine all shapes and sizes and can be used to organize, store and display a wide range of items and simplify daily routines.  

Mindful Home: Create a Peaceful and Serene Living Space

Creating a mindful home can truly transform your living space into a peaceful and serene haven that promotes well-being and mindfulness. A mindful home is a space where you can truly relax, unwind, and rejuvenate, without the distractions and stressors of the outside world. Considering how the world is roght now it’s perhaps more imporatant than ever Here are five tips to help you create a mindful home:

  1. Declutter and Simplify: One of the most important steps in creating a mindful home is to declutter and simplify your living space. Get rid of any unnecessary items that no longer serve a purpose, and organize your belongings in a way that promotes a sense of calm and order.
  2. Use Natural Elements: Incorporating natural elements into your home can help create a calming and grounding atmosphere. Consider using plants, natural fibers, and materials like wood or stone to add a touch of nature to your living space.
  3. Create a Relaxing Atmosphere: Set the mood for relaxation by creating a calming atmosphere in your home. Use soft lighting, soothing colors, and relaxing scents like lavender or earthy woody essence to promote a sense of calm and tranquility.
  4. Minimize Distractions: Try to minimize any distractions in your home that can pull you out of the present moment. This may mean turning off your phone or computer, creating a designated space for work or study, or simply setting aside time each day to unplug and unwind.
  5. Practice Mindfulness Daily: Finally, make a commitment to practice mindfulness daily in your home. Whether it’s through meditation, yoga, or simply taking a few deep breaths, taking the time to be present and mindful in your living space can help you cultivate a sense of peace and serenity that will carry with you throughout your day.

Creating a mindful home takes time and effort, but the benefits are truly worth it. By incorporating these five tips into your daily routine, you can create a living space that promotes well-being, relaxation, and mindfulness.

Homemade Herbal salt

This Sunday I made a couple of jars of Homemade herbal salt, it was a very soothing and almost meditative task. It’s also a lovely idea for a homemade and sustainable gift. Herbal salt is an easy and sustainable way to add flavor to your dishes that is both healthy and delicious. The best part is that you can grow and dry the herbs yourself, which makes it even more satisfying to use in your cooking. I used dry herbs from both my gardens; the spanish and the Swedish and I used, Rosmary, Oregano, thyme and sage.

To start, you’ll need to grow your herbs. You can do this in your garden or in pots on your balcony or windowsill. Some great herbs to use for this recipe include rosemary, thyme, sage, and oregano. These herbs are easy to grow and will provide you with a lot of flavor but of course you can mix as you like and prefer..

Once your herbs have grown, it’s time to harvest them. Cut the herbs in the morning after the dew has dried, but before the sun gets too hot. This will ensure that your herbs are at their freshest and most flavorful.

Next, you’ll want to dry your herbs. You can do this by hanging them upside down in a well-ventilated area. This will allow the air to circulate around the herbs and dry them out slowly. You can also use a dehydrator to speed up the process, but slow and sustainable is the way to go. I ususally hang them on a pegrail over a radiator and it really works well.

How to make the Herbal salt

Once your herbs are dry, it’s time to make the herbal salt. Simply mix equal parts of your dried herbs and salt in a food processor or blender. You can adjust the ratio to your liking, but I find that one cup of each works well. You can also experiment with different types of salt, such as sea salt or pink Himalayan salt.

Store your herbal salt in an airtight container and use it to season your favorite dishes. It’s great on roasted vegetables, grilled meats, and even popcorn. Plus, you’ll feel good knowing that you grew and dried the herbs yourself, making it a sustainable and eco-friendly addition to your kitchen.

In conclusion, homemade herbal salt is a delicious and sustainable way to add flavor to your cooking. By growing and drying your own herbs, you can ensure that your salt is of the highest quality and tastes amazing. So why not give it a try and see how it elevates your dishes to the next level?

Easy TV cover up

In today’s fast-paced world it’s perhaps a bit extra important important to create a calm and peaceful space in our homes. One way to achieve this is by hiding electronics, such as a television, when not in use. Toda I’m sharing a simple and stylish way to cover up your TV using the same method as when you hang a tapestry.

To start, you’ll need a few materials: a decorative tapestry or fabric, a curtain rod, and some hooks or nails. The first step is to measure the width of your TV and add a few inches to each side to ensure full coverage. Then, measure the height of your TV and add a few inches to the top and bottom to allow for the tapestry to hang freely. I used a thick curtain I already had at home.

Next, attach the curtain rod to the wall above the TV using hooks or nails. Make sure the rod is level and centered above the TV. Then, thread the tapestry or fabric onto the curtain rod and adjust it so that it covers the TV completely. You can use clips or pins to hold the tapestry in place if necessary.

Now, whenever you want to hide your TV, simply slide the tapestry along the rod and let it hang in front of the screen. When you’re ready to watch TV again, just slide the tapestry back to reveal the screen.

Not only does this method create a calm and clutter-free space, but it also adds a decorative element to your room. Choose a tapestry or fabric that complements your decor and reflects your personal style. And if you want to switch things up, it’s easy to change the tapestry or fabric to something new.

In conclusion, hiding electronics such as a TV can help create a more peaceful and mindful living environment. By using a decorative tapestry or fabric and a simple curtain rod, you can easily cover up your TV when not in use. This method is not only practical, but it also adds a stylish touch to your space. So why not give it a try and see how it can transform your home into a calming oasis of slow living?

Upcycled rustic wooden bench

A few monts ago my mum brought me beautiful old rustic wooden bench she had at our countryhouse.
She said I probably would make better use of it than having it collecting dust in the cabin.
It had a cute and actually a bit charming blue color, I had to think a while before I decided if I was going to remove the paint or not. Well I finally decided to remove it. Even if the color was cute it wasn’t really my favourite. The bench is really old and had some charming marks, old wormholes (yes I think those are a bit charming) that I wanted to make sure didn’t vanish in the process. That meant hardly any sanding for this project, instead I used paintremover and scraped/brush it off. Then I let it stand outside for a few weeks, come rain, come shine.

I thougt it looked a bit pale afterwards and I was after a rich and deep brown shade so I ended up giving it a light coat of waterbased stain in the shade ‘dark oak’. I really like working with these stains; they come in powder in small sachets and you mix the powder with water and brush it on.
Since you mix it yourself you can easily adjust the quantity, I usually use onle one teaspon of stain in one cup of coffee with water. This is the result, and I’m really happy with this little remake and how this old rustic wooden bench got a new life.


Diy sofa mattress

I have this old blanket that used to belong to may grandmother and it’s like a comfortblanket, soft and full of memories. Sadly its falling apart so I thougt I make something new out of it.
Lately I’ve seen a lot of thin mattresses (or quilt if you like) on couches in different places and photos and I really love the idea. It sort of makes the sofa more iviting and cozy at the same time as it protects it. Especially when you have a dog (or small children for that matter). Nando has more or less taken over it and he loves the old blanket a lot and he loves lying on the sofa so why not make a mattress out of the old blanket.

I started by simpy folding the blanket in half lengthwise so it became doble, it’s a single blanket with standard size. Then I sew it together along the sides. I then used a thick curtain to make the cover, just straight gems like a pillow case. I see the last short side by hand. Nando was really curious during the whole process.
I read somewhere once that mending the things you have and making them last is good for you. Last night I could really feel that. It sort of releases oxytocin, it’s calming, soothing and comforting. As I was making something new out of old things I already had at home the autumn leaves where falling outside my windows and it felt meaningful some how.

This site uses cookies to offer you a better browsing experience. By browsing this website, you agree to our use of cookies.