Easy TV cover up

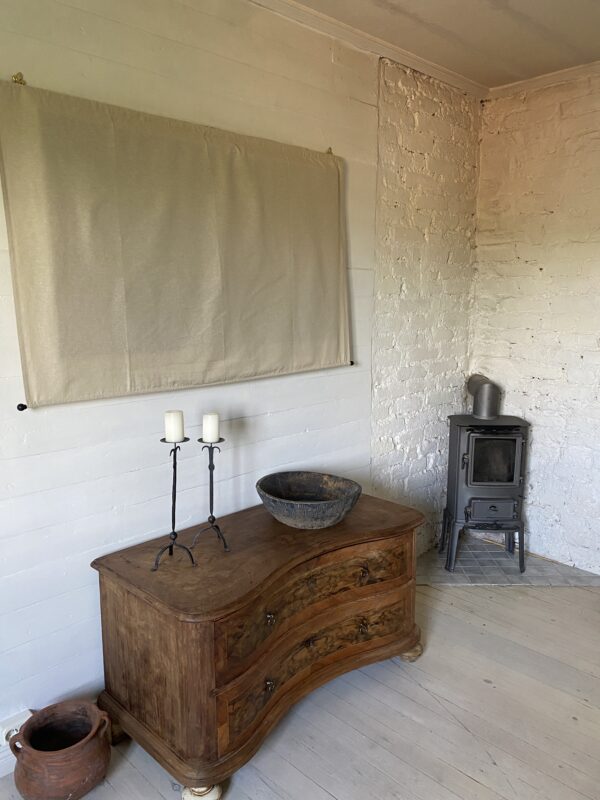
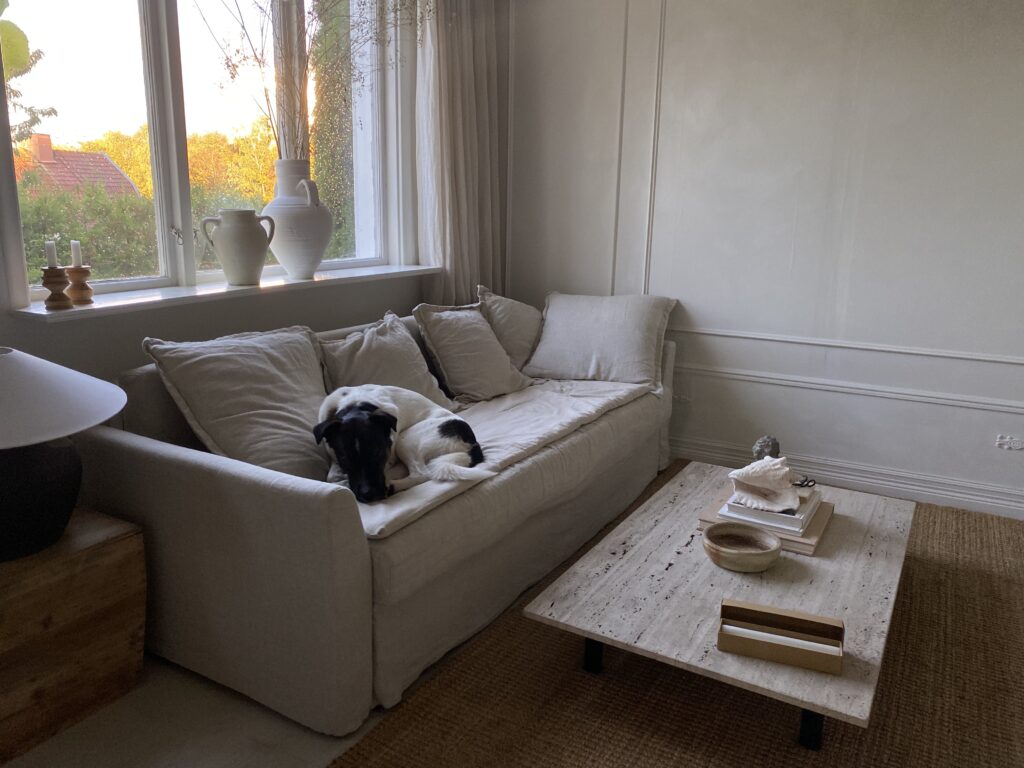
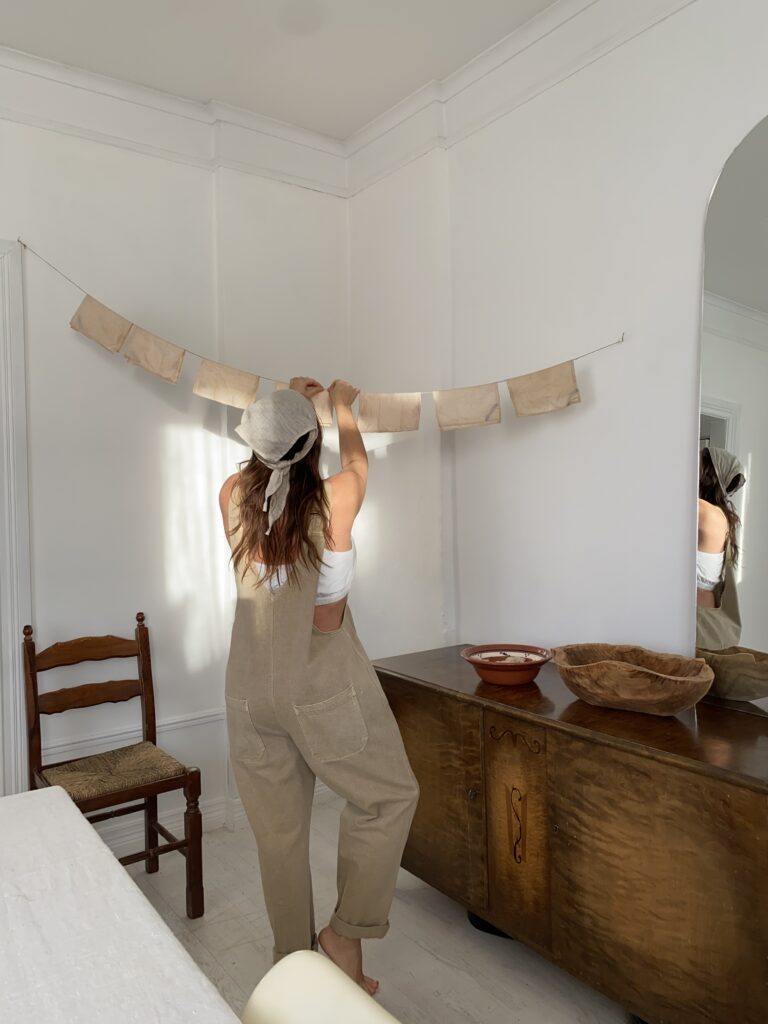
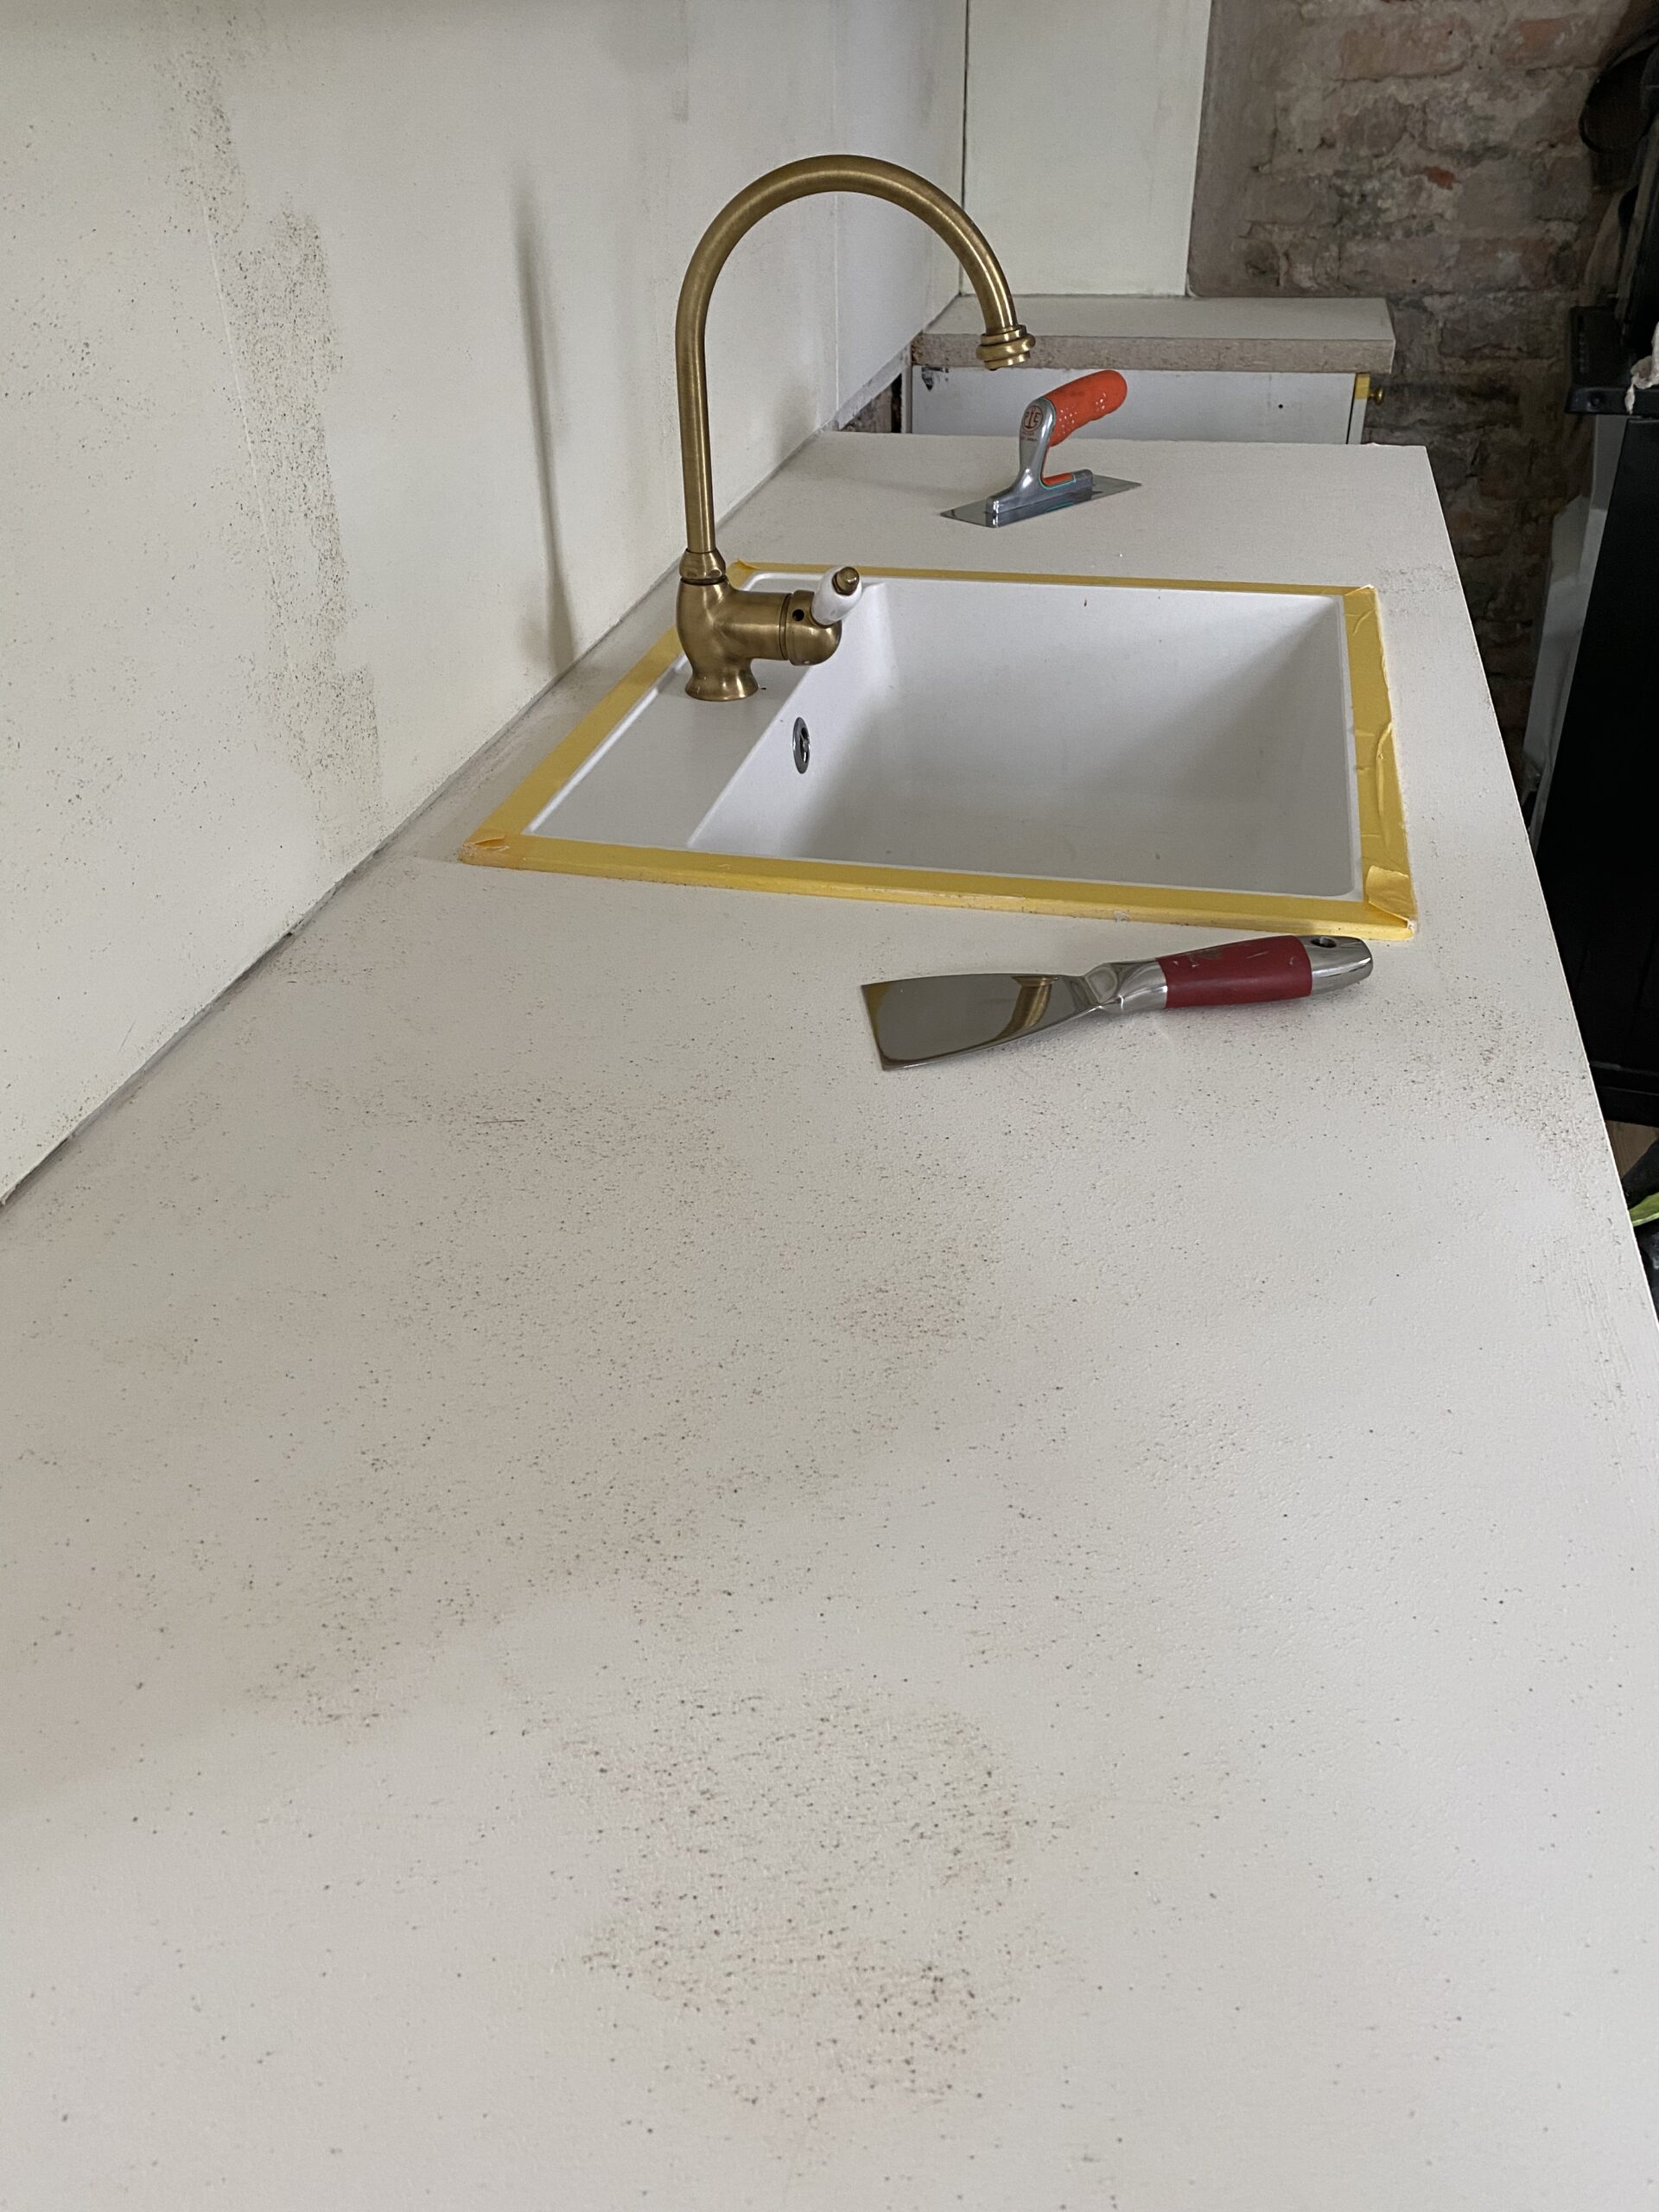
In today’s fast-paced world it’s perhaps a bit extra important important to create a calm and peaceful space in our homes. One way to achieve this is by hiding electronics, such as a television, when not in use. Toda I’m sharing a simple and stylish way to cover up your TV using the same method as when you hang a tapestry.

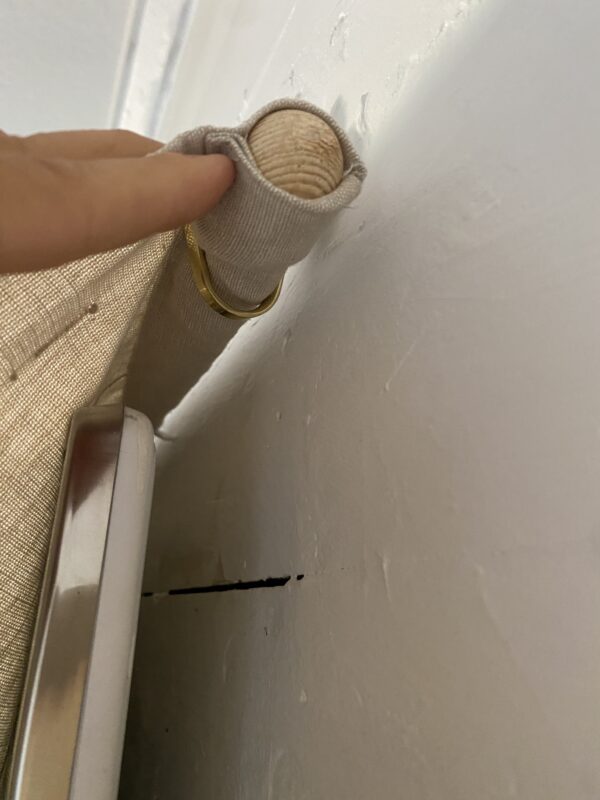
To start, you’ll need a few materials: a decorative tapestry or fabric, a curtain rod, and some hooks or nails. The first step is to measure the width of your TV and add a few inches to each side to ensure full coverage. Then, measure the height of your TV and add a few inches to the top and bottom to allow for the tapestry to hang freely. I used a thick curtain I already had at home.

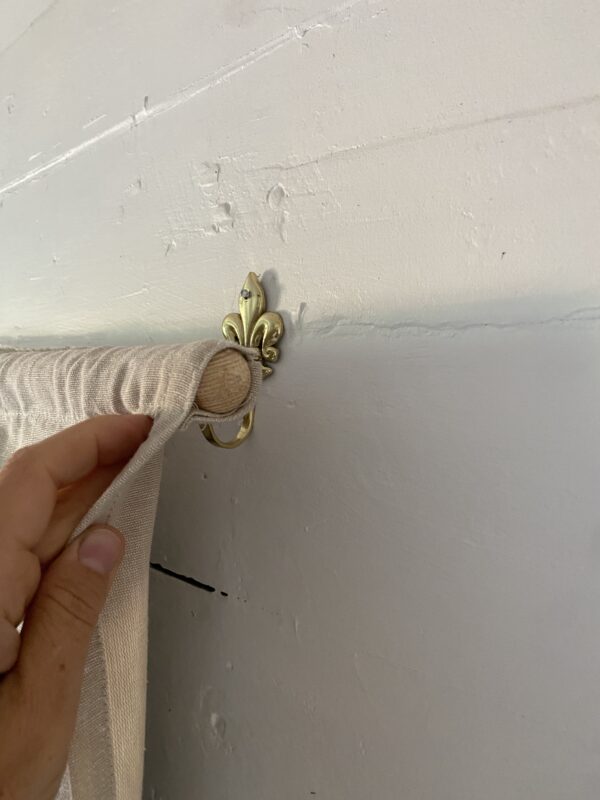
Next, attach the curtain rod to the wall above the TV using hooks or nails. Make sure the rod is level and centered above the TV. Then, thread the tapestry or fabric onto the curtain rod and adjust it so that it covers the TV completely. You can use clips or pins to hold the tapestry in place if necessary.

Now, whenever you want to hide your TV, simply slide the tapestry along the rod and let it hang in front of the screen. When you’re ready to watch TV again, just slide the tapestry back to reveal the screen.

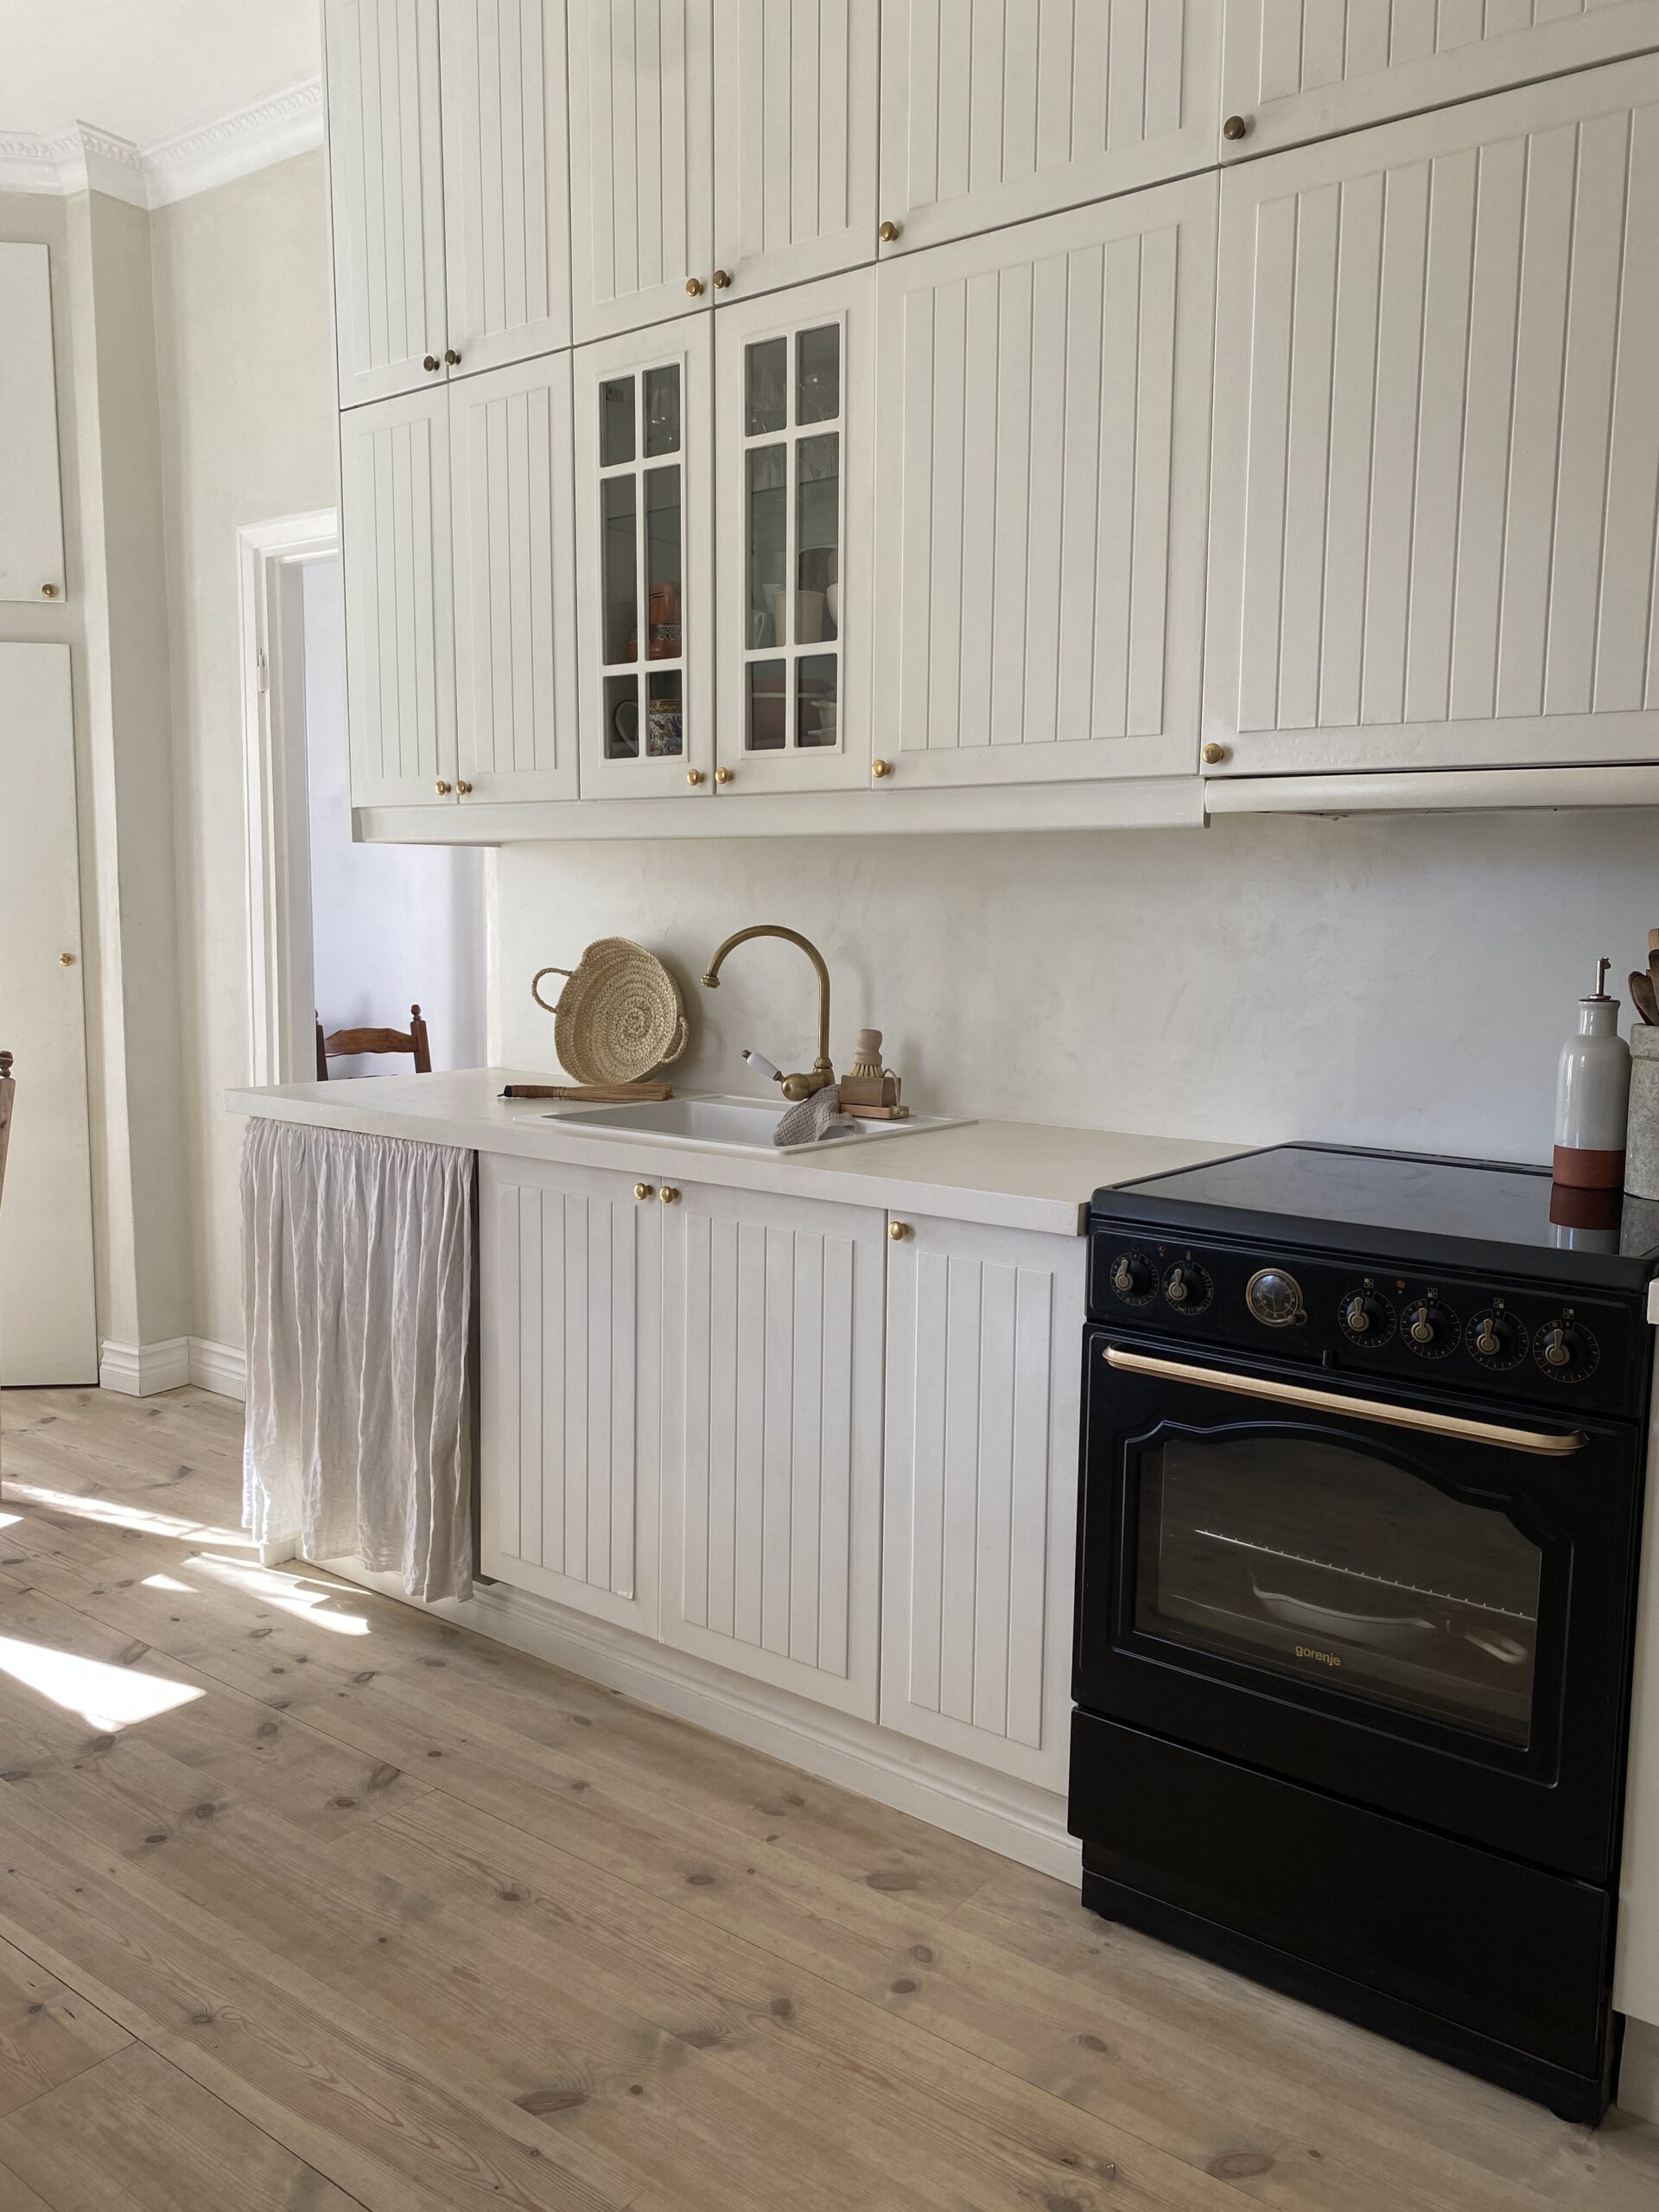
Not only does this method create a calm and clutter-free space, but it also adds a decorative element to your room. Choose a tapestry or fabric that complements your decor and reflects your personal style. And if you want to switch things up, it’s easy to change the tapestry or fabric to something new.

In conclusion, hiding electronics such as a TV can help create a more peaceful and mindful living environment. By using a decorative tapestry or fabric and a simple curtain rod, you can easily cover up your TV when not in use. This method is not only practical, but it also adds a stylish touch to your space. So why not give it a try and see how it can transform your home into a calming oasis of slow living?

Upcycled rustic wooden bench

A few monts ago my mum brought me beautiful old rustic wooden bench she had at our countryhouse.
She said I probably would make better use of it than having it collecting dust in the cabin.
It had a cute and actually a bit charming blue color, I had to think a while before I decided if I was going to remove the paint or not. Well I finally decided to remove it. Even if the color was cute it wasn’t really my favourite. The bench is really old and had some charming marks, old wormholes (yes I think those are a bit charming) that I wanted to make sure didn’t vanish in the process. That meant hardly any sanding for this project, instead I used paintremover and scraped/brush it off. Then I let it stand outside for a few weeks, come rain, come shine.

I thougt it looked a bit pale afterwards and I was after a rich and deep brown shade so I ended up giving it a light coat of waterbased stain in the shade ‘dark oak’. I really like working with these stains; they come in powder in small sachets and you mix the powder with water and brush it on.
Since you mix it yourself you can easily adjust the quantity, I usually use onle one teaspon of stain in one cup of coffee with water. This is the result, and I’m really happy with this little remake and how this old rustic wooden bench got a new life.


Diy sofa mattress

I have this old blanket that used to belong to may grandmother and it’s like a comfortblanket, soft and full of memories. Sadly its falling apart so I thougt I make something new out of it.
Lately I’ve seen a lot of thin mattresses (or quilt if you like) on couches in different places and photos and I really love the idea. It sort of makes the sofa more iviting and cozy at the same time as it protects it. Especially when you have a dog (or small children for that matter). Nando has more or less taken over it and he loves the old blanket a lot and he loves lying on the sofa so why not make a mattress out of the old blanket.

I started by simpy folding the blanket in half lengthwise so it became doble, it’s a single blanket with standard size. Then I sew it together along the sides. I then used a thick curtain to make the cover, just straight gems like a pillow case. I see the last short side by hand. Nando was really curious during the whole process.
I read somewhere once that mending the things you have and making them last is good for you. Last night I could really feel that. It sort of releases oxytocin, it’s calming, soothing and comforting. As I was making something new out of old things I already had at home the autumn leaves where falling outside my windows and it felt meaningful some how.

Garden shed makeover

In collaboration with By Benson

I want my garden shed well organized and my garden wild and lush, does that make any sense? Well it does to me and I suppose that’s all that matter. I just gave my garden tool shed a very much needed makeover and i’m so thrilled by the result. I absolutely looove to organize pretty much any space. My closet is color coordinated, in my pantry everything stands in pretty lines.. and now my garden tool shed is exactly how I wanted it too. The satisfaction is real, I guess you can tell from my face.

The space already excisted. A few years ago we built a wooden half wall on the short side of the porch to protect a bit from the wind and make it cozier. On the outer side of the ‘wall’ we added two large barndoors and created a mini shed for gardentools. This way my husband can keep his garage for ‘his’ stuff and I can have the greenhouse for growing things and for storage. We where both equally happy. This past year that I have grown a passion for gardening also made me want to look over the shed. It wasn’t really that inspiring. This was the starting point, the ‘before’.

With very little I managed to create a big change, at least I think so. I had half a bucket of leftover white outdoor paint, a few pegrails, some old hangers and a new doorhook since we were lacking one and my husband had used a rock to keep the door closed. No words.. You can see the rock on the photo above.

I started by emptying the shed and brush it off so I could paint it. Then I carved out some space infront of the doors so I could add stepping stones in front. The grass groving infront would let us open the doors. Nando is always there to help and company me.

And here is the final result, the wight paint makes it so much brighter and easier to find everything. The beautiful waterhoes is from Benson and its the crown jewel of the shed. Absolutely love it!

[shop-page-wp id=’8232,8230,8228,8319′]

Natural plant dyeing

I’ve always loved working with natural dyes and lately, I’ve developed a very real obsession with this incredible ancient dyeing technique. I’m still learning a lot and I think you probably never stop learning. There’s simply so much you can experiment with.

Dyeing with plants and things from nature is such a wonderful way to give new life to things you already have in a more creative and sustainable way.

I had 4 linen napkins in a color I wasn’t very found of, a dusty old pink shade. I don’t really like the color pink so I never used them. ( They where given to me in a press sample) So I thought i play around with them and see what color I could come up with instead by using things in may garde and kitchen. For this particular project, I’ve used 1x avocado stone, 6x loquat seeds, 2 table spoons of turmeric powder. I’m not sure if the loquat seeds actually released much colour as it was my first time using them, but they where sitting pretty on my countertop so I just threw them in. It’s always fun to experiment and I absolutely encourage you to! 

  1. It’s really important that the fabric made out of plant-based material is well washed before it’s dyed. Ideally you want to use vintage or used linens/cottons instead of brand new pieces, since older material will be less waxy than new fabrics. Otherwise organic natural fibres will work just as well after a wash.
  2. Choose your ingredients — Always try to include a tannin rich vegetable fruit or plant. Tannins occur naturally in certain plants and trees. The more tannins in a dye, the better the colorfastness.. Some ingredients, like walnut hulls, pomegranate rinds, onion peel, tea and eucalyptus leaves are used to affix the colour to the fabric, which you’ll discover when experimenting.
  3. Now, mordant — Mordanting requires soaking your fabric in a solution overnight or longer – longer the better.  (In this case I used salt). But other alternatives are rhubarb leaves, vinegar, heavily diluted soya milk as it adds protein which opens the fibre, aluminium acetate & iron vat. 
  1. The Dye Bath  — Add your ingredients to a large pot with water, more water means less concentrated but keep in mind the water evaporates and you’ll need enough dye to later completely submerge the fabric when soaking. Boil ingredients for an hour, stirring occasionally. Then remove from the heat and seperate the ingredients from the dye. Let the dye cool down before adding your fabric — it’s important to note, your fabric needs to be wet first, so before adding, quickly dip the fabric in warm water then transfer to the dye. Let the fabric soak overnight, 20 hours at least, stirring intermittently to avoid streaks and patches. When it’s ready, rinse or wash out the excess colour in the fabric, then hang in the shade to dry! Thats it!! You can reuse the dye immediately after or store in a sealed glass jar for a few days to experiment with later again! 

Here are a few of my favourite natural dyers to follow, whom have and continue to help me through this process: 

Signe – @imilk

Kathryn – @Kathryn_davey

Rebecca – @rebeccadesnos

Accidente con flores –@accidenteconflores

I hope you also have now discovered a huge love for this natural, sustainable and incredible dyeing method… and please tag me in your dyeing journey, I would LOVE to see what colours you’ve created and how much you’re enjoying it. 

Love from Lina x


Sustainable renovation with microcement

In collaboration with Italian Art Mikrocement

Our kitchen just got a facelift, a sustainable renovation with microcement. I’m beyond happy with the result. Minimal but warm. Modern but at the same time utterly timeless. Calm and simple.
If I had to choose only one typy of material or product when it comes to renovating sustainably I would choose microcement without hesitation. It’s stronger than regular cement-based mixtures and its also suitable for just about any surface, tile, laminate, wood and many more. Microcement is also a very eco-friendly and sustainable option in different aspects. You dont need to tear out exixting surfaces if you want to give your house a new look. Maybe the bathroom tile or the kitchen countertop is in good and functional condition but you don’t like the look and feel of it. Then microcement is a great option. You just cover the existing surface with it. The less we throw away and recycle instead, the better. You can also choose pretty much any color you want -However I chosed the natural unpigmented color of the microcement. I think it’s perfect just as it is. We applied the microcement on the counterop and on the old backsplash tile for a smooth and seamingless finish.

What is microcement?

Microcement is a blend of cement, fine aggregates and polymers, along with a waterproof sealant that makes it ideal for kitchens and bathrooms. It also creates a joint-free finish that’s super-easy to clean. It’s long-lasting, making it a good choice for your economy and the earth. Like all cement products, it takes a bit of time and a few layers to make microcement, but once it’s installed, it will last indefinitely. There’s also very little waste created during the application. And once it’s applied, no volatile emissions are emitted. Microcement also has a lower carbon footprint. ‘Tiles, marble and other traditional finishes are heavy and come with a larger CO2 cost when it comes to transporting them, ‘This finish is lighter, and therefore it has a much lower CO2 cost.’ The secret to success with microcement is to make sure the underlying layer is firm and won’t move or crack. The colors, textures and styles are pretty endless.

Can you apply microcemnt by yourself?

Many of you ask if its possible to apply it by yourself and the answer is yes you can. I’ve done it twice already. You need patience, a steady hand, great tools and a soft touch. However this time I got help from a true proffessional that uses only the very best quality of microcement; a Italian brand called Nikkolor.
-And yes, there’s definitely a huge difference between different brands. I realize that now that I can compare. There’s also a difference between how my own work with microcemt looks compared to the one that ‘Italian Art Mikrocement‘ applied in my kitchen.

Discount code

If you live in the Stockholm area I have a very nice discount code for you. 10% off with code ‘linapaciello’.
so if you ever thought about renovation sustainably with microcement I can highly recommend ‘Italian art Mikrocement’. You can also apply the ROT-avdrag on top of the 10% which gives you a 60% discount.

Before and after

We had a fully functional countertop and tile before. But I did’t like the highgloss countertop and I had painted the tile as a provisional solution until we would apply the microcement. I also sold our stove and bought another one (secondhand) that I think suits the kitchen better. Less modern, more timeless. It’s not a huge difference but it’s in the details as they say and I’m extremly pleased with the change.

This site uses cookies to offer you a better browsing experience. By browsing this website, you agree to our use of cookies.