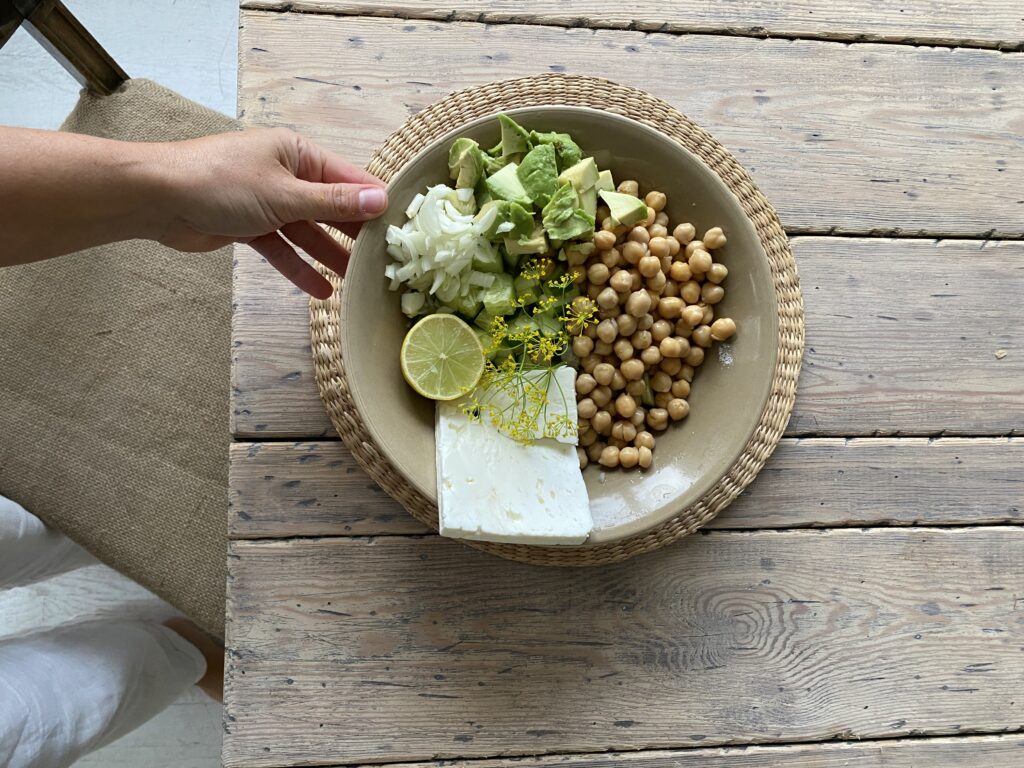
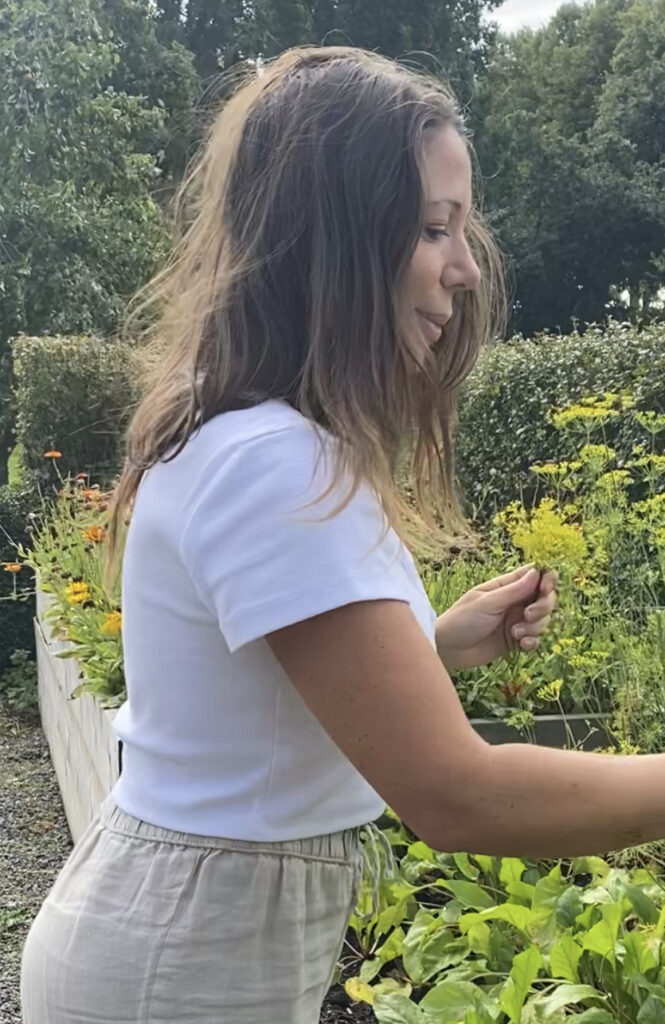
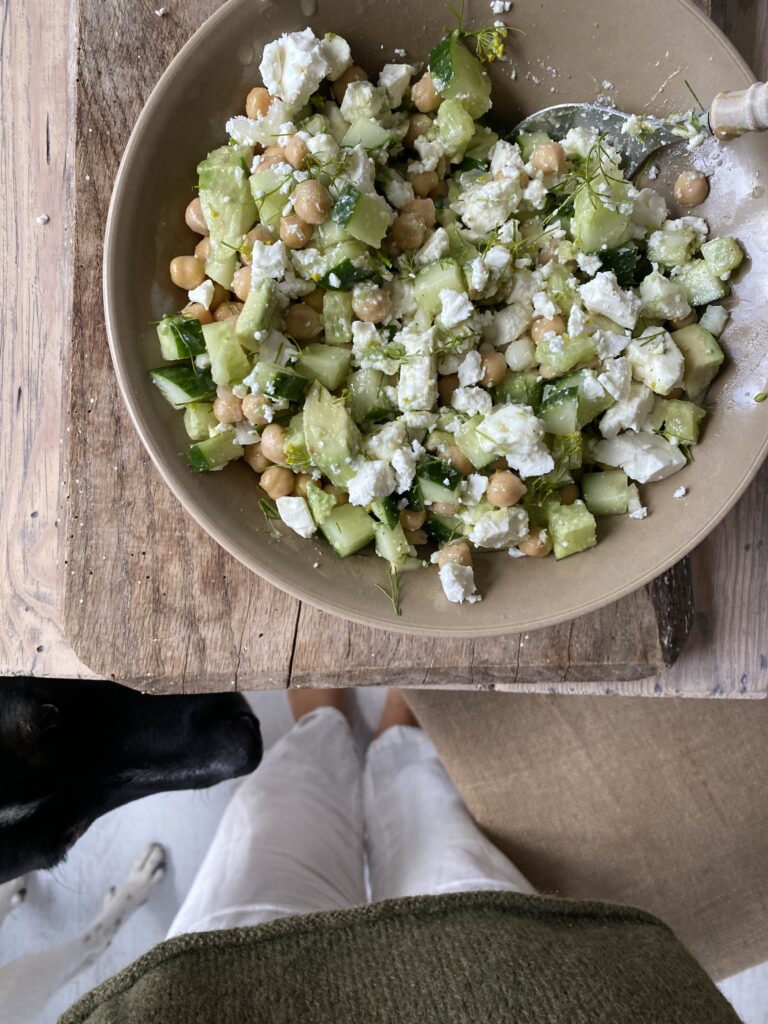
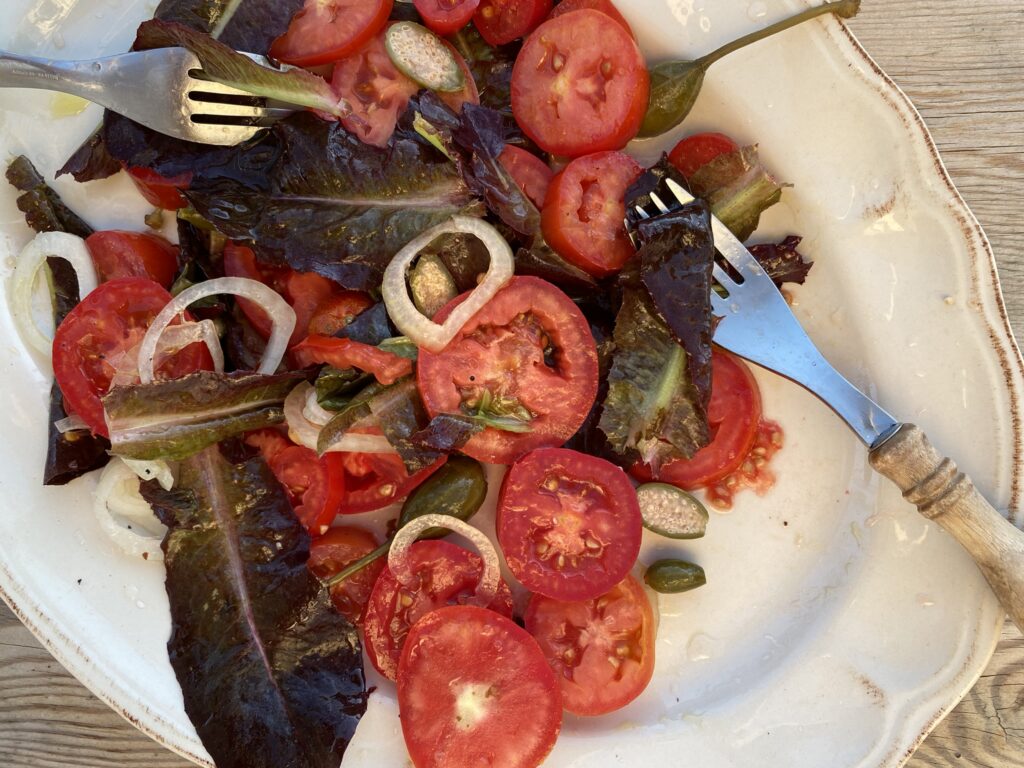
This creamy chickpea salad reminds me of late summer days at our grandparents country house in Sweden. I suppose it’s the abundance of dill and it’s vibrant and vigorous scent. It’s just such a Swedish herb. This salad would go perfectly with the traditional Swedish ‘kräftskiva’ I guess. But it’s just as good on its own with a nice slice of bread on the side. The chickpeas makes this salad a steady meal, the avocado and feta makes it creamy, the cucumber adds a fresh crunch and the dill makes it all come together beautifully. I picked my dill fresh from the garden and the whole kitchen smelled of Swedish summer. This salad is definitely a new favorite on our table. A nice plate to wrap up all those summer flavors. Description at the end.
it’s very easy to make, without any exact measures.. just go with your taste. Add more of the things you like and less of the things you like less or just a lot of everything which is pretty much what I did. Slice and dice, then mix it together with a spoon. Enjoy
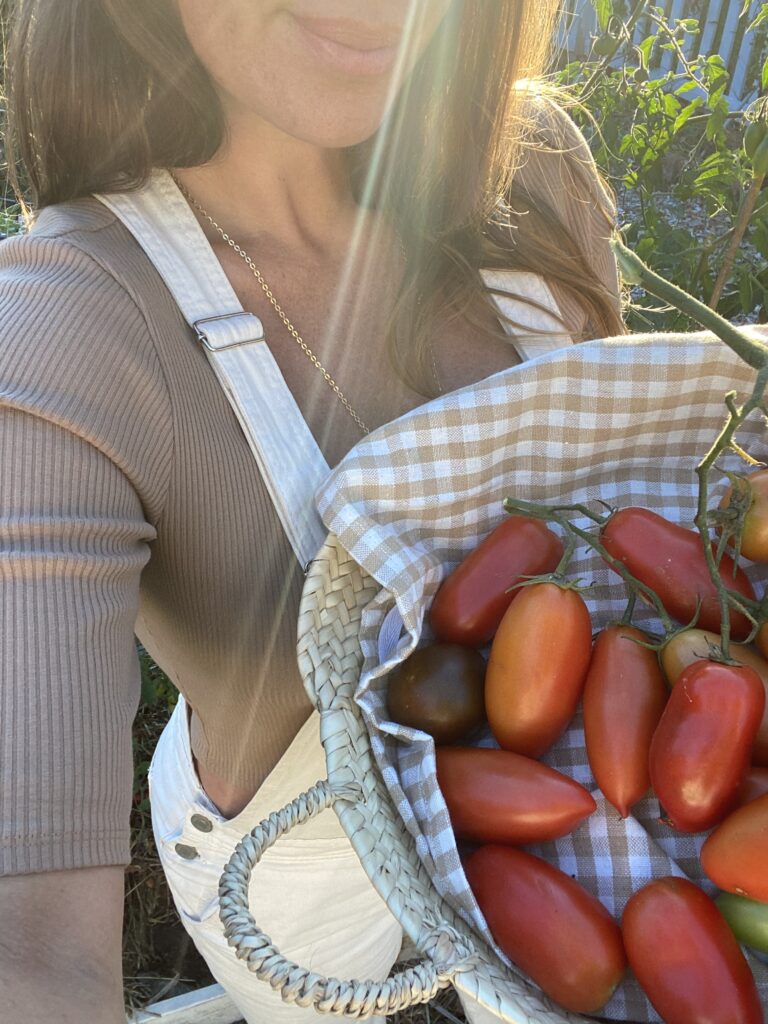
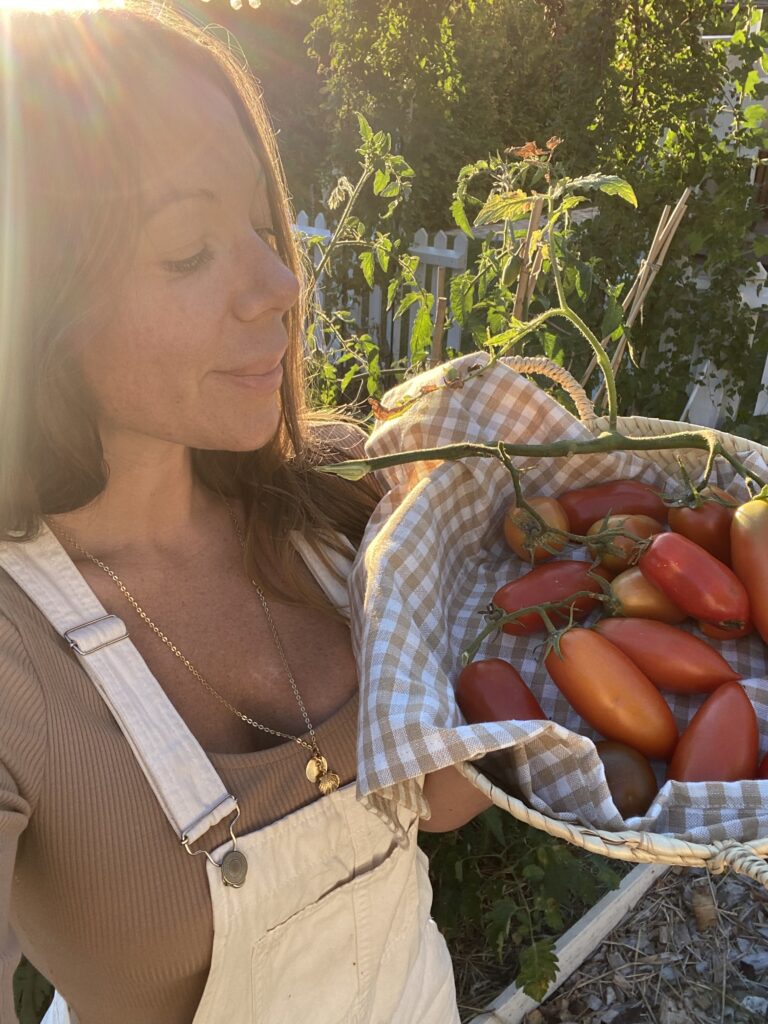
September for me is a month of new starts, of organisation, there’s a back to school feeling and always lots to do. The kitchen garden is groaning with all sorts of wonderful produce, not to mention the abundance of sunripe tomatoes. As I hate waste and love the idea of enjoying all the home grown goodies throughout the winter, I am busy making jars of conserved tomatoes and all sorts of sauces and soups for the freezer. Summer holidays may be over, but there is a sort of excitement in the air and there is a noticeable shift towards autumn. It really feels like a chance to reset and be productive in preparation for winter and celebrations to come. My daughter turned 18 this summer and she just bought a flat and will be moving out in October. A huge change for us as a family and of course very emotional.
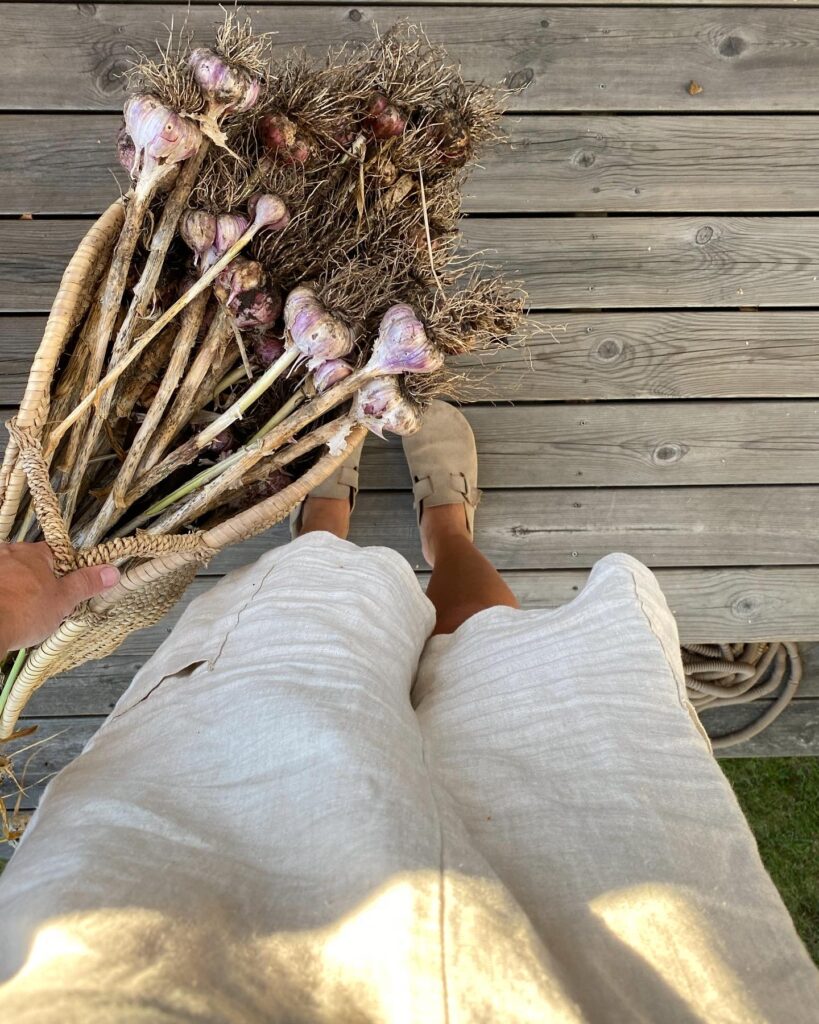
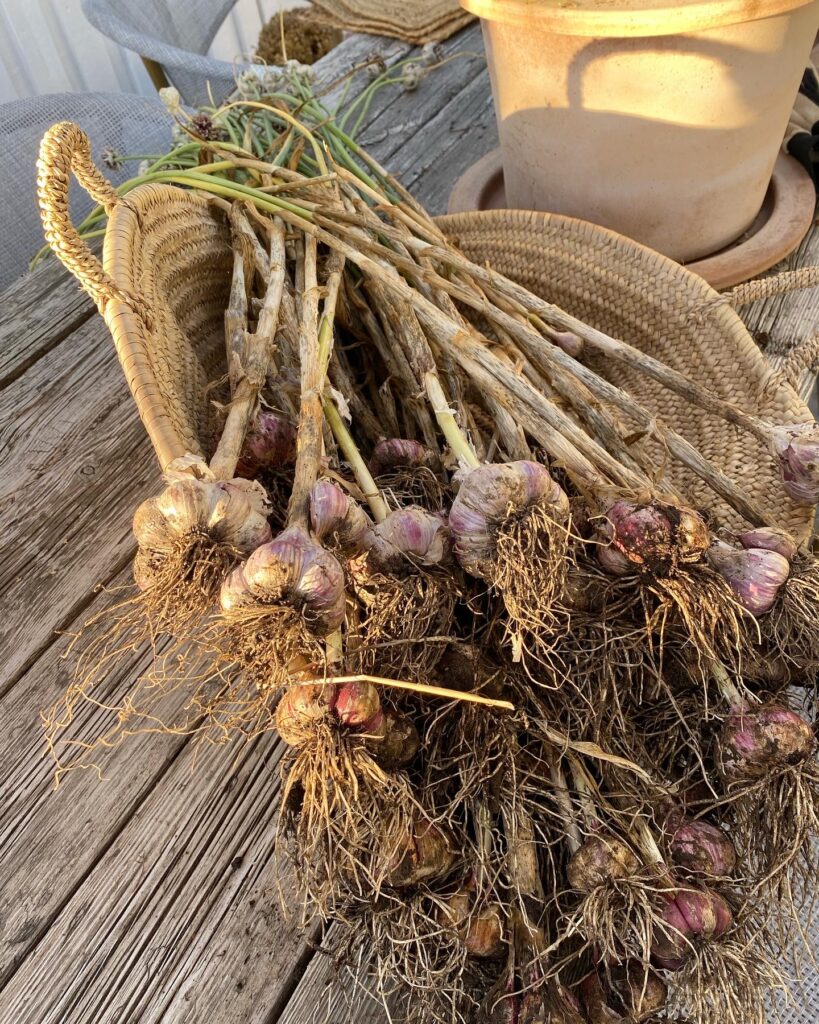
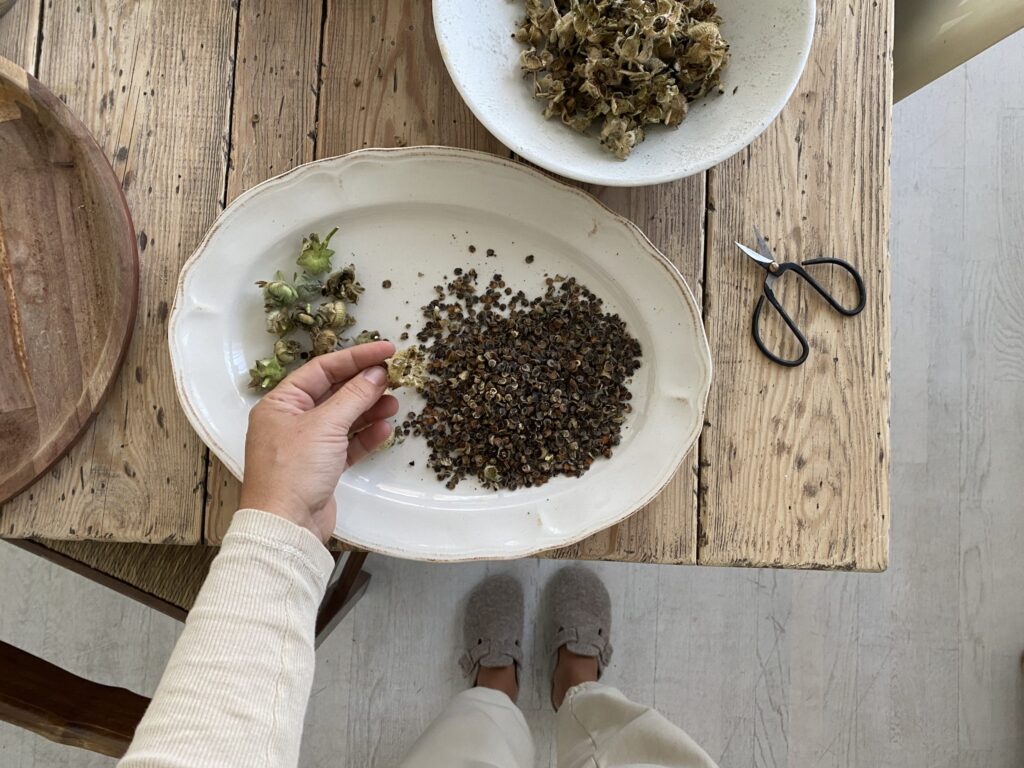
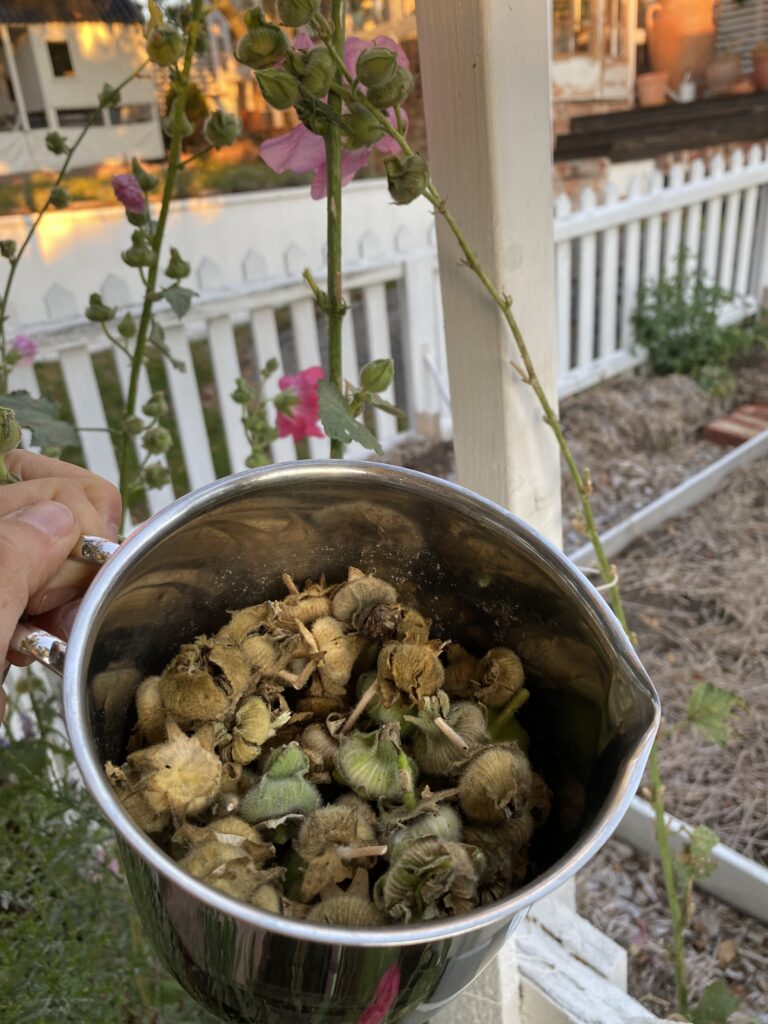
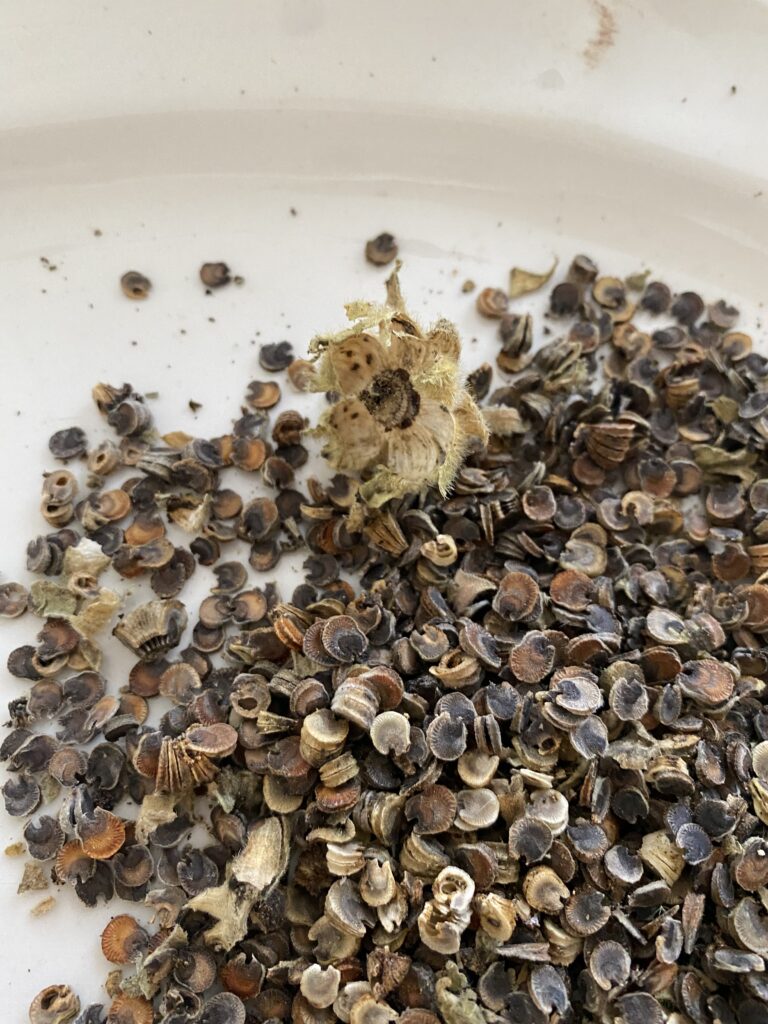
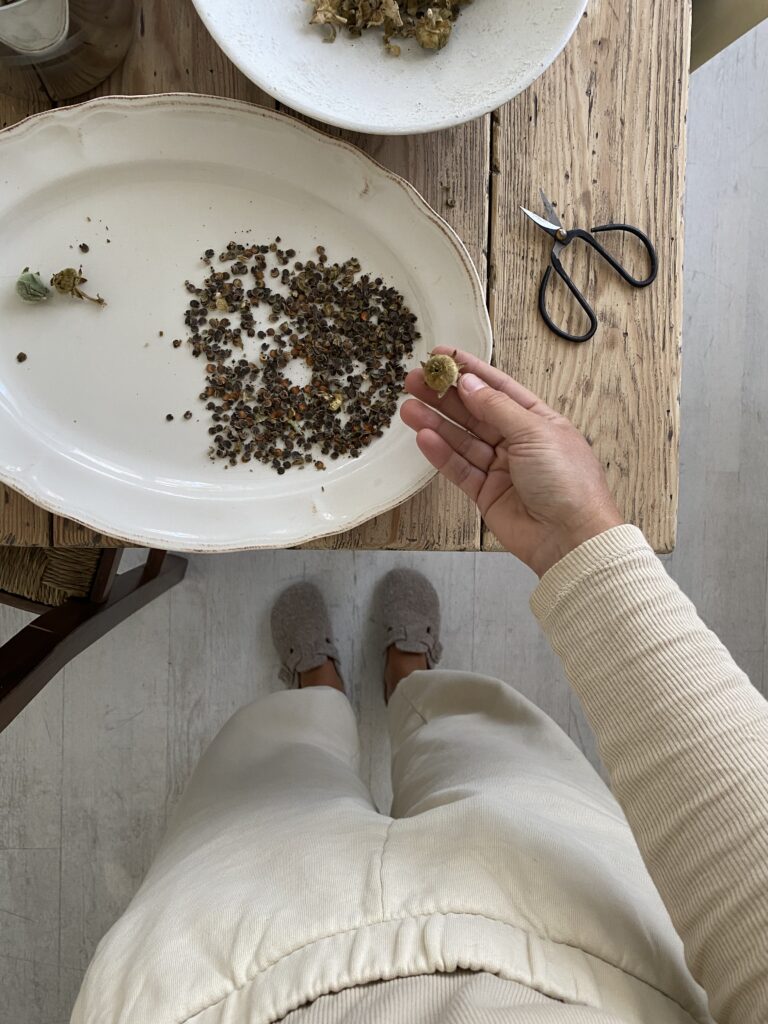
Hopefully you’ll find inspiration for a slow and seasonal living in September; Now is the time to collect seeds fom the garden and planting your bulbs for next Spring, I will be planting more Alliums, Tulips, this year in the garden.
I will also contue to work and plan for our new home in Spain, Villa La Romana. We worked so hard this summer trying to get as much done in the short period of summer. we ended up doing most of the work ourself since it was in the middle of vacation time and most companies closes during vacation in Spain. Especially smaller and local contractors. I learned how to plaster, remove tiles and i’m actually very proud of myself for what we accomplished but also that we dared to follow our dream. Even if it scared us.
I will make my best to take the time and ensure that September will a month to enjoy the last of bittersweet indian summerdays. As the days grow gradually shorter and the light shifts ever-so-subtly, the very first hints of briskness in the early-autumn air makes me slow down, reflecting, and contemplating layers for the first time in months as summer turns to fall.
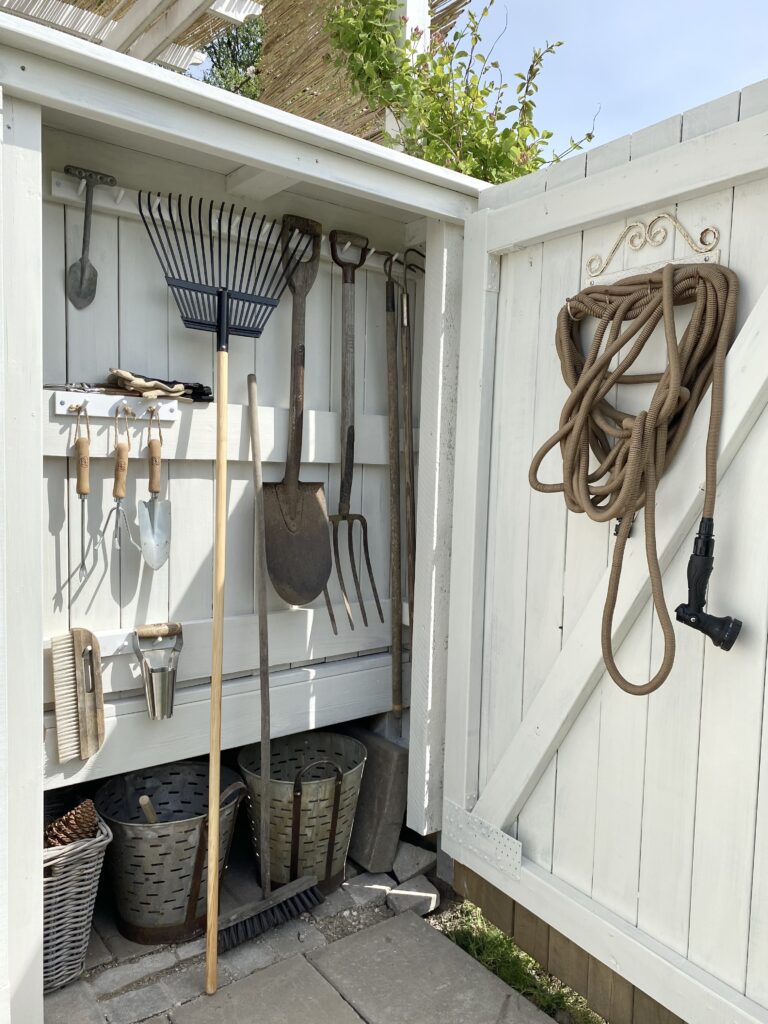
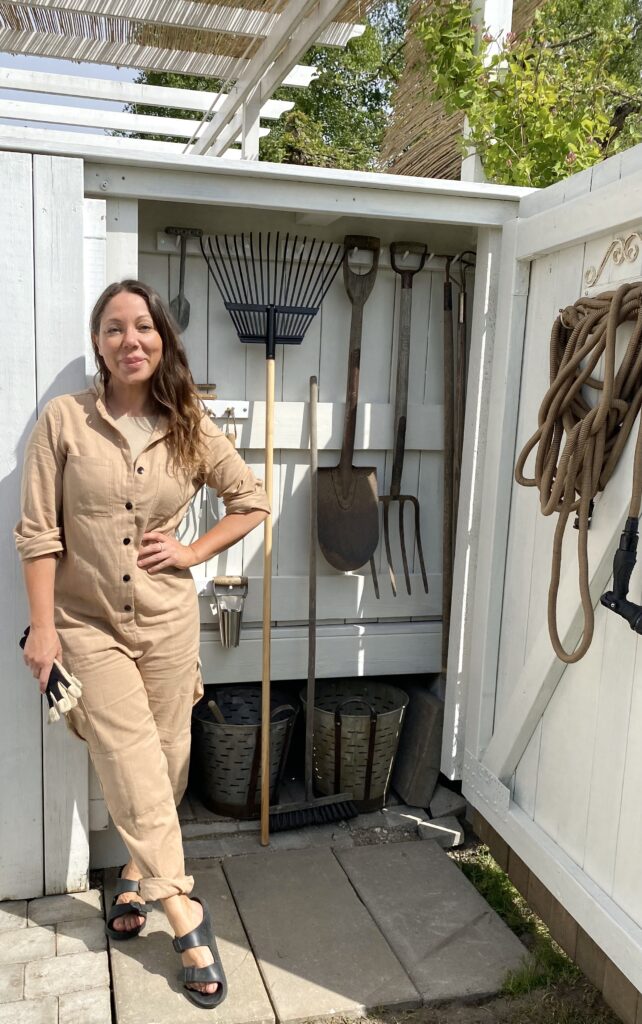
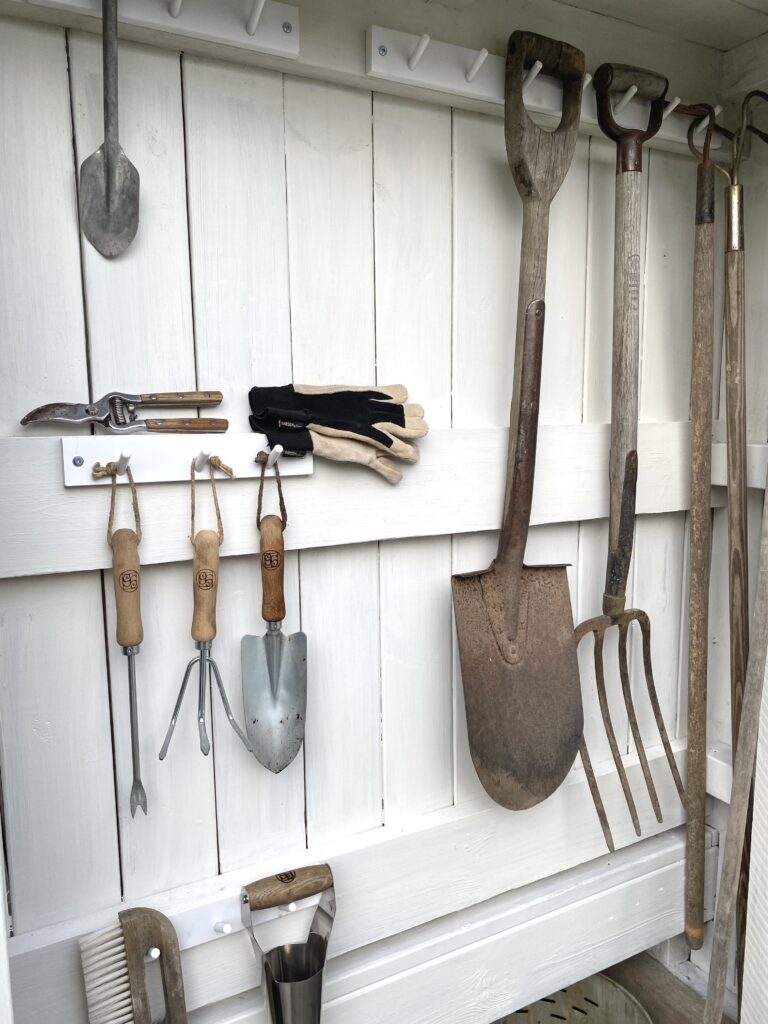
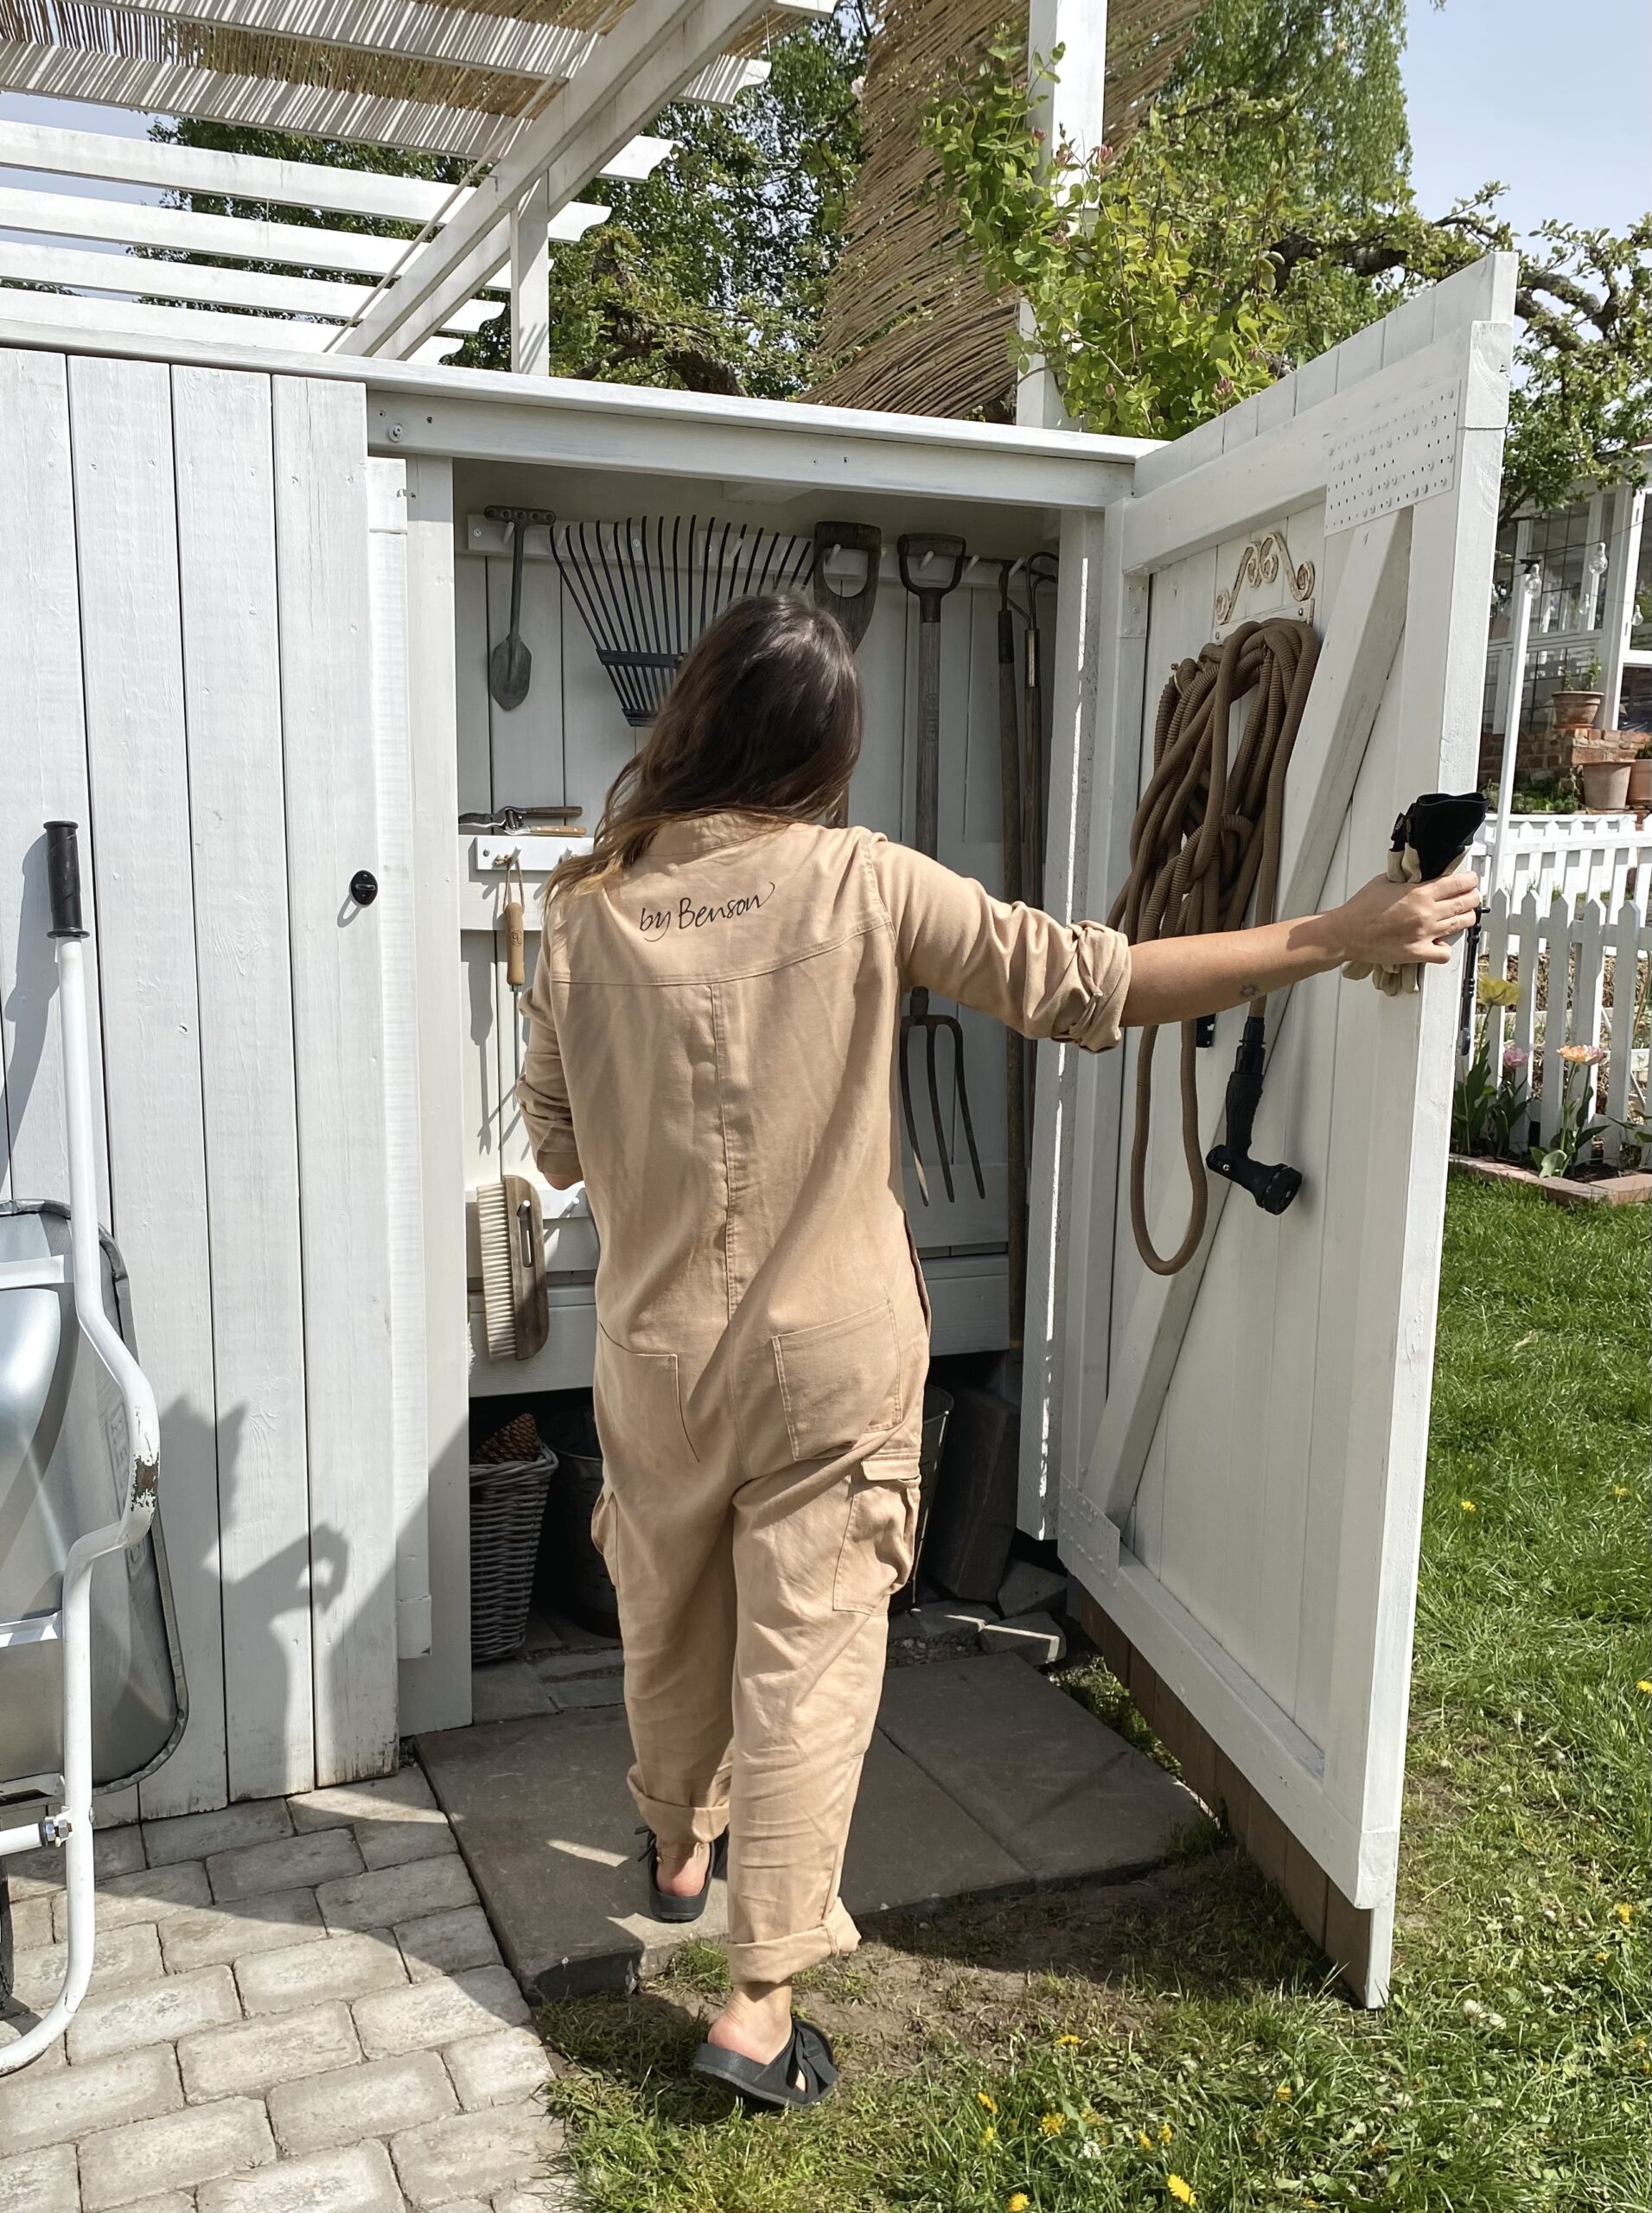
I want my garden shed well organized and my garden wild and lush, does that make any sense? Well it does to me and I suppose that’s all that matter. I just gave my garden tool shed a very much needed makeover and i’m so thrilled by the result. I absolutely looove to organize pretty much any space. My closet is color coordinated, in my pantry everything stands in pretty lines.. and now my garden tool shed is exactly how I wanted it too. The satisfaction is real, I guess you can tell from my face.
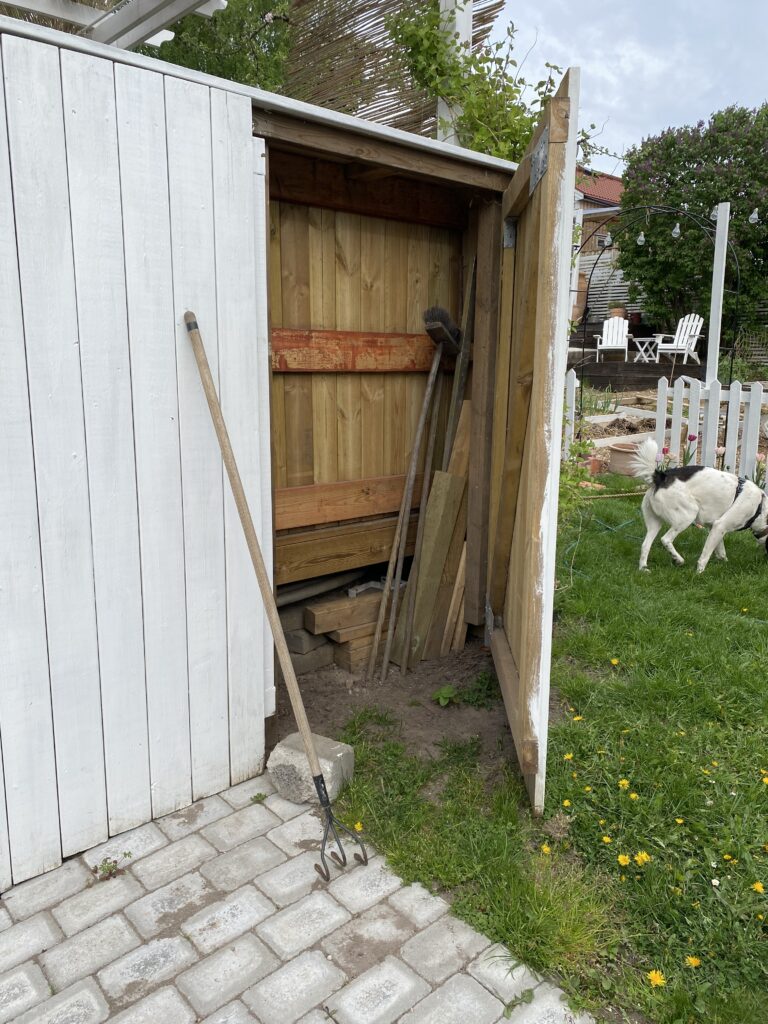
The space already excisted. A few years ago we built a wooden half wall on the short side of the porch to protect a bit from the wind and make it cozier. On the outer side of the ‘wall’ we added two large barndoors and created a mini shed for gardentools. This way my husband can keep his garage for ‘his’ stuff and I can have the greenhouse for growing things and for storage. We where both equally happy. This past year that I have grown a passion for gardening also made me want to look over the shed. It wasn’t really that inspiring. This was the starting point, the ‘before’.
With very little I managed to create a big change, at least I think so. I had half a bucket of leftover white outdoor paint, a few pegrails, some old hangers and a new doorhook since we were lacking one and my husband had used a rock to keep the door closed. No words.. You can see the rock on the photo above.
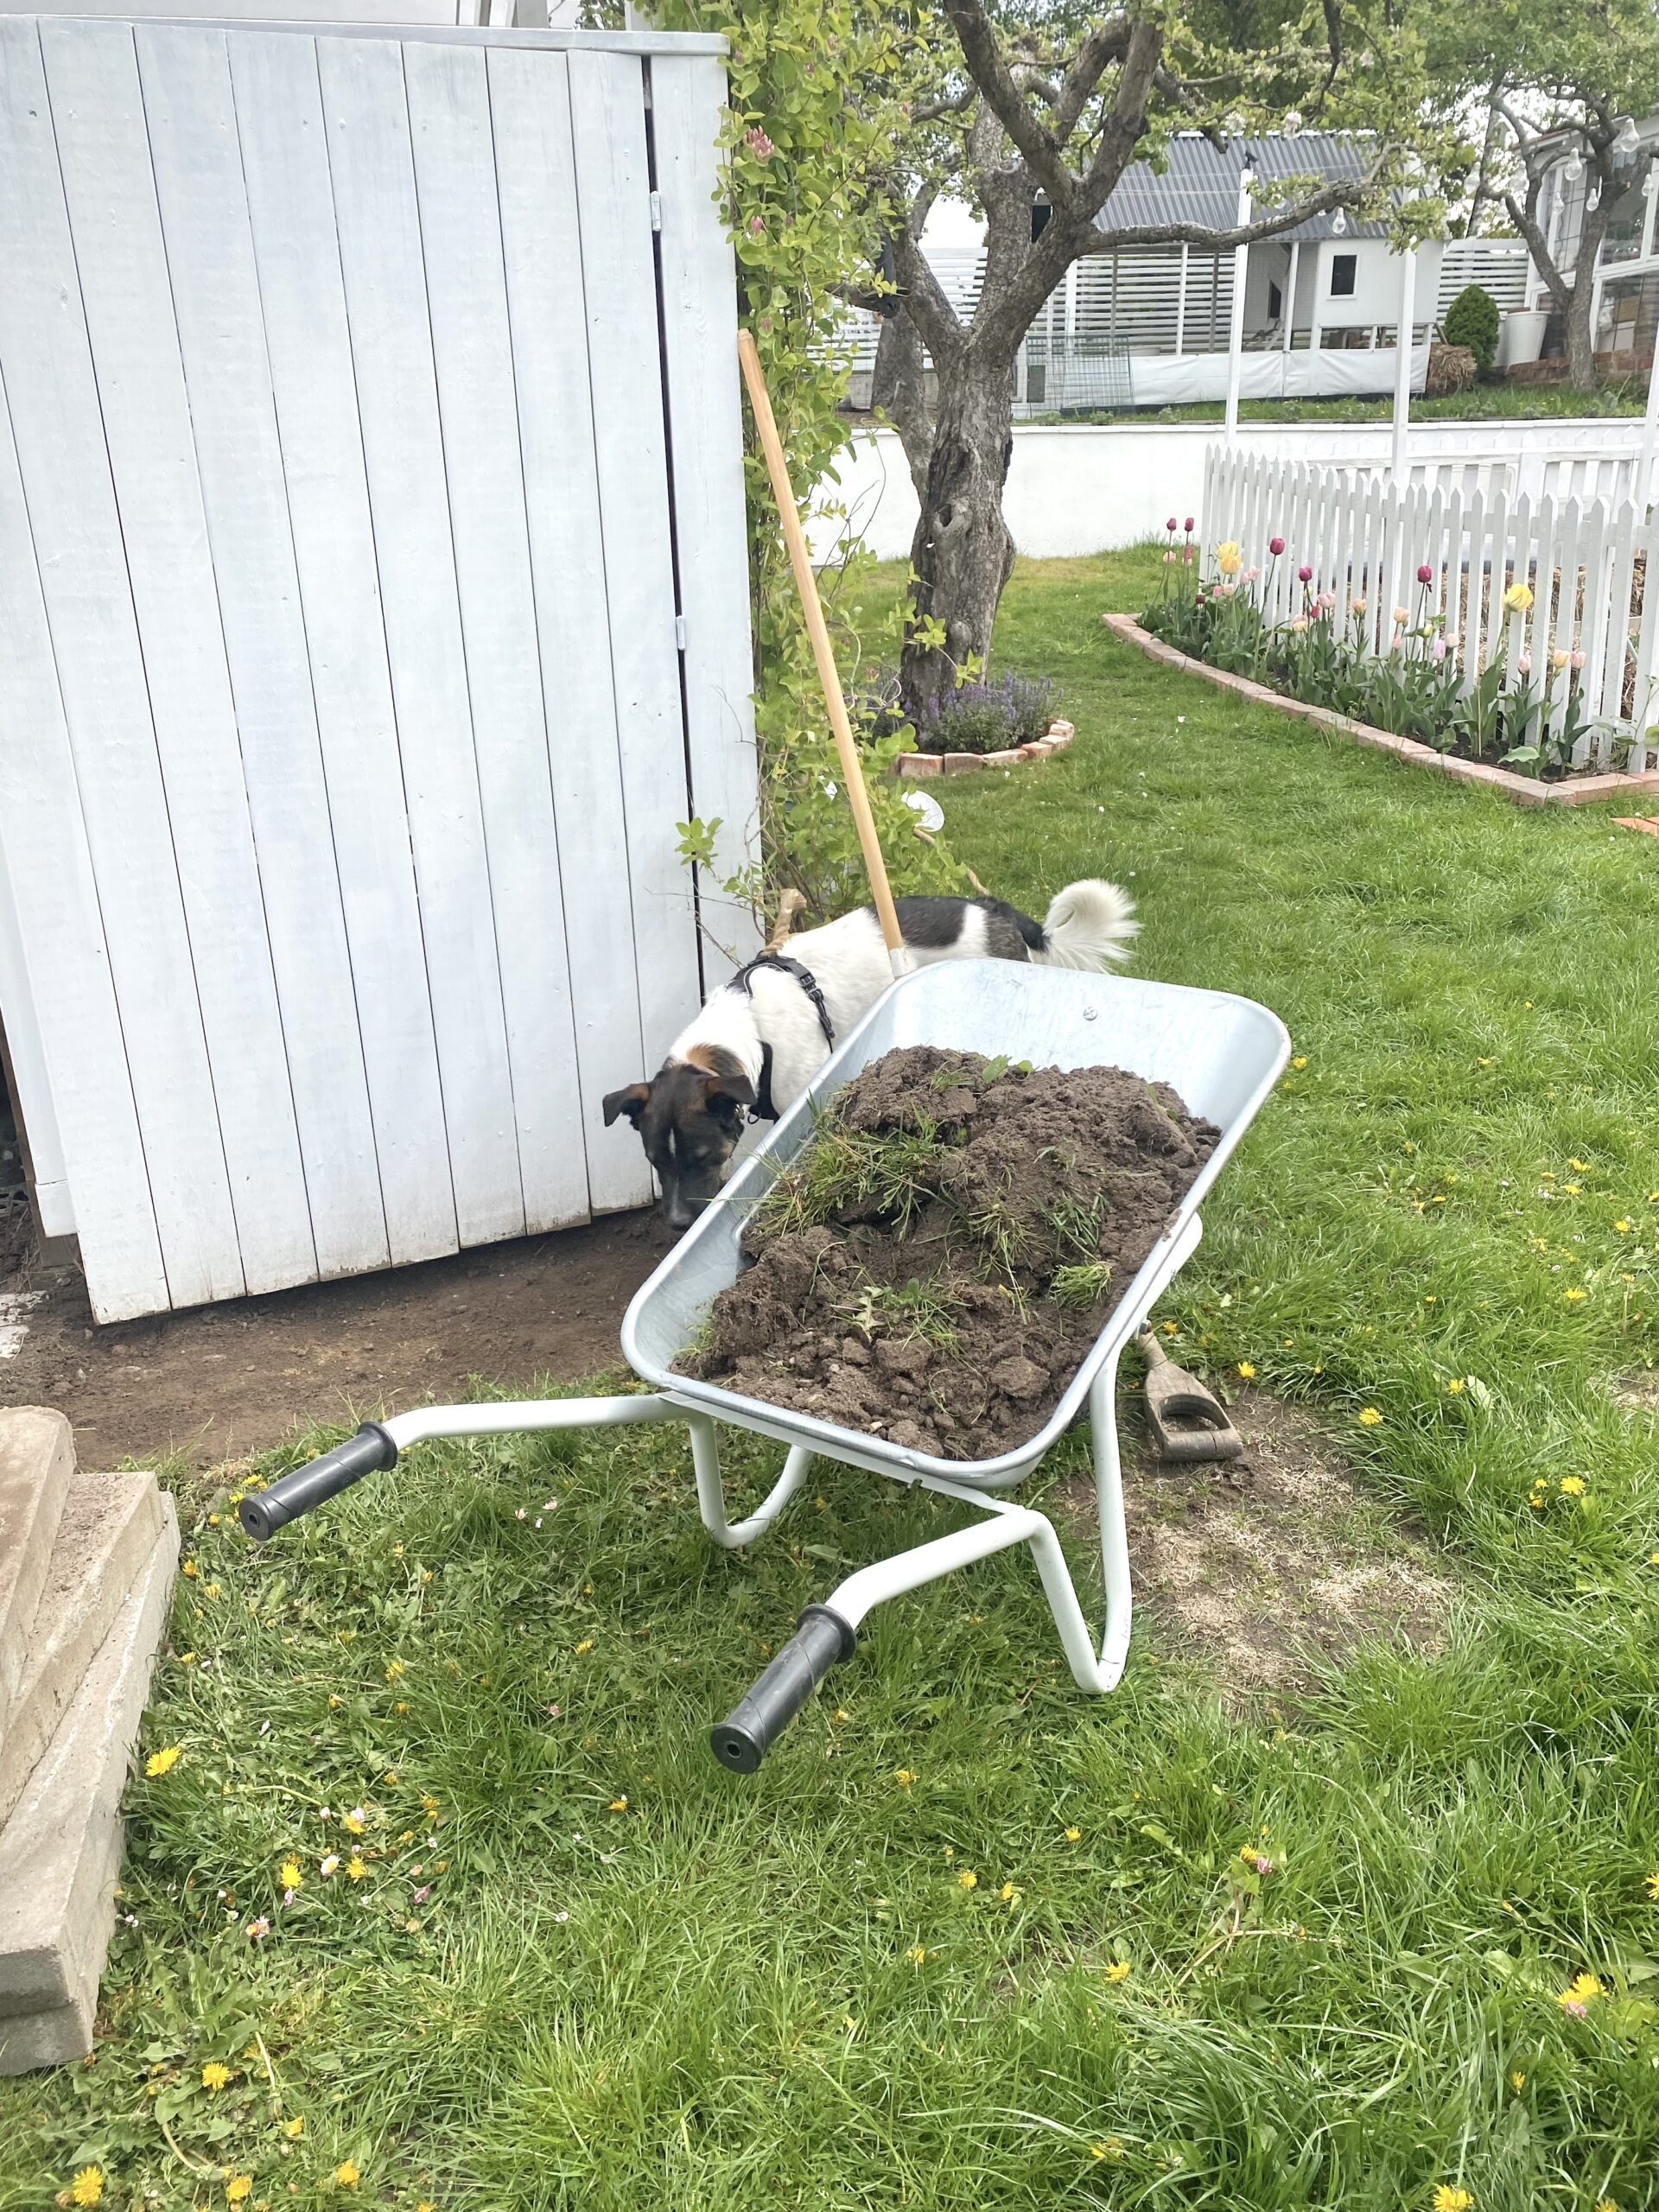
I started by emptying the shed and brush it off so I could paint it. Then I carved out some space infront of the doors so I could add stepping stones in front. The grass groving infront would let us open the doors. Nando is always there to help and company me.
And here is the final result, the wight paint makes it so much brighter and easier to find everything. The beautiful waterhoes is from Benson and its the crown jewel of the shed. Absolutely love it!
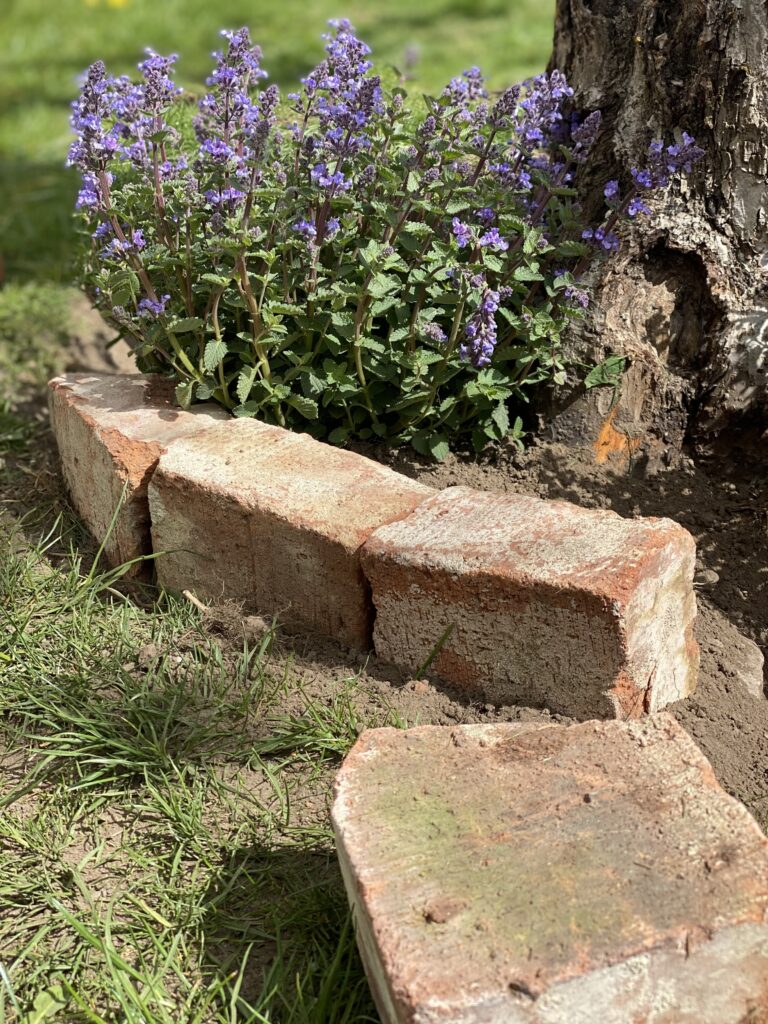
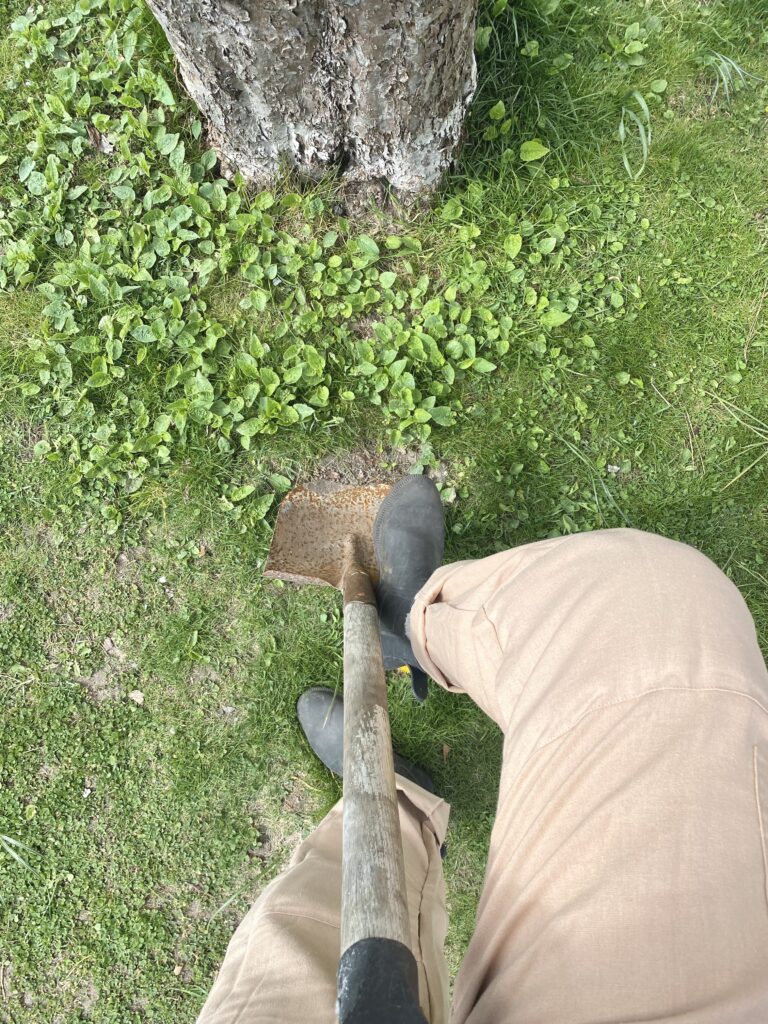
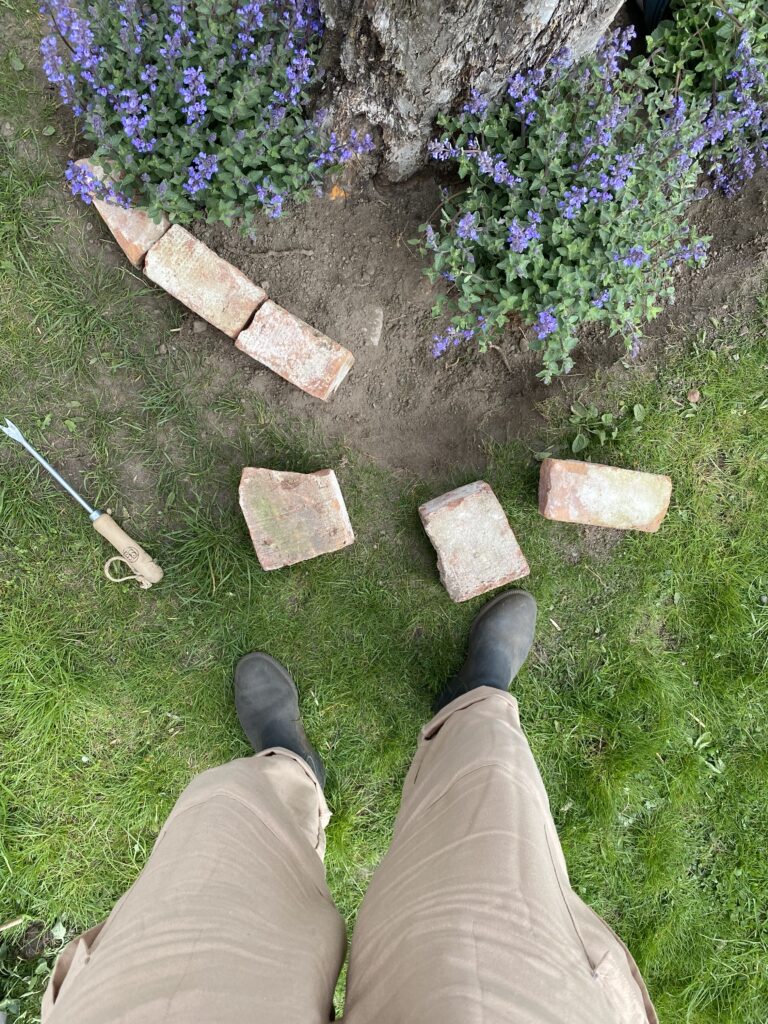
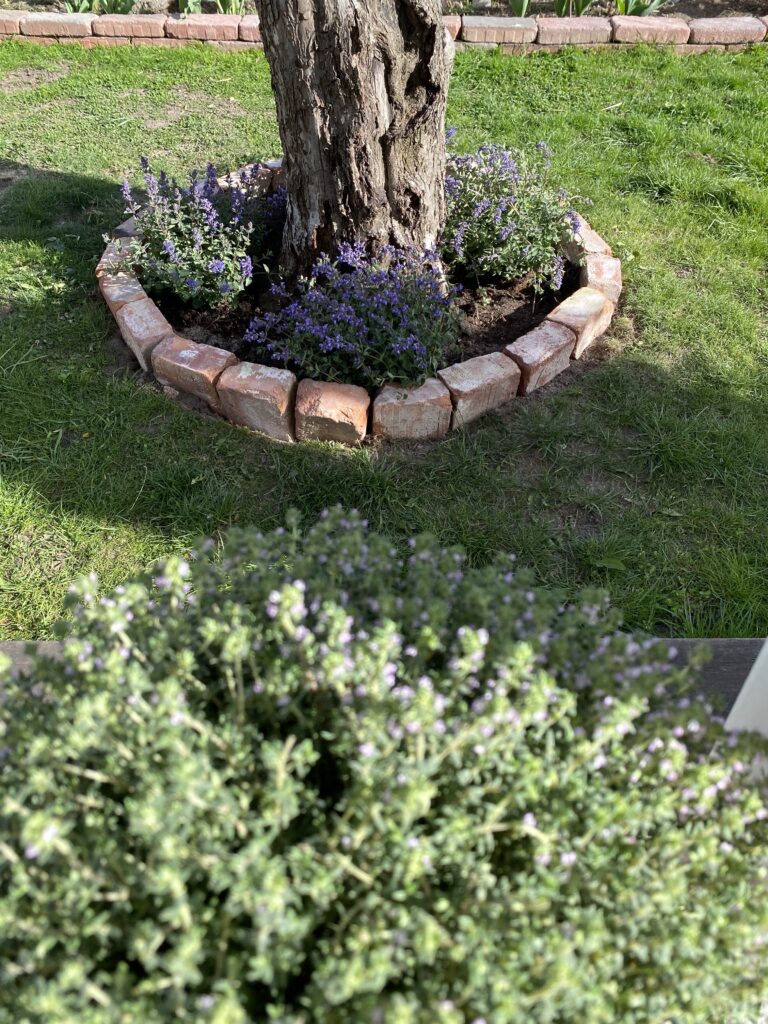
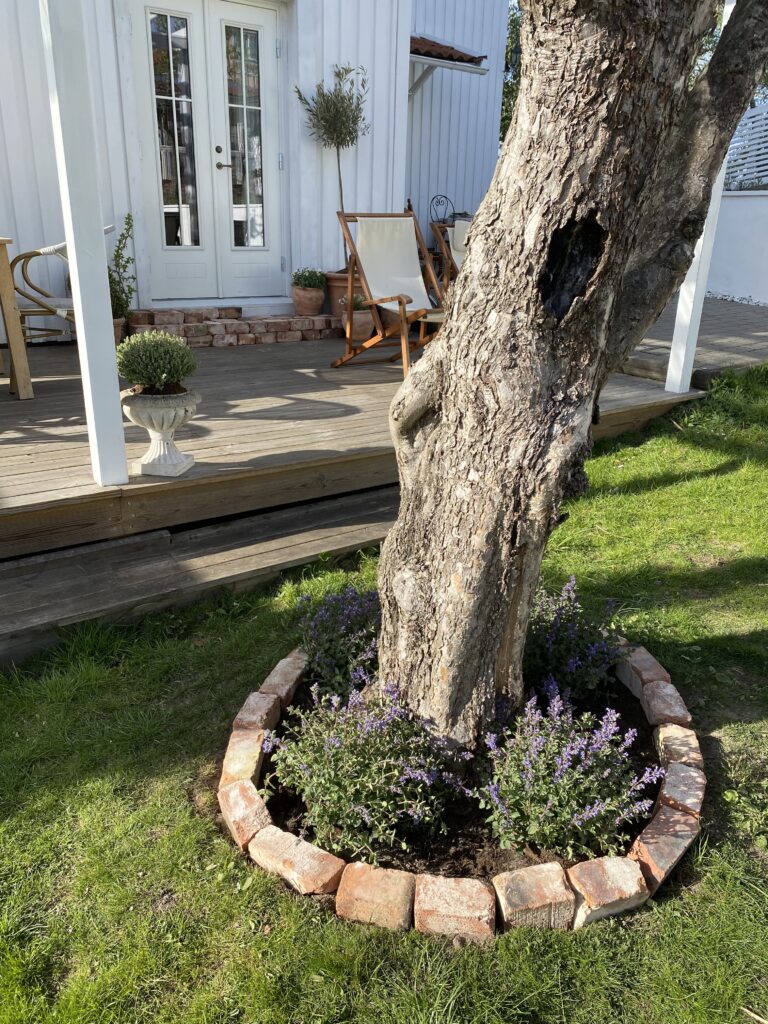
I had a few broken, irregular shaped bricks left over since we made the greenhouse laying around and I was thinking about what I could do with them. Making a tree edging or tree ring felt like the the perfect project… said and done, no time wait. I had to do it right away. When I get a idea I like to create it as soon as I possibly can. I,ve never done a tree edging before. Not with bricks or any other material for that matter but how hard can it be? After all my life motto is: ‘If you want something in life, do it yourself’ so I headed out to the garage to get some tools and started laying it out to see how it would look. And today I actually even remembered to take a before photo for you.
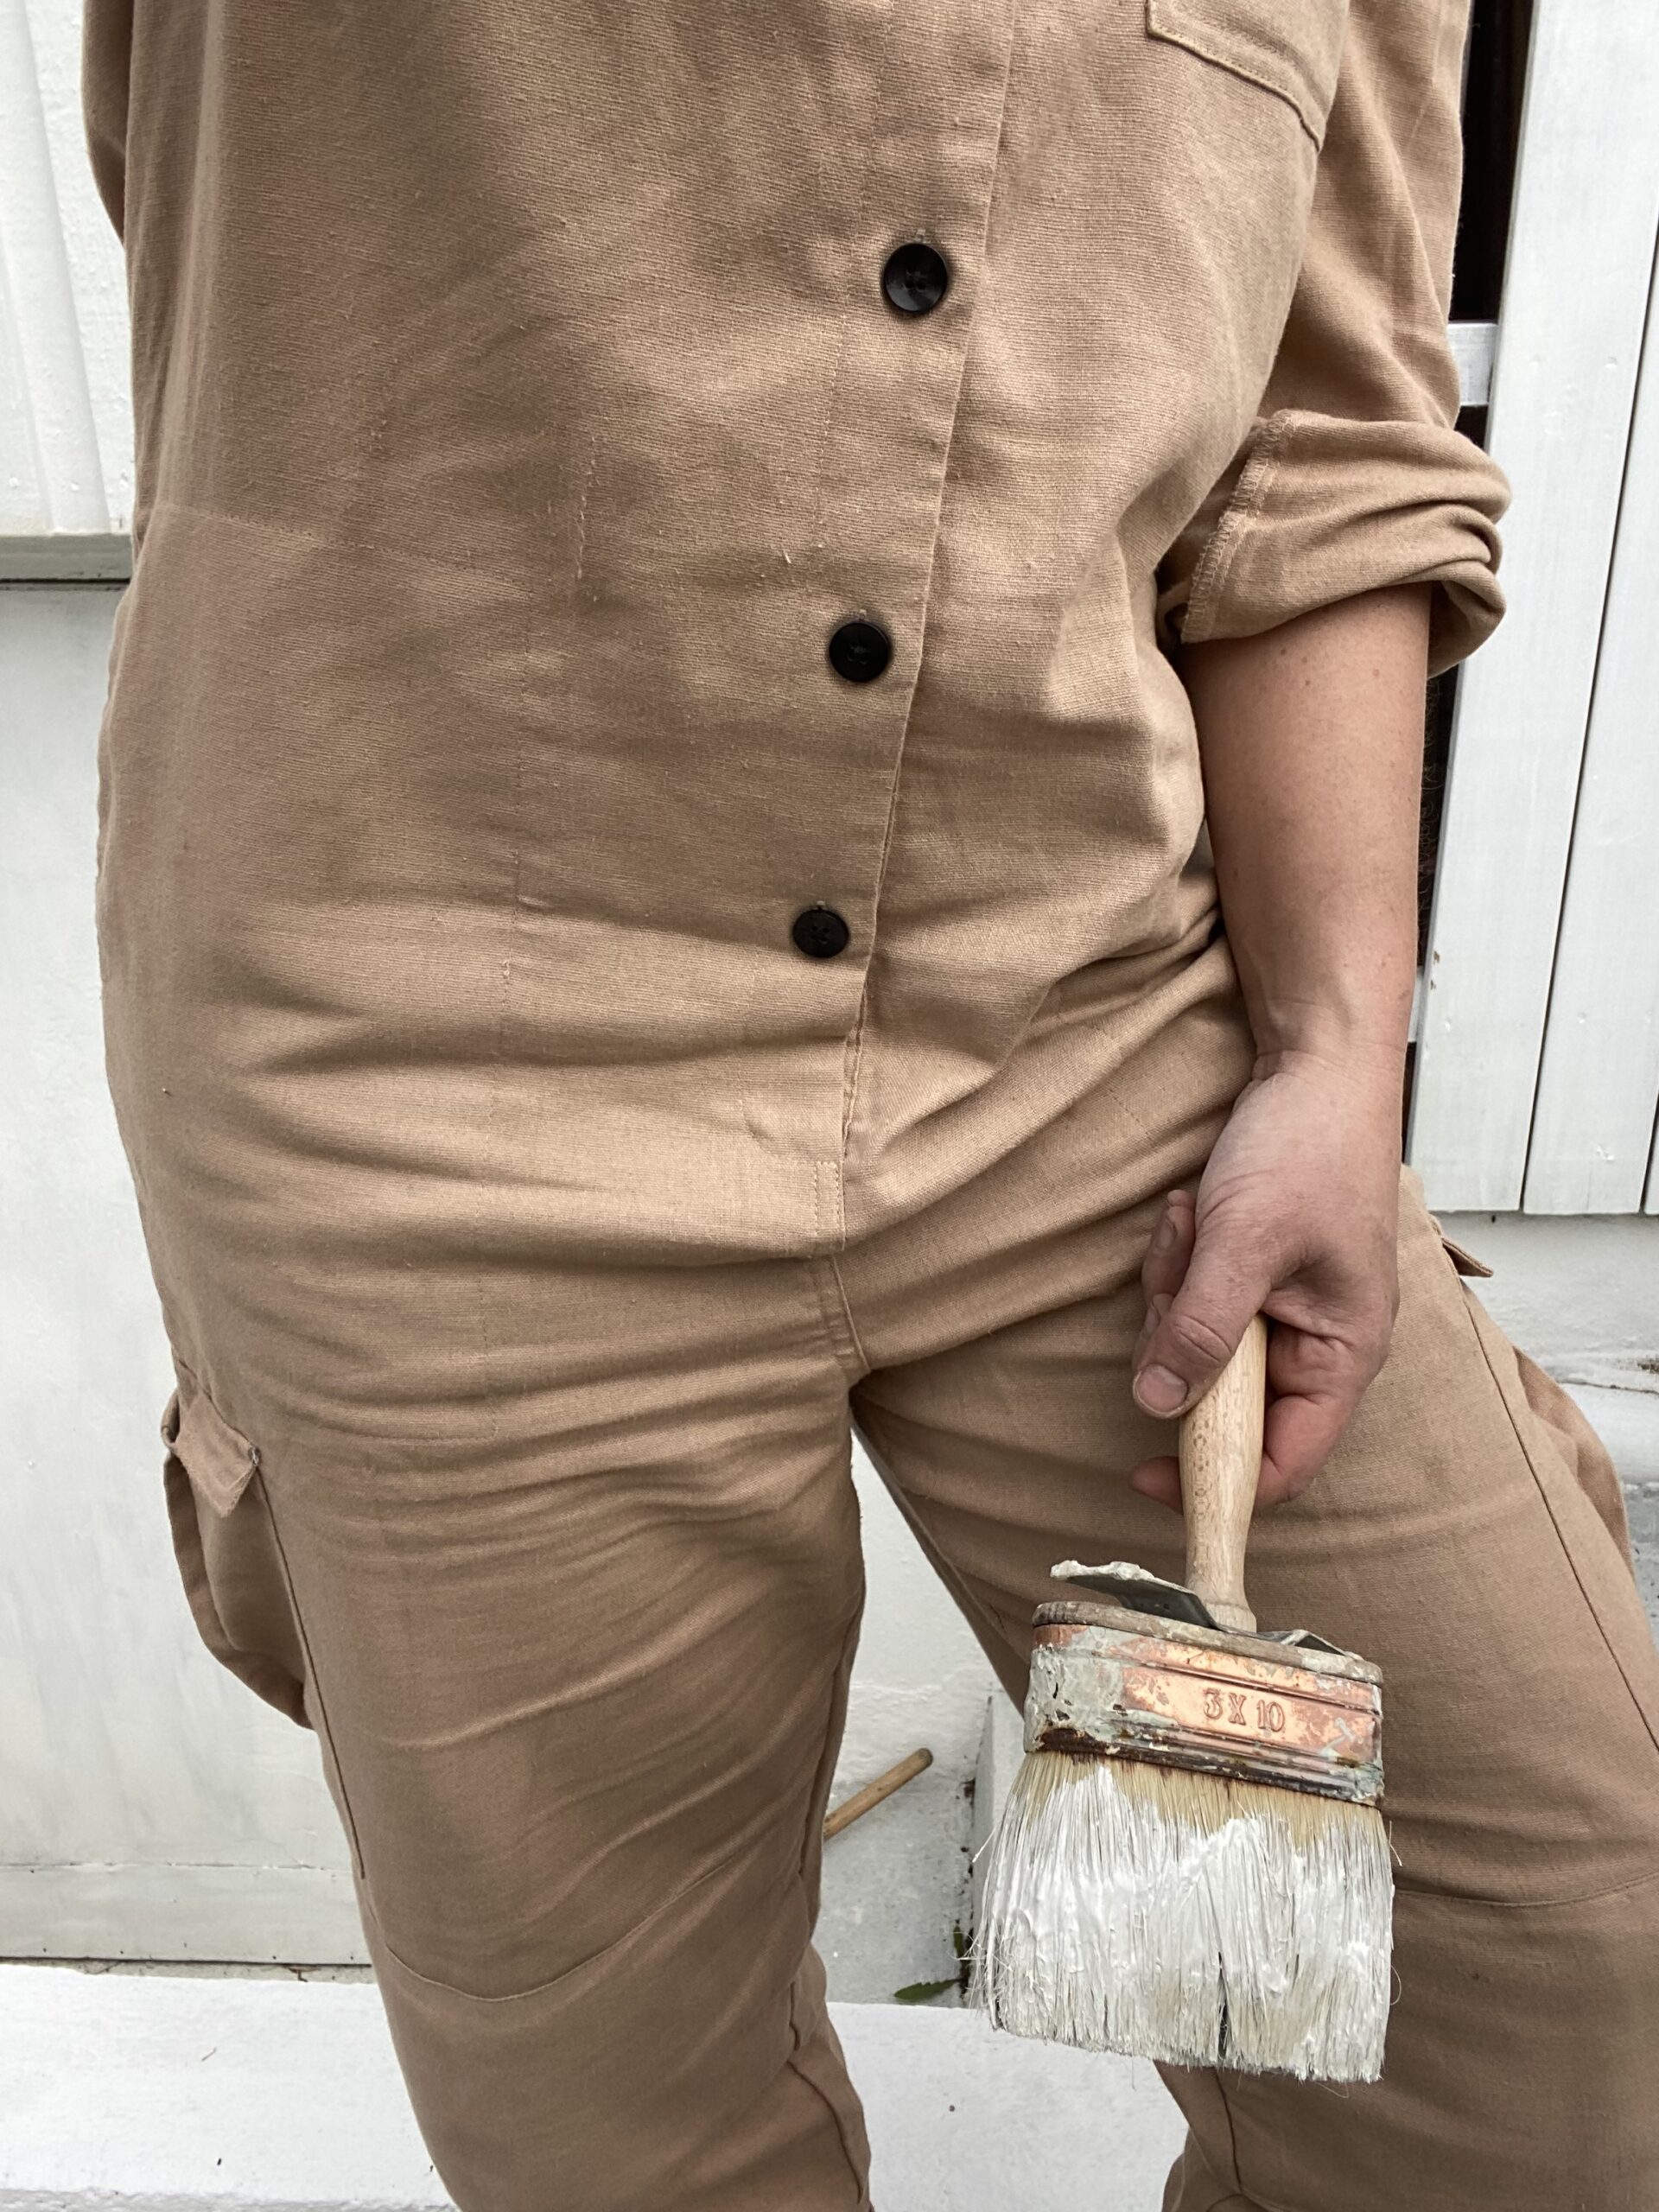
This is our old appletree that’s going to get a border of old bricks. The apple tree stands in between our porch and the potager. Laying edging around a tree forms a protective border between the lawn and tree. Add mulch around the tree within the edging lines to suppress weed growth and retain moisture in the soil to benefit the tree. I just got my new gardensuit from By Benson so I thougt it would be the perfect oportunity to put it to the test right away.
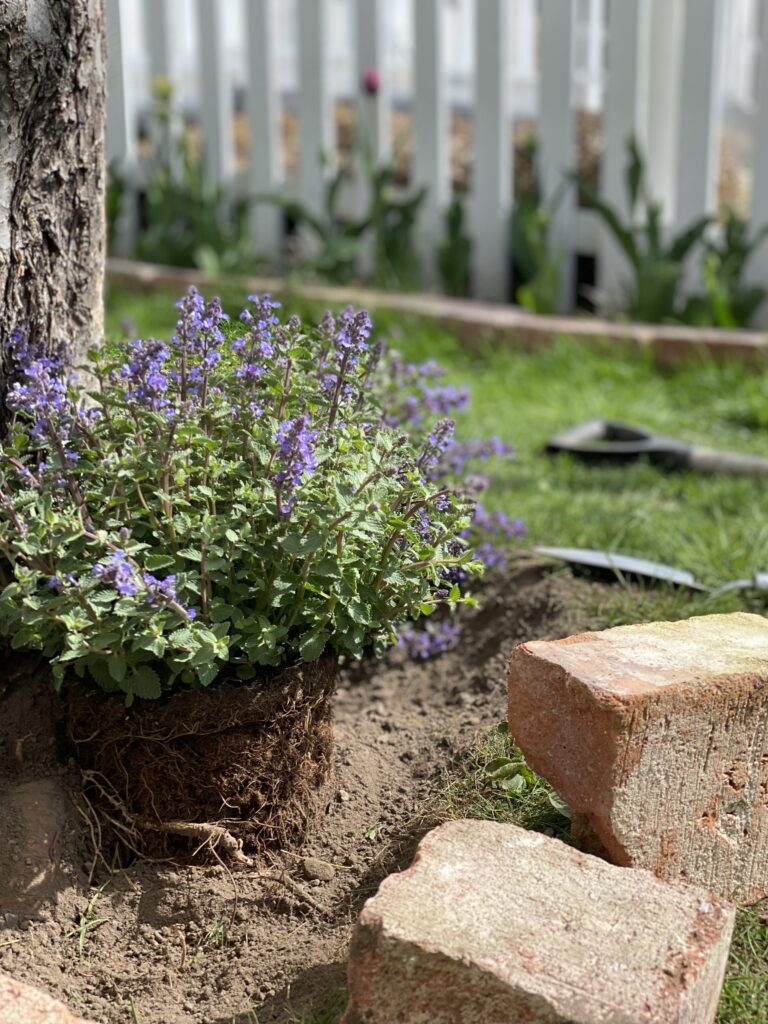
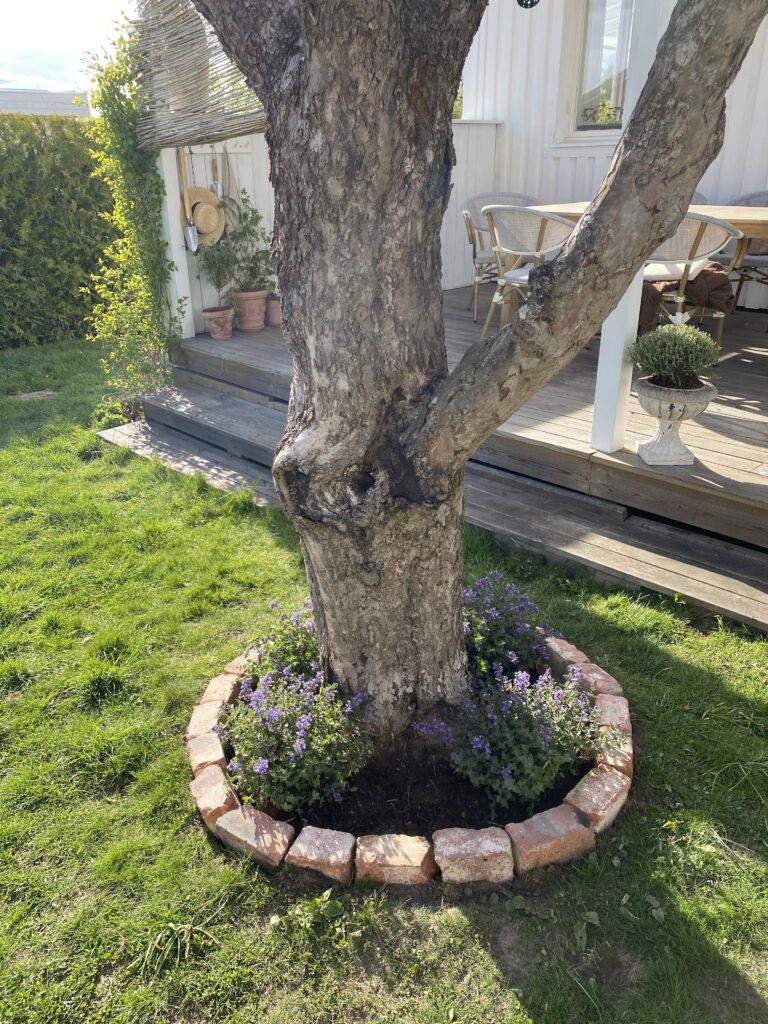
The final result; imperfectly charming maybe one could say.. either way I’m happy with the result and that’s all that matter.. I decided to plant some of my Nepetea, walkers low as they are one of my favourites, bloom all summer and are very resistant. Bees and butterflies loves them too. Thyme is another favourite of mine. Below is a description of how I did the tree edging using old bricks.
Create an Outline. Lay a hose or rope on the ground around the tree or measure to create an outline for the edging. A circle is common around trees in landscapes, but you could also do a square.
Remove the Grass. This was the hardest part. Remove the grass from around the tree if any exists, being careful not to disrupt or injure the tree’s roots. You can dig the ground and remove the grass. Replace the hose if it had to be moved while removing the grass.
Dig a Trench. Dig a trench around the tree, following the hose as the outline. The trench should be approximately 1 1/2 times as wide as the bricks, about 3 inches deep and with straight sides if the bricks are straight. My bricks had all kinds of shapes so I had to adapt accordingly. Pack the dirt inside the trench to make the ground level. You should be able to do this with your foot, a shovel or a hand tamper tool.
Lay the Bricks. Lay the bricks in a pattern you like. So many different styles to choose from.
Adjust the Spacing of the Bricks. Adjust the spacing of the bricks as necessary to achieve a more or less even spacing between each brick. To make a circle you need to leave a small gap. I found it easier creating a circle with the half bricks than with the regular long ones.
Add the Soil. Fill in the trench around the bricks with the soil removed when you dug the trench. Pack the soil firmly in the small, triangle-shaped gaps left by the diagonal placement. Part of each brick should be visible above ground when you fill in the trench.
Add a Layer of mulch and flowers if you like. Add 2 to 4 inches of mulch around the tree within the circle created by the brick edging. Don’t pack to mulch directly against the tree trunk. Just cover any exposed roots with an inch of mulch at a time over several weeks to allow the roots to adjust. If you add flowers make sure to pick a kind that doesn’t need to much sun as the tree will shade them.
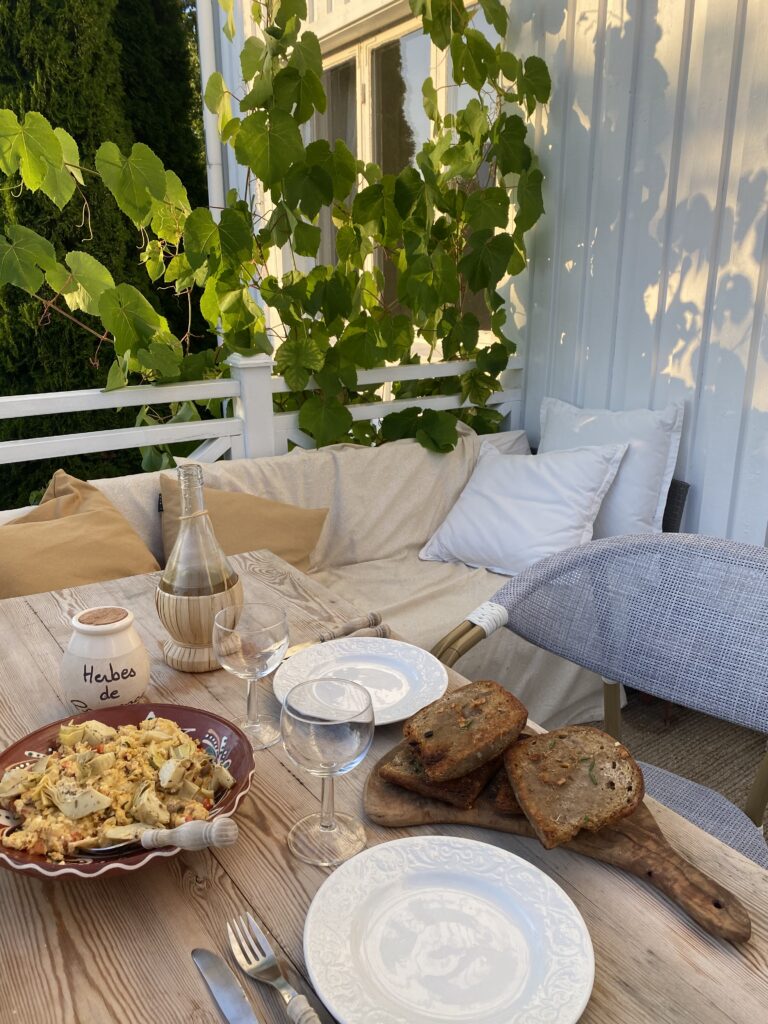
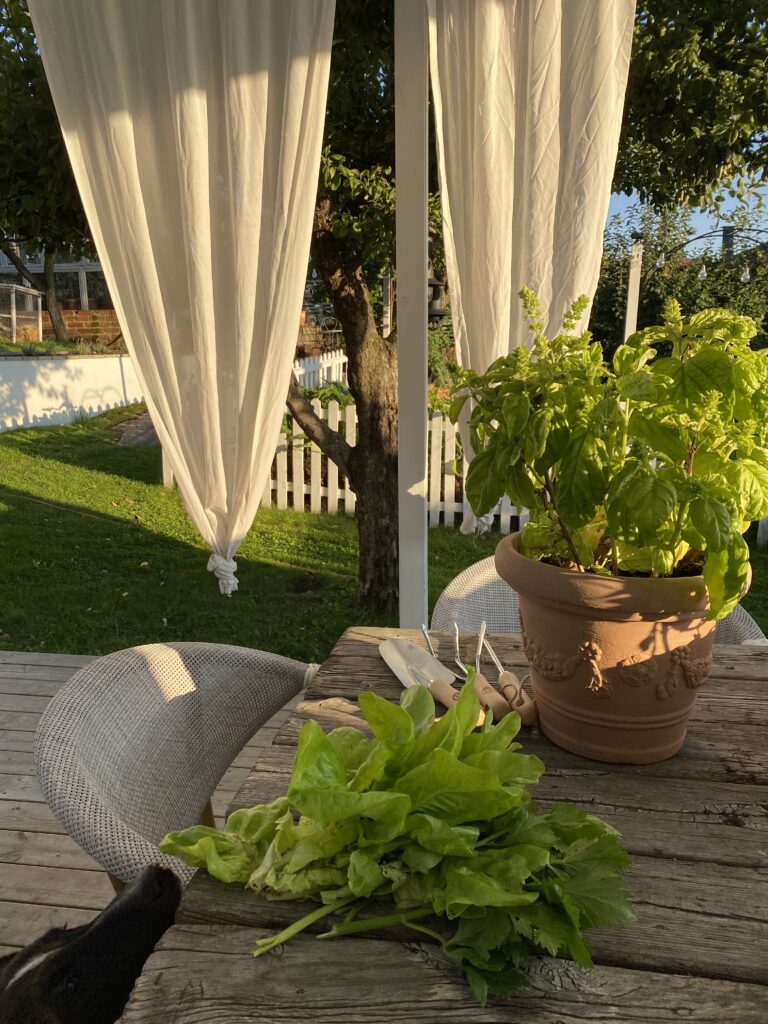
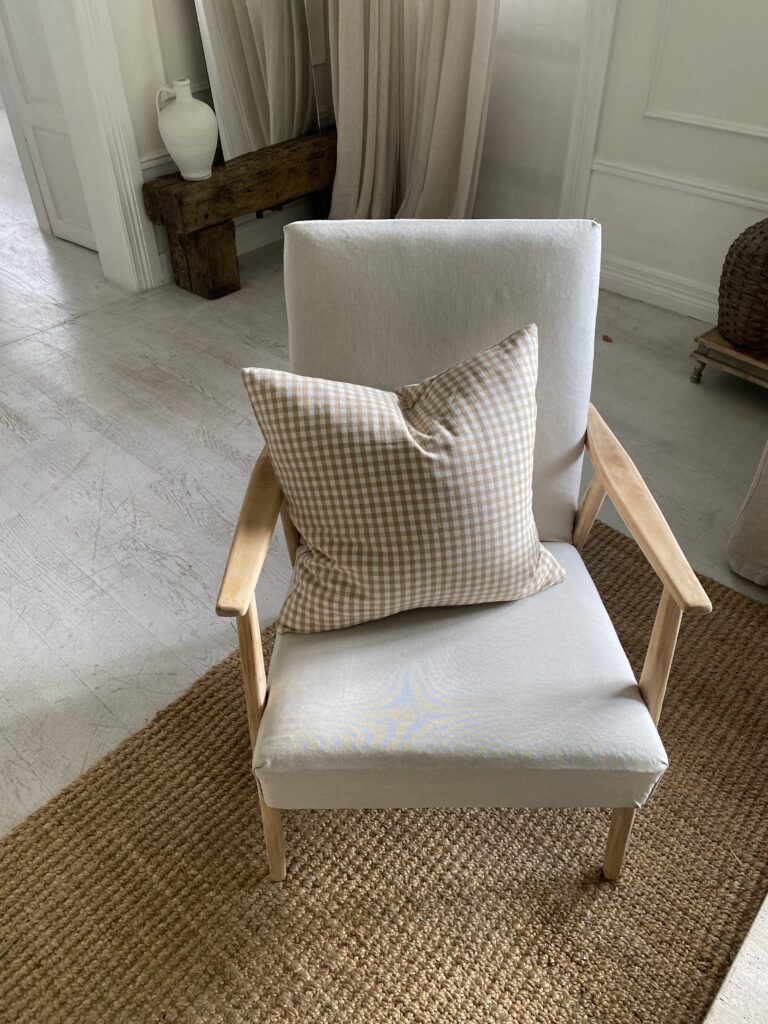
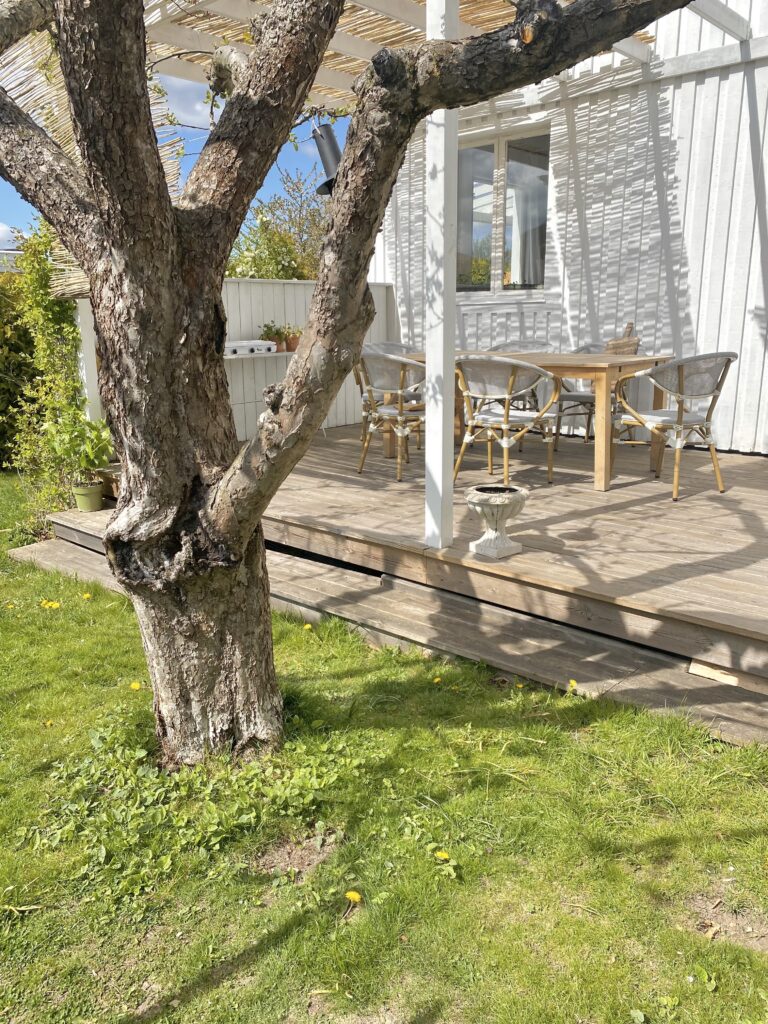
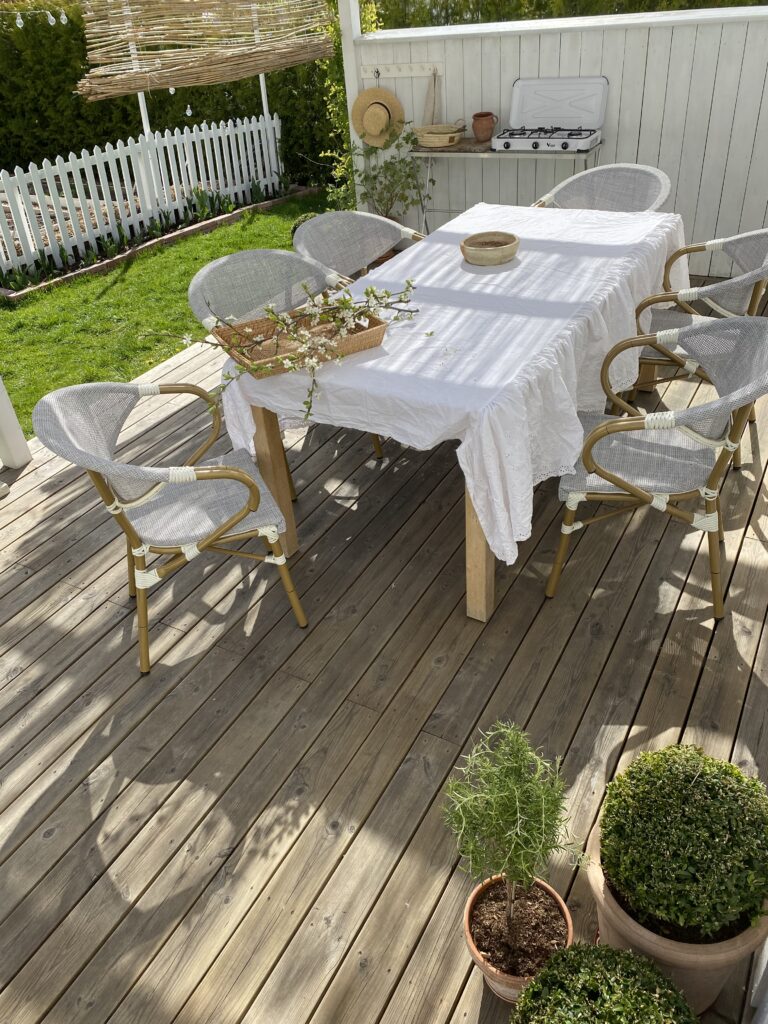
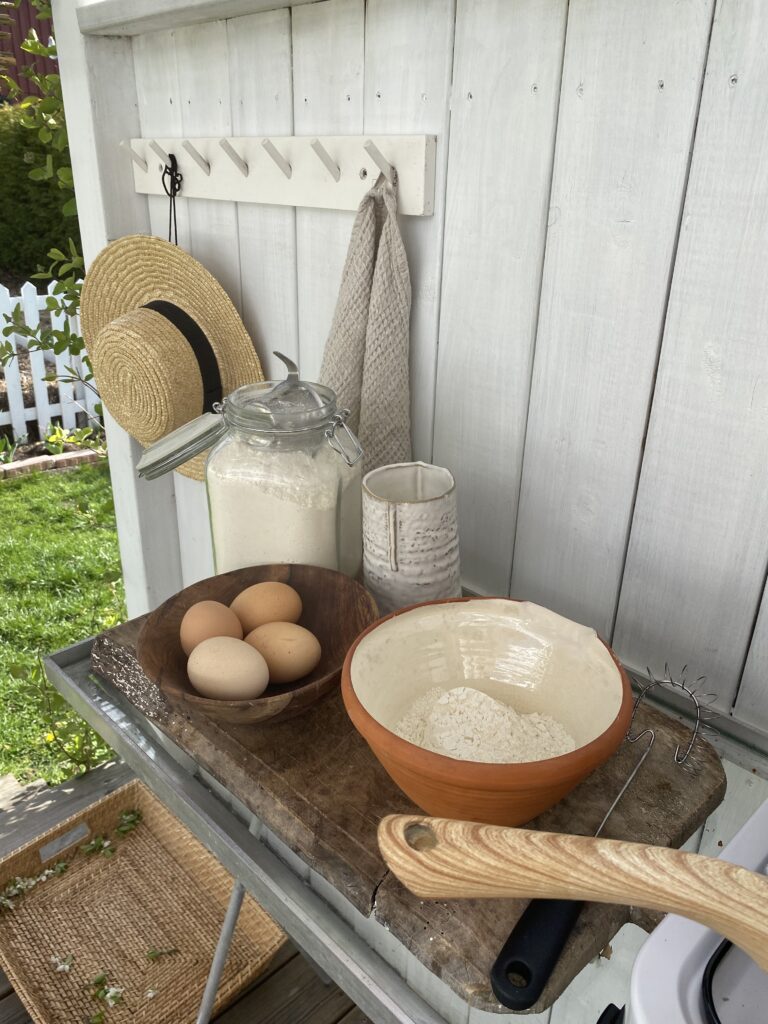
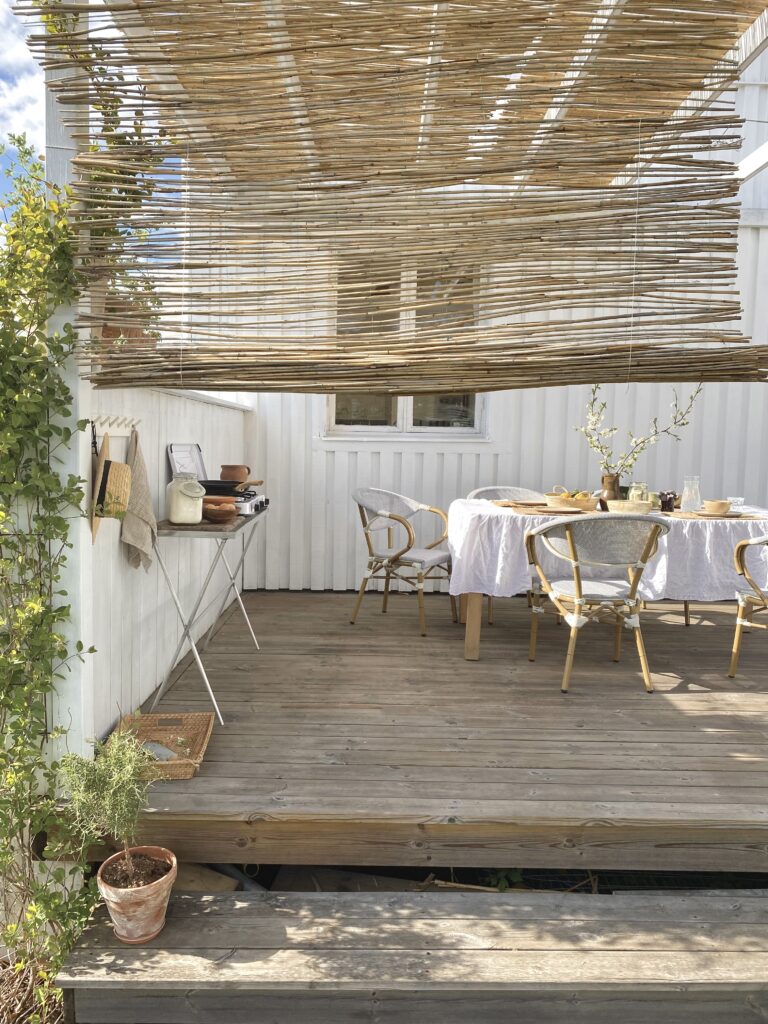
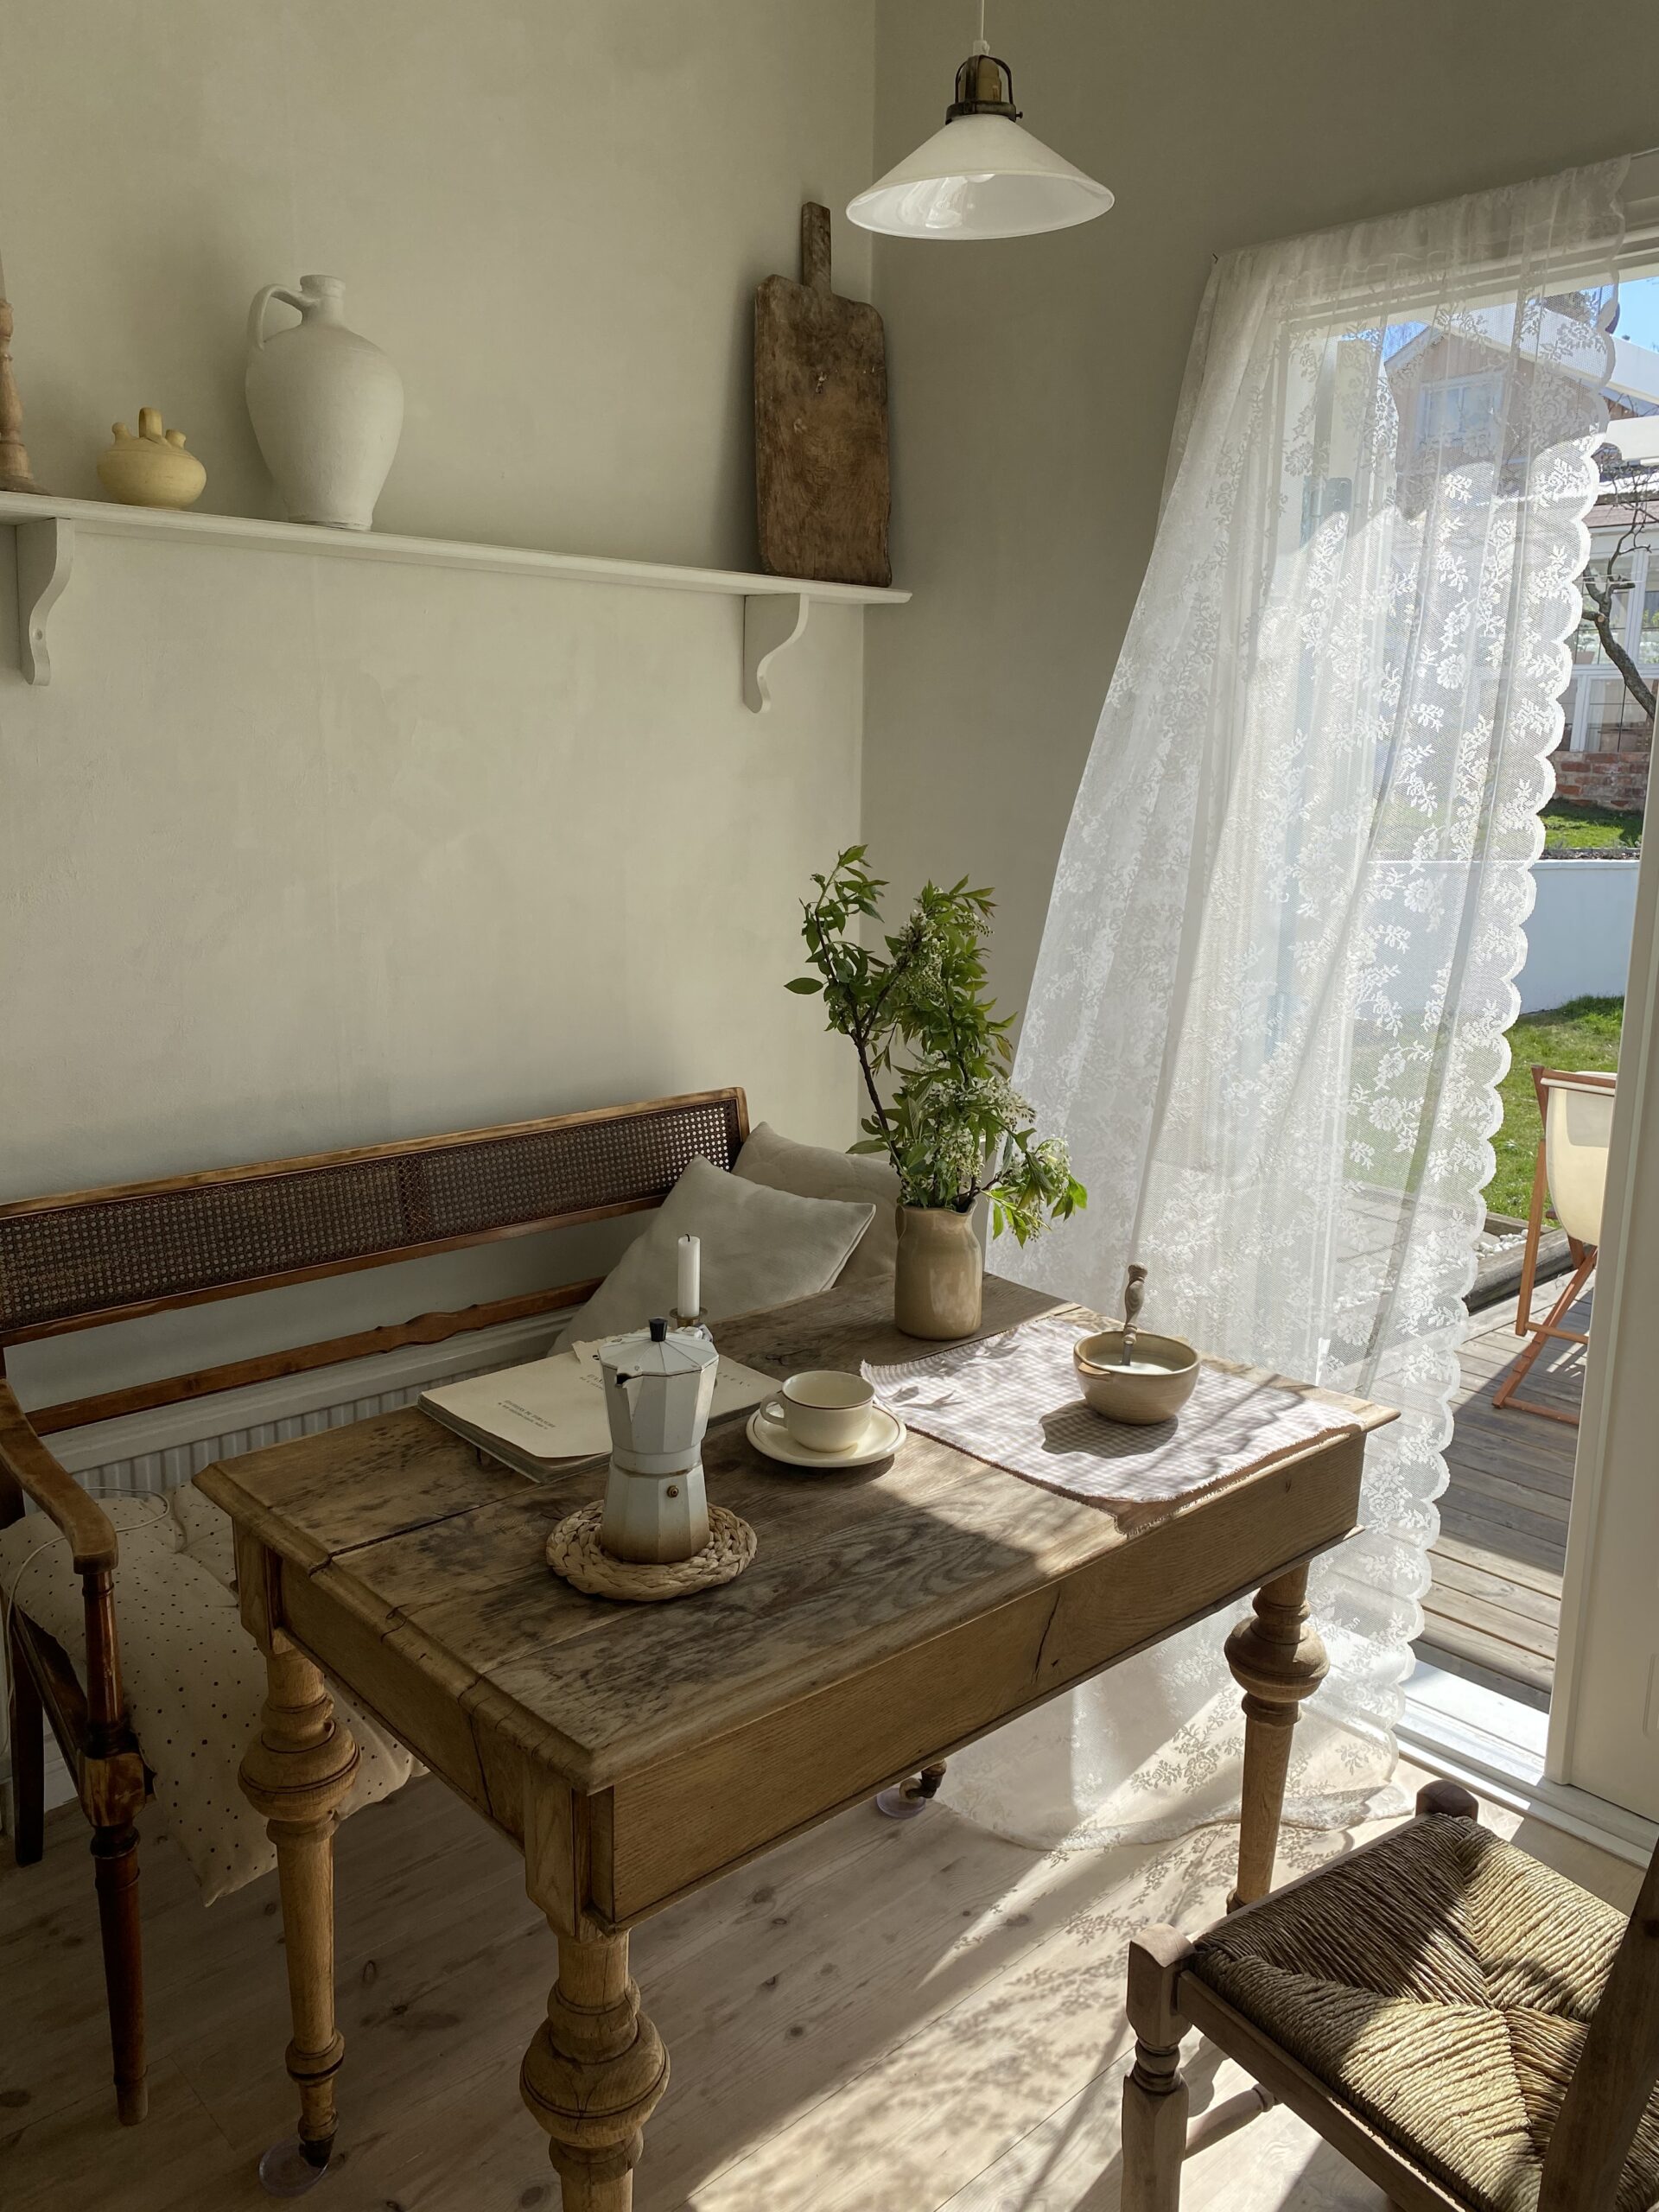
This weekend we finally moved outside and let the outdoor season begin. The terrace becomes the new livingroom and diningroom. Just like most people I love eating and drinking outside and I think it’s a deep, almost primal desire we all share. As much as I love eating outdoor I also love cooking outside so I improvised a little outdoorkitchen. Nothing complicated or fancy, all the contrary. A small, simple and flexible kitchen that I can move around and easily store away if I want. You really don’t need that much to cook outside.
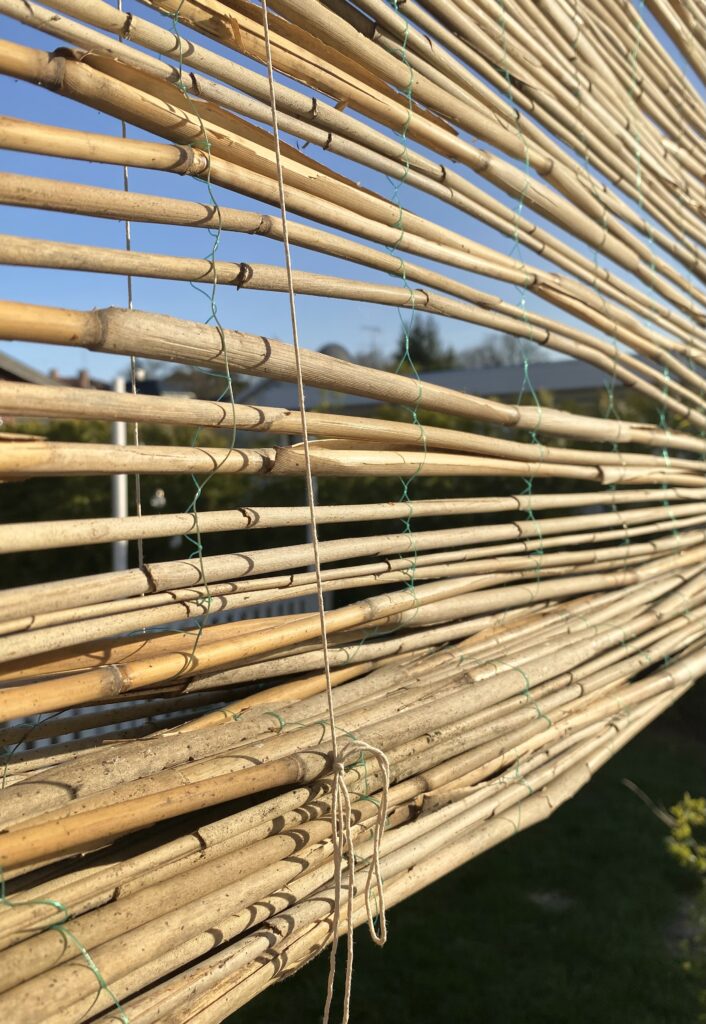
I also put up some windshields made of straw or reed, well actually it gives more protection from the sun than the wind. But I mainly put it up so it would create a sense of a room. It gives a bit of privacy as well. Usually I put up white curtains and a ‘sailroof’ but this year I wanted to try someting different.
It turned out to be a bit too long and I was just about to cut the part hanging done as a curtain when I realized that it kind of was cozy with it hanging down. It really created a sense of a room and thats exactly what I like when creating spaces outside. So I left it long but added some thin ribbons so I can roll it and tie it when I want too. Just like a blind curtain. Next step is to clean up our barbeque and move it here next to the stove. Now I can do all the cooking out here, otherwise I always had to boil the rice or potatos innide in the kitchen while we barbequed the rest outside. It feels a lot easier now and since I love simplifying and making life uncomplicated this turned out to be a great idea.
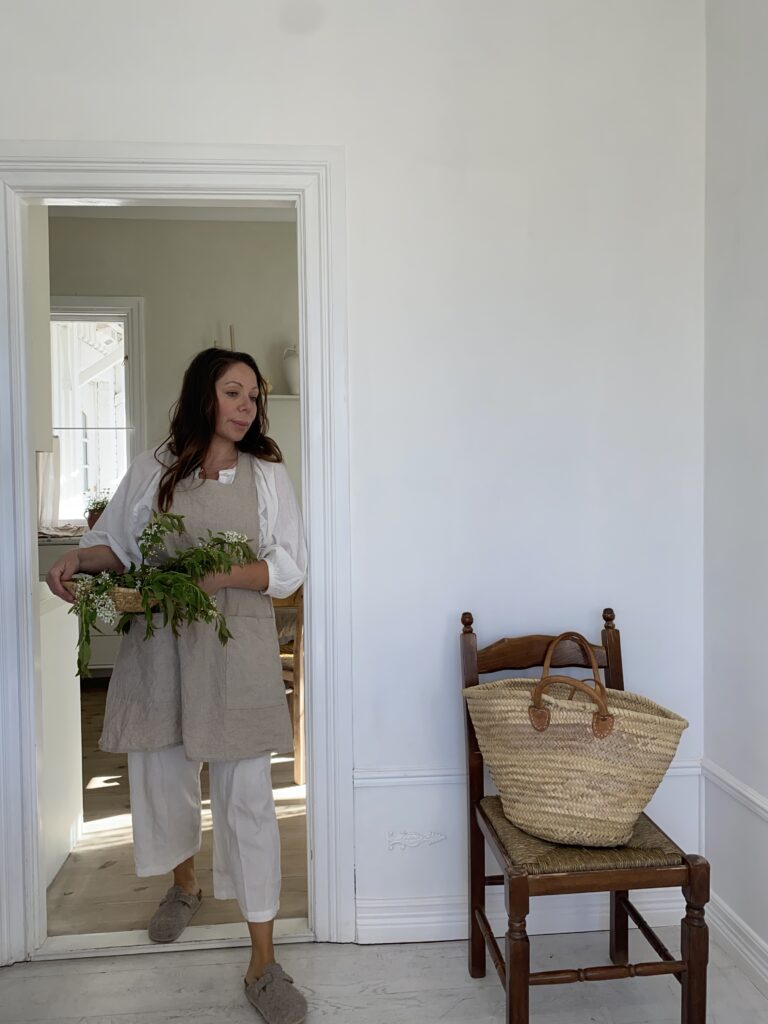
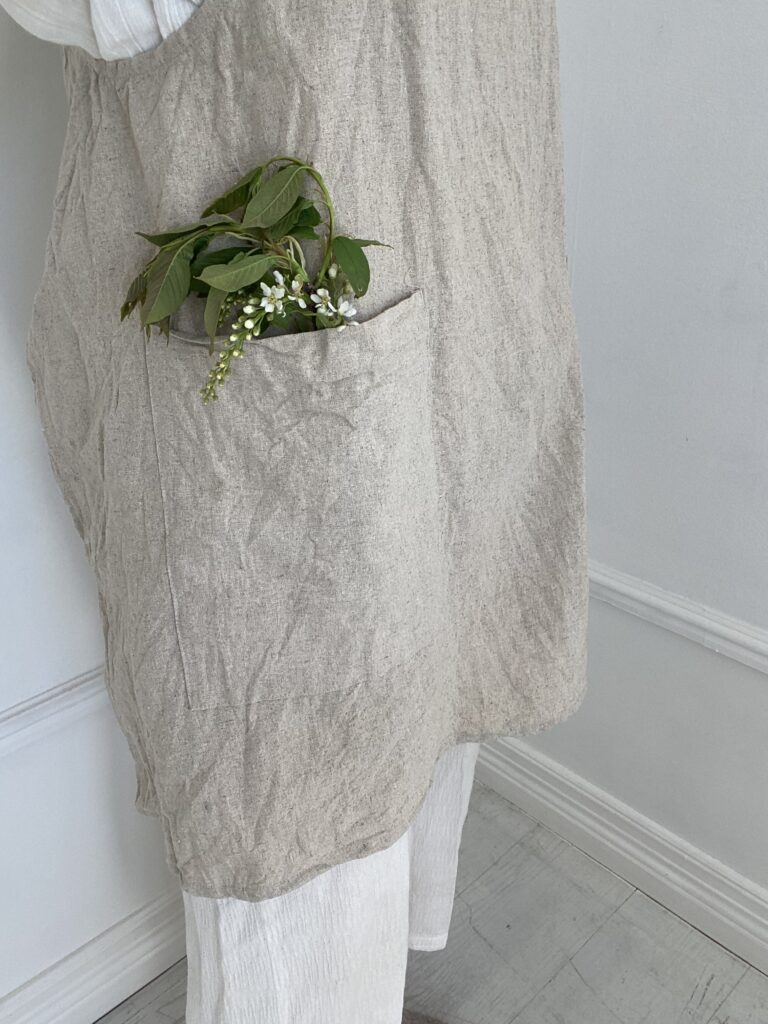
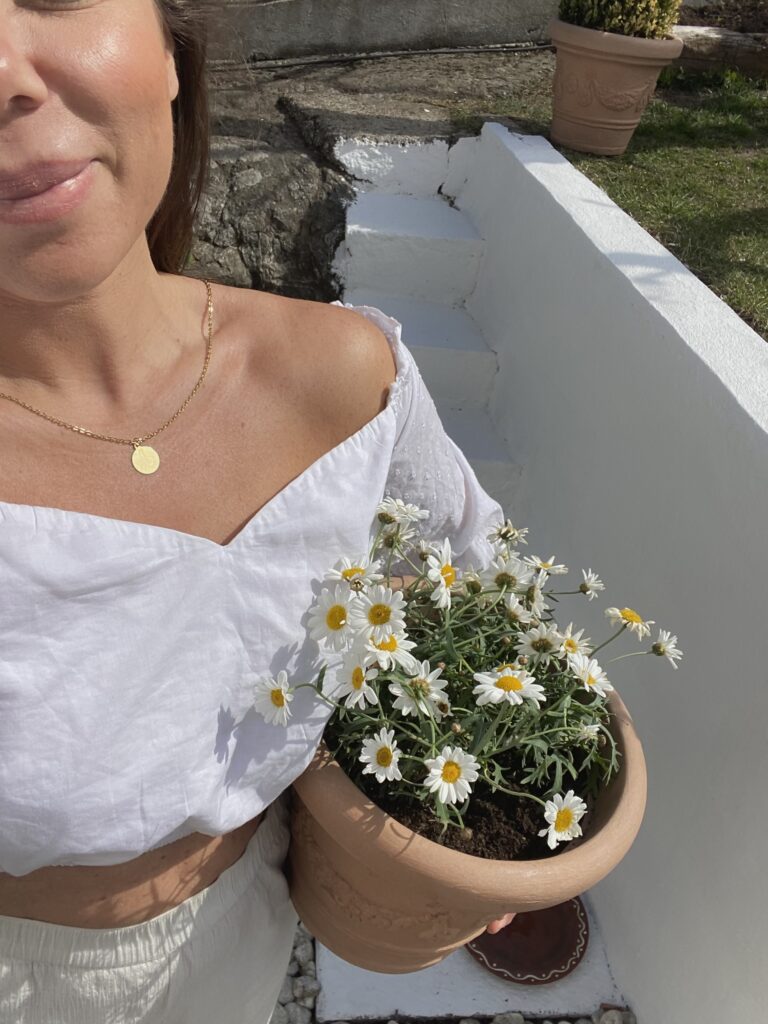
Let’s talk about slow flowers for a moment and why they matter. I talk a lot about gardening lately but it’s the season so I hope you don’t mind. This year I’m planting and growing more flowers than ever before. I’m growing them from seed and mixing perrenials with annual flowers. Last year I learned about growing food and vegetables thanks to the TV Crew of ‘En bondgård mitt i stan’ (A farm in the city) This year I feel ready to learn more about growing flowers by myself. As local and fresh as it gets. The Slow Flower movement was inspired by the same philosophical tenets of the similarly named Slow Food and Slow Fashion movements. It suggests we take a mindful look at where our flowers come from and who grows them, for the health of the planet but for our own health as well. Slow Flowers for me means first of all seasonal flowers. There is a certain magic that comes from focusing on what nature has to offer in any particular season, whether that’s the first colors of spring, or the warm palette of autumn. People tend to fixate on certain types of flowers, but there is so much more to discover when we think seasonally. You will likely find new beauty in flowers you never knew existed or maybe even rediscover some old favorites from childhood, like the zucchini flowers in your grandmother’s garden.
Slow vs conventional flowers Slow Flower farmers use sustainable, organic growing practices to maintain the overall health of their farm’s ecosystem and the health of their flowers. On the other hand, conventional store-bought bouquets are often full with cancer causing chemicals. The National Wildlife Federation reports there is virtually “no limit” on the amount of pesticides used by floral importers. Most cut flowers are imported from other countries. Importers are required to pass strict inspection requirements and as a result, use untold amounts of pesticides, herbicides and fungicides on their flowers to ensure that they get to market as quickly as possible.
Growing your own flowers or supporting local flower farmers means your flowers’ travel times are much smaller, unlike imported flowers that require large amounts of fossil fuels to get to where they are going, which leads to the next point about quality…
Because your flowers don’t have to travel far, they are usually cut within a day or so of your purchase, your flowers are fresher and will likely last longer than conventional bouquets.
Ethically Grown
Most flower farmers grow organically which means happier healthier soils, water, flowers & pollinators. Choosing a slow flower bouquet says, “I’ve made a conscious choice. It’s a choice that reflects my support of a healthier lifestyle for my planet and for myself.”
If you liked this post there’s a pretty big chance you like this one on ‘Slow gardening’ too