
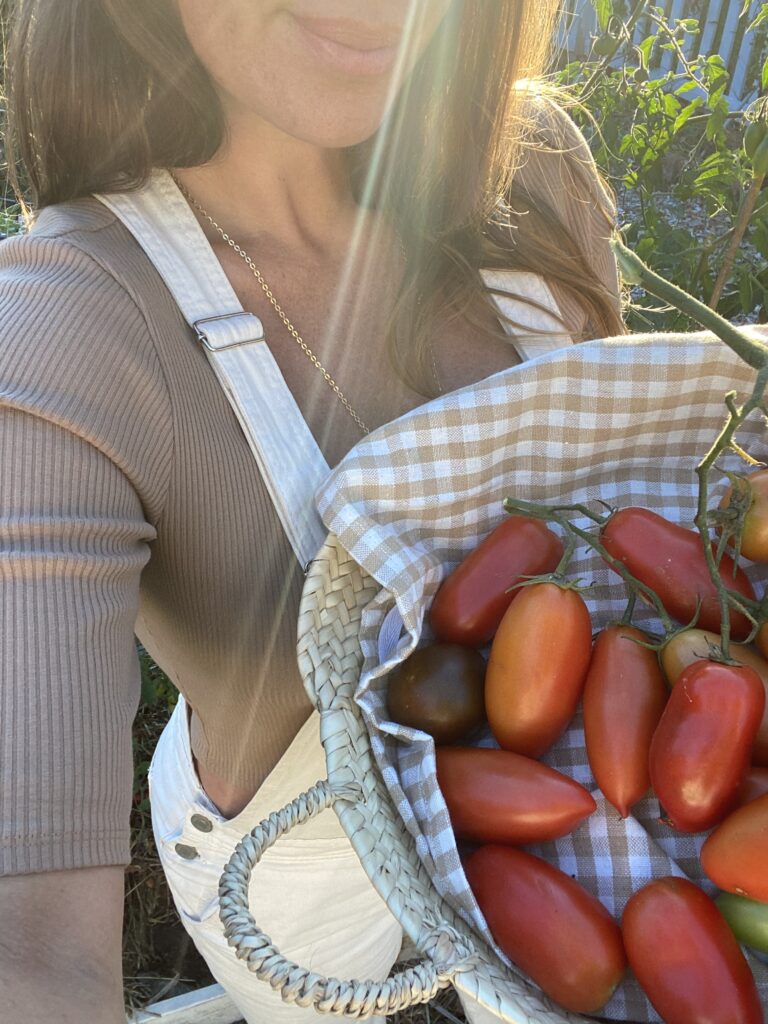
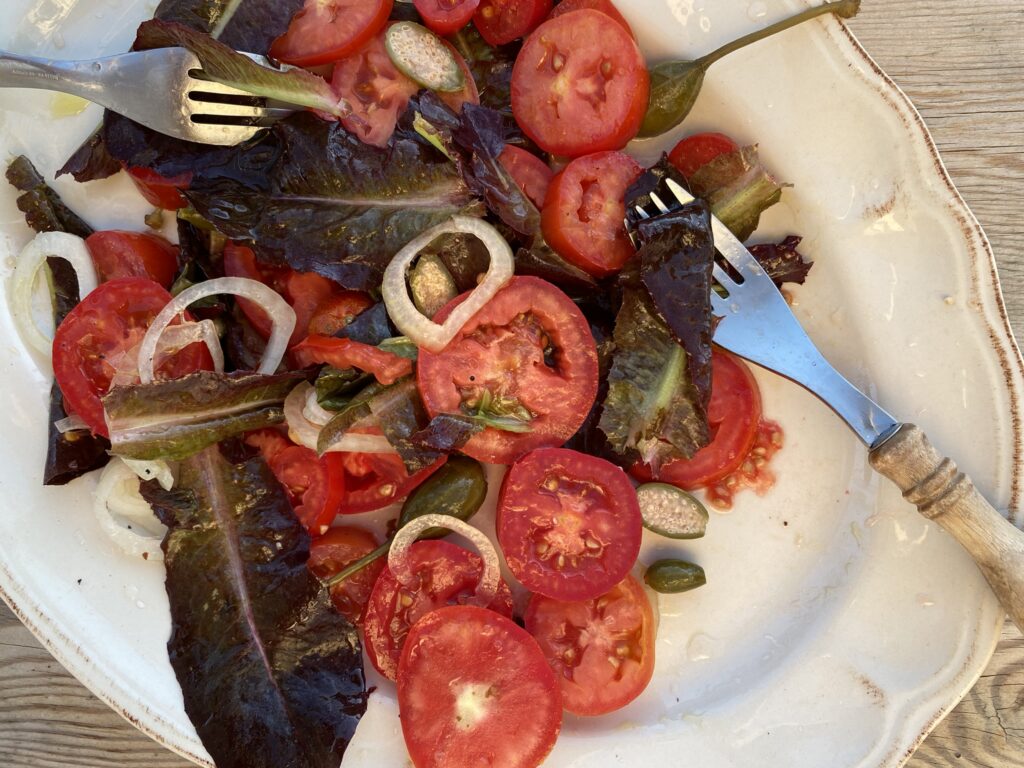
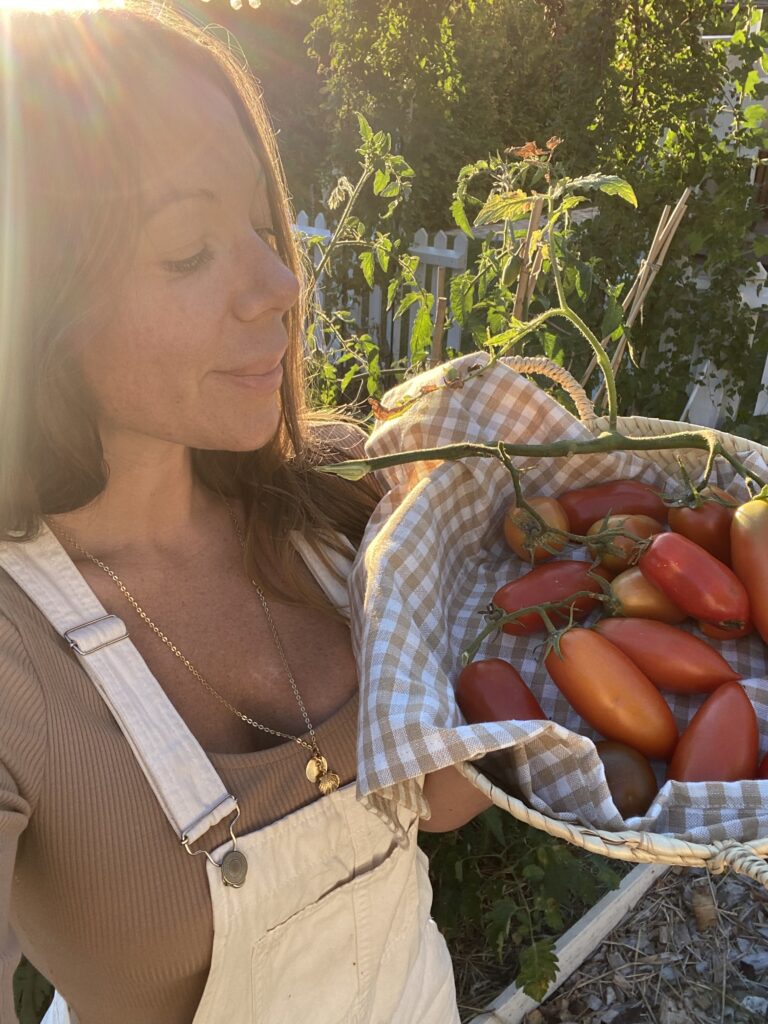
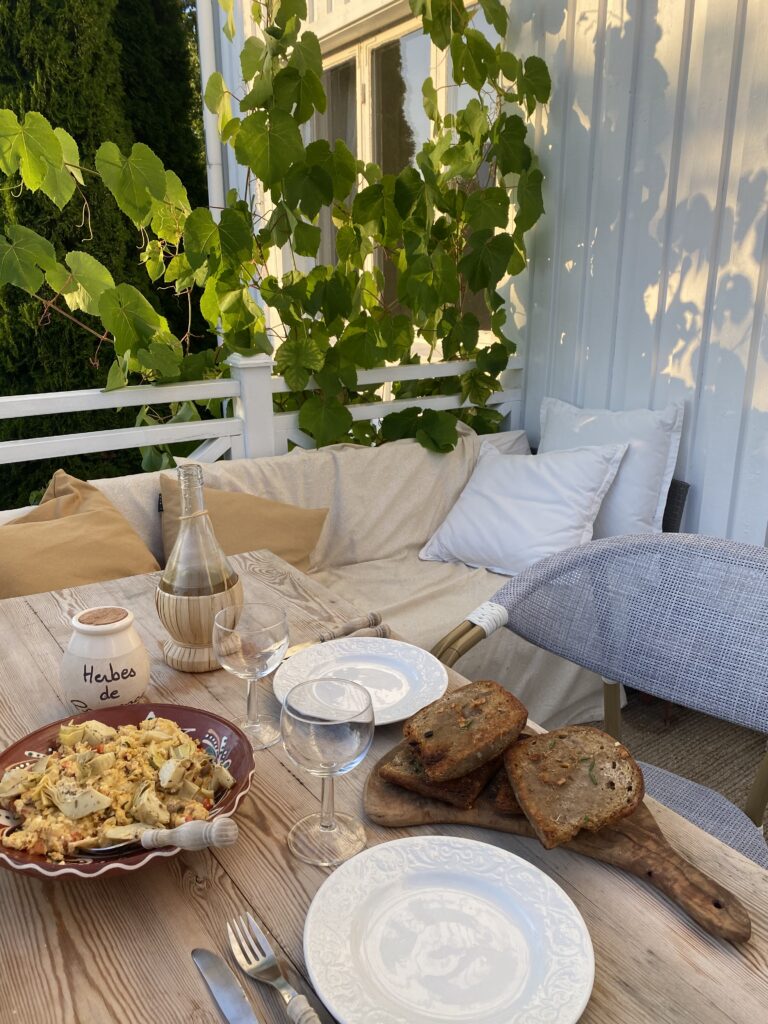
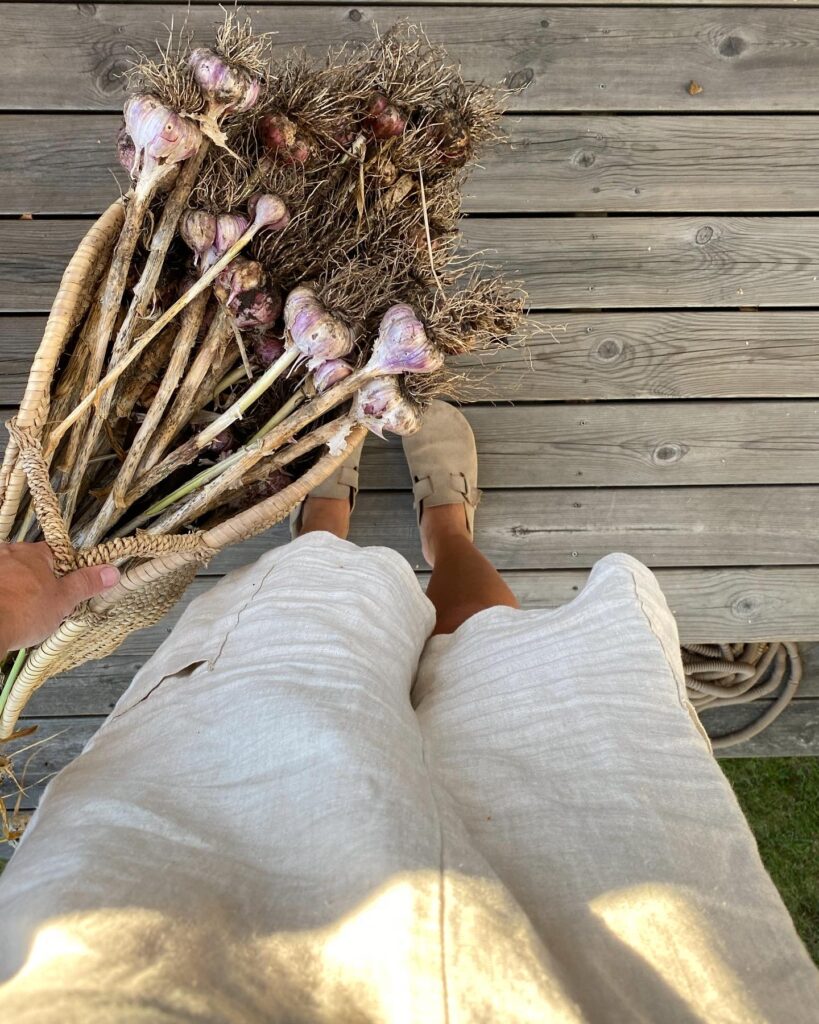
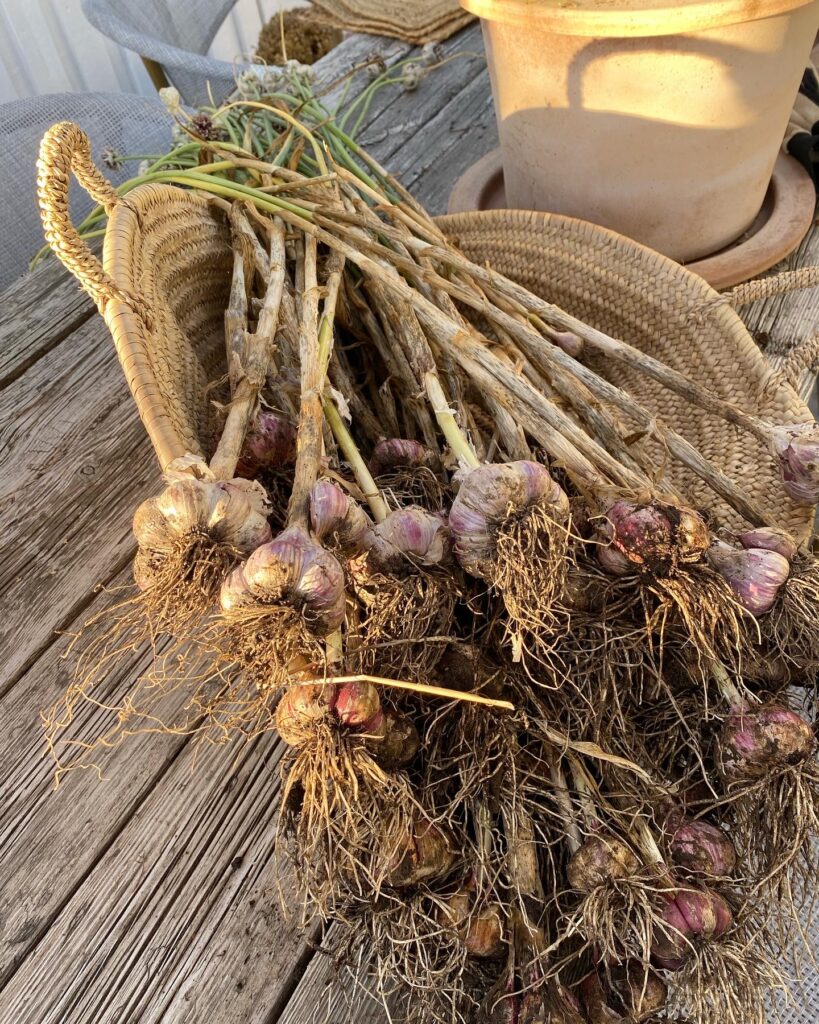
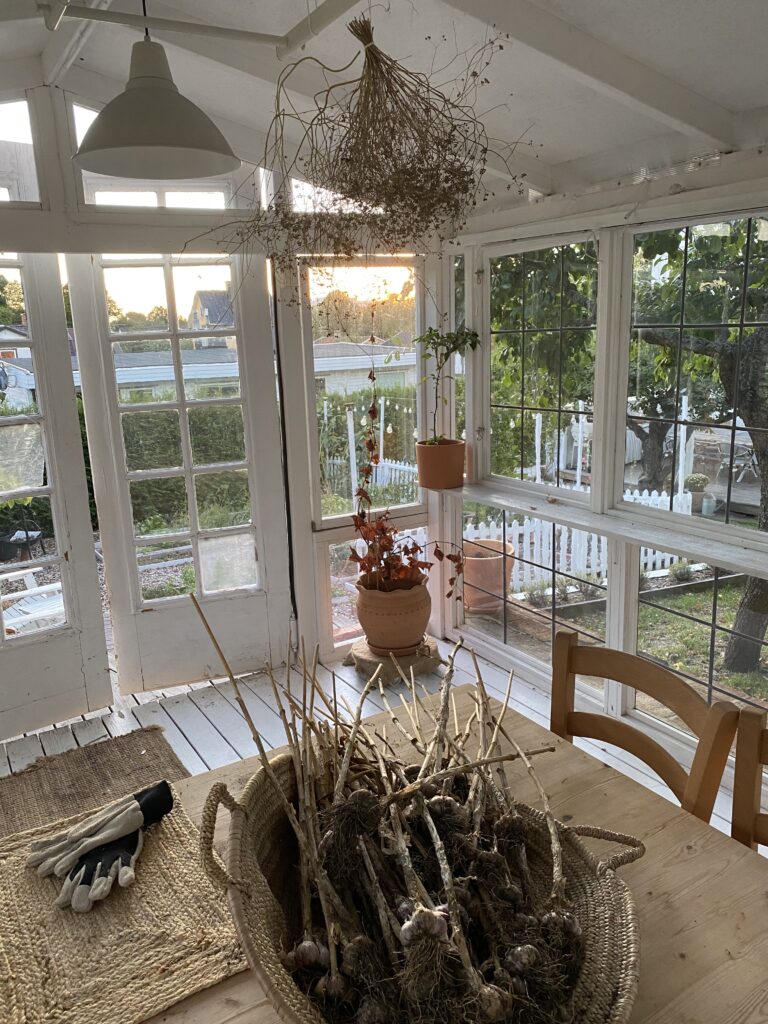
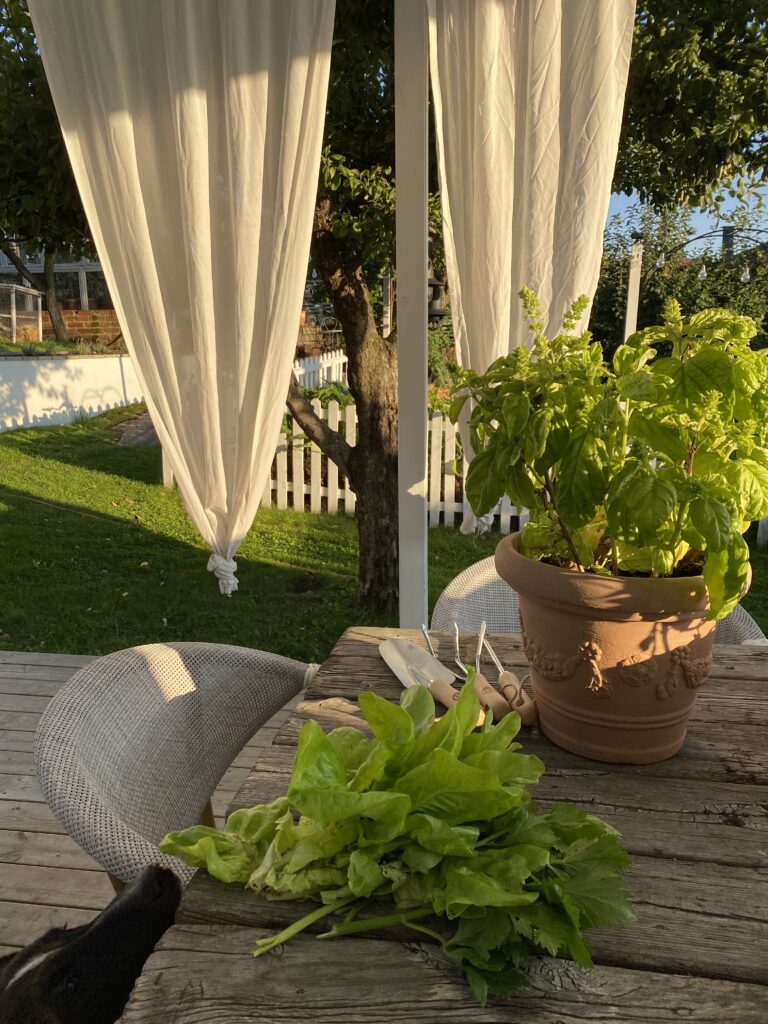
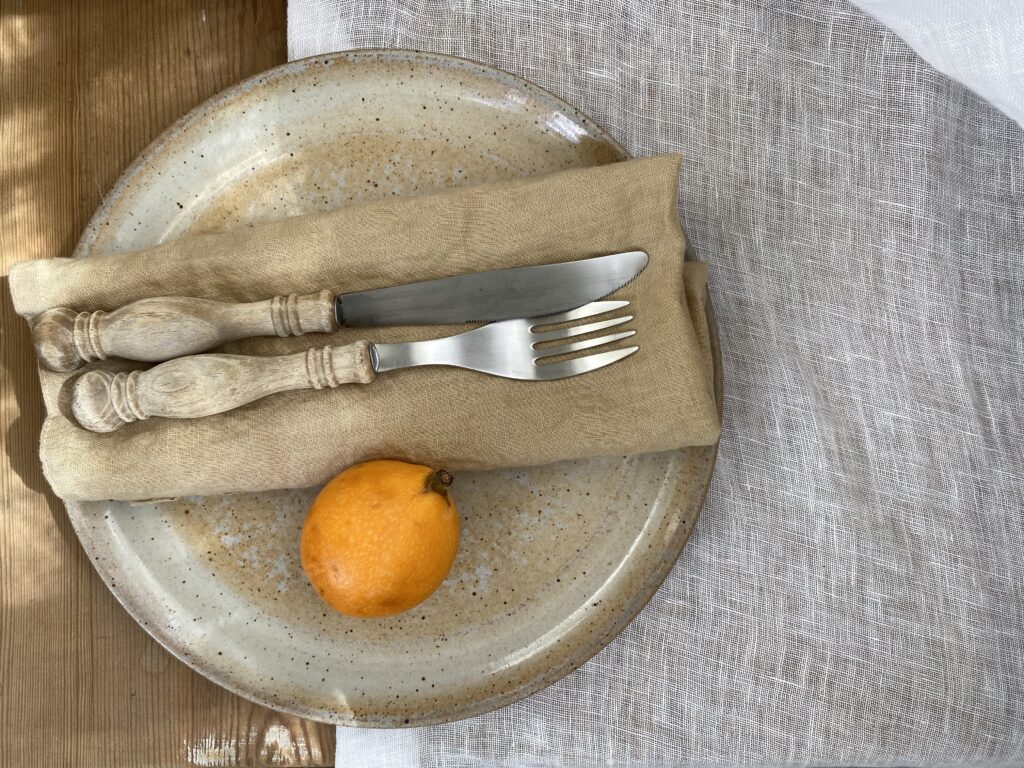
September for me is a month of new starts, of organisation, there’s a back to school feeling and always lots to do. The kitchen garden is groaning with all sorts of wonderful produce, not to mention the abundance of sunripe tomatoes. As I hate waste and love the idea of enjoying all the home grown goodies throughout the winter, I am busy making jars of conserved tomatoes and all sorts of sauces and soups for the freezer. Summer holidays may be over, but there is a sort of excitement in the air and there is a noticeable shift towards autumn. It really feels like a chance to reset and be productive in preparation for winter and celebrations to come. My daughter turned 18 this summer and she just bought a flat and will be moving out in October. A huge change for us as a family and of course very emotional.
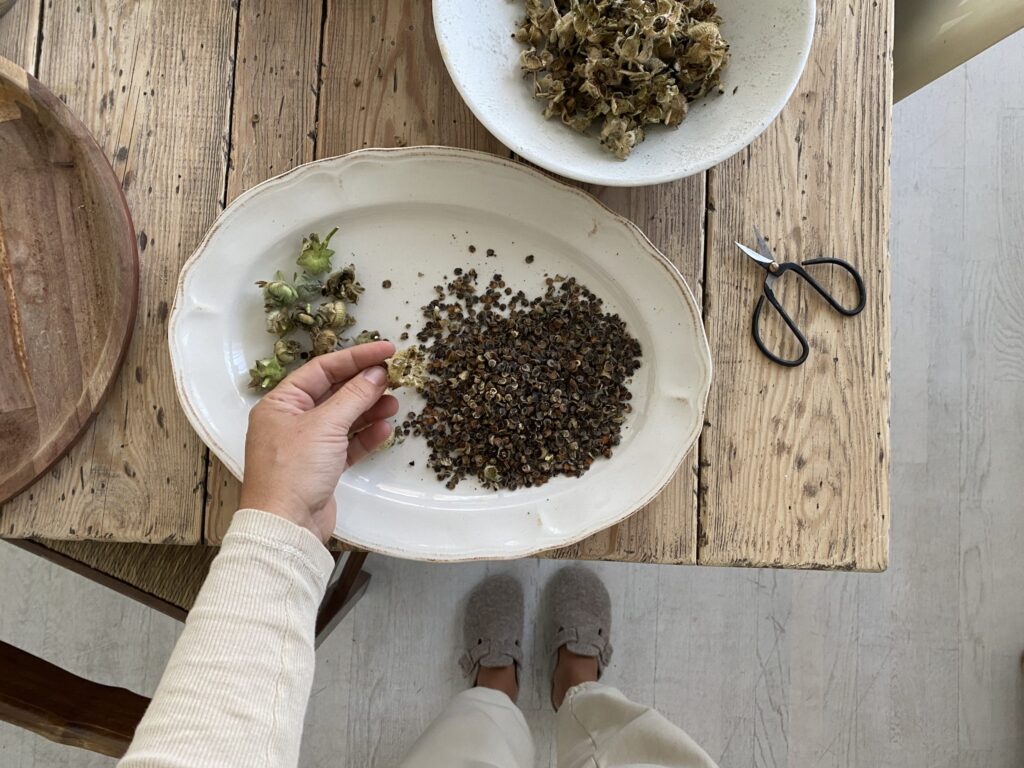
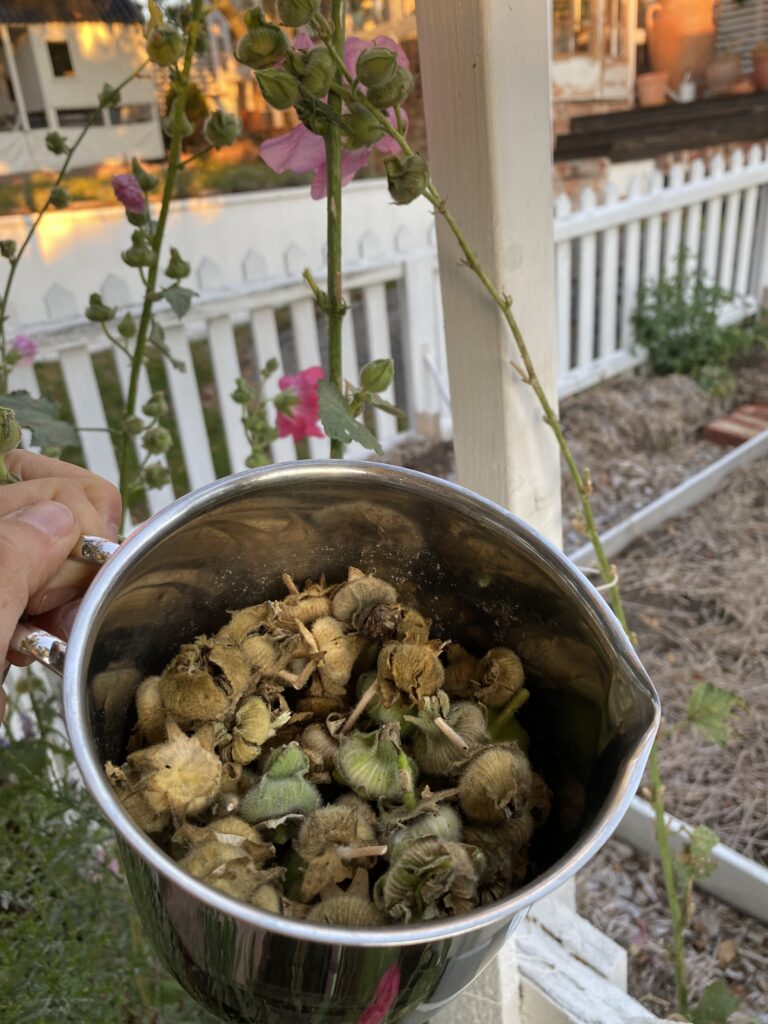
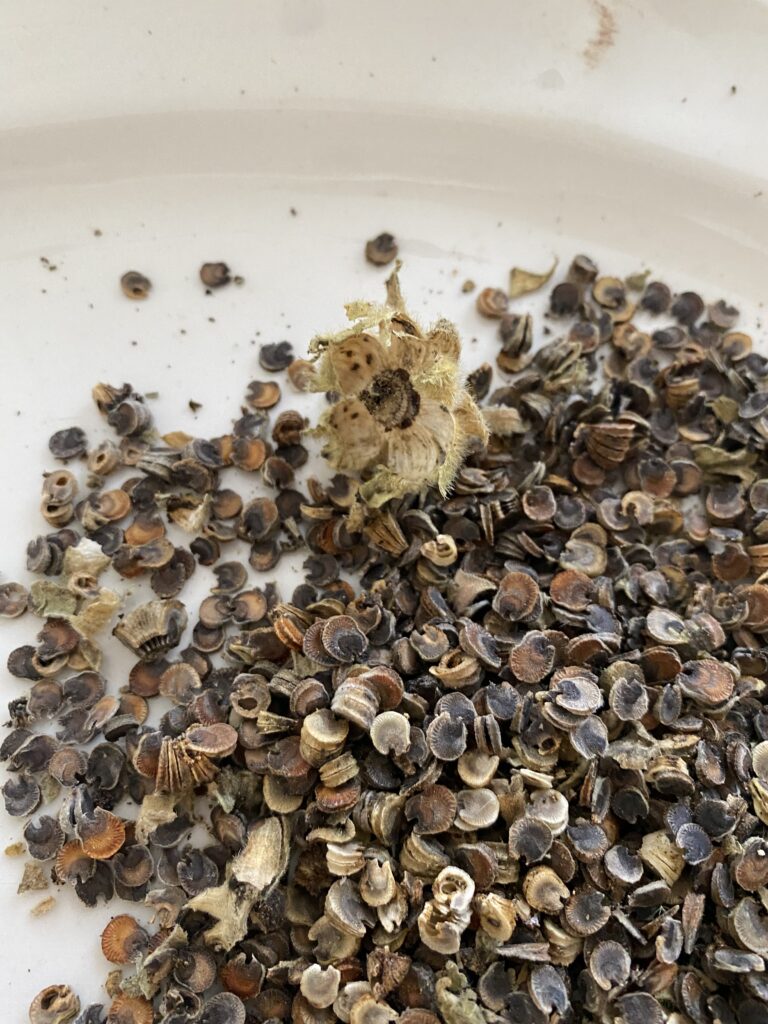
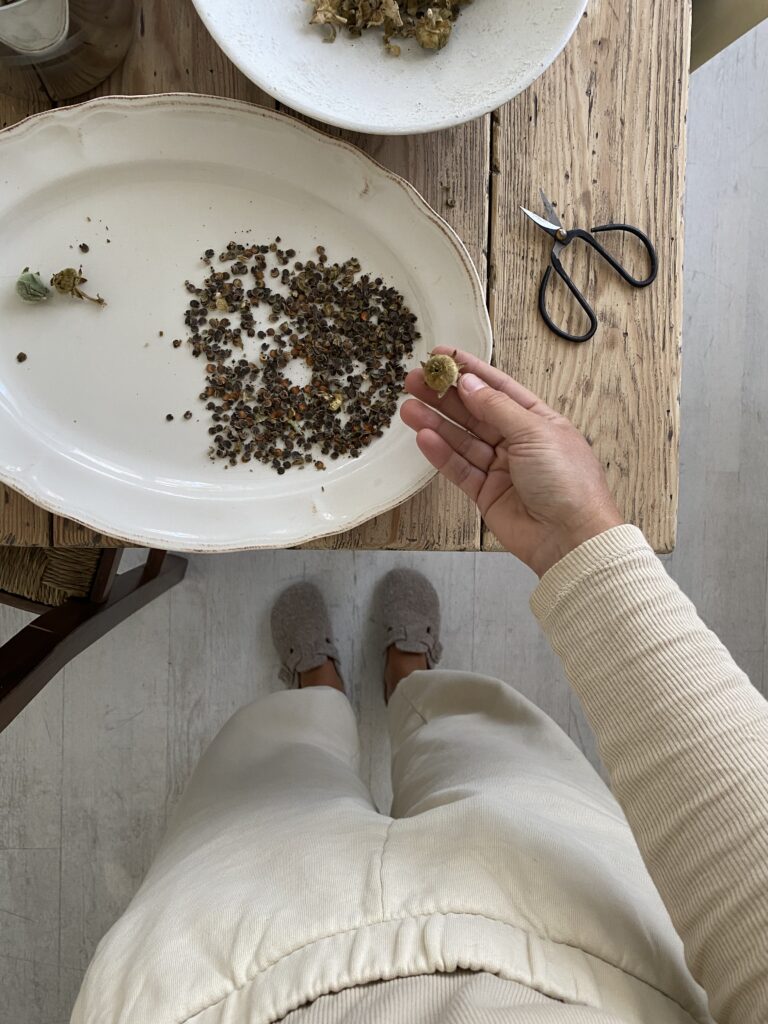
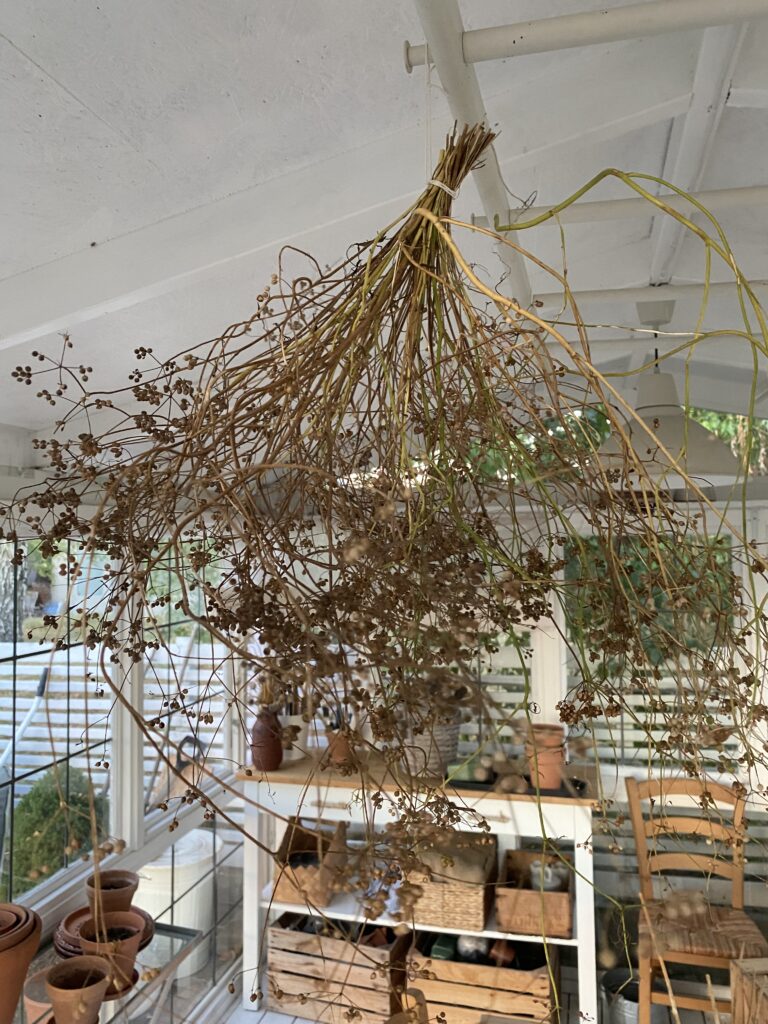
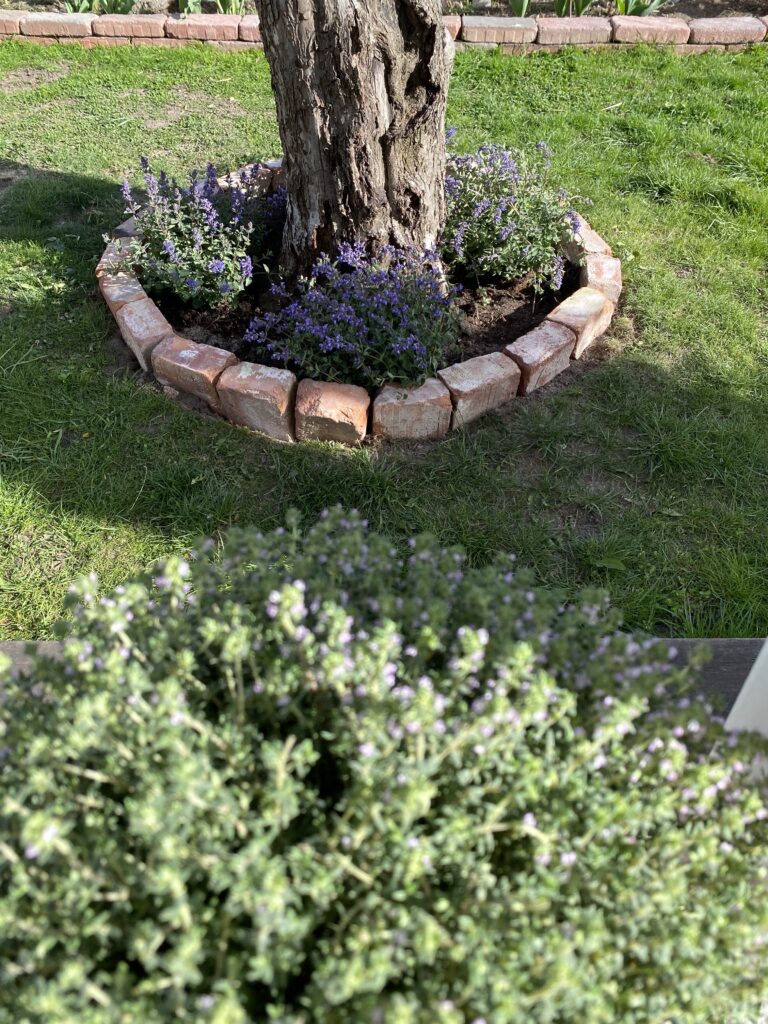
Hopefully you’ll find inspiration for a slow and seasonal living in September; Now is the time to collect seeds fom the garden and planting your bulbs for next Spring, I will be planting more Alliums, Tulips, this year in the garden.
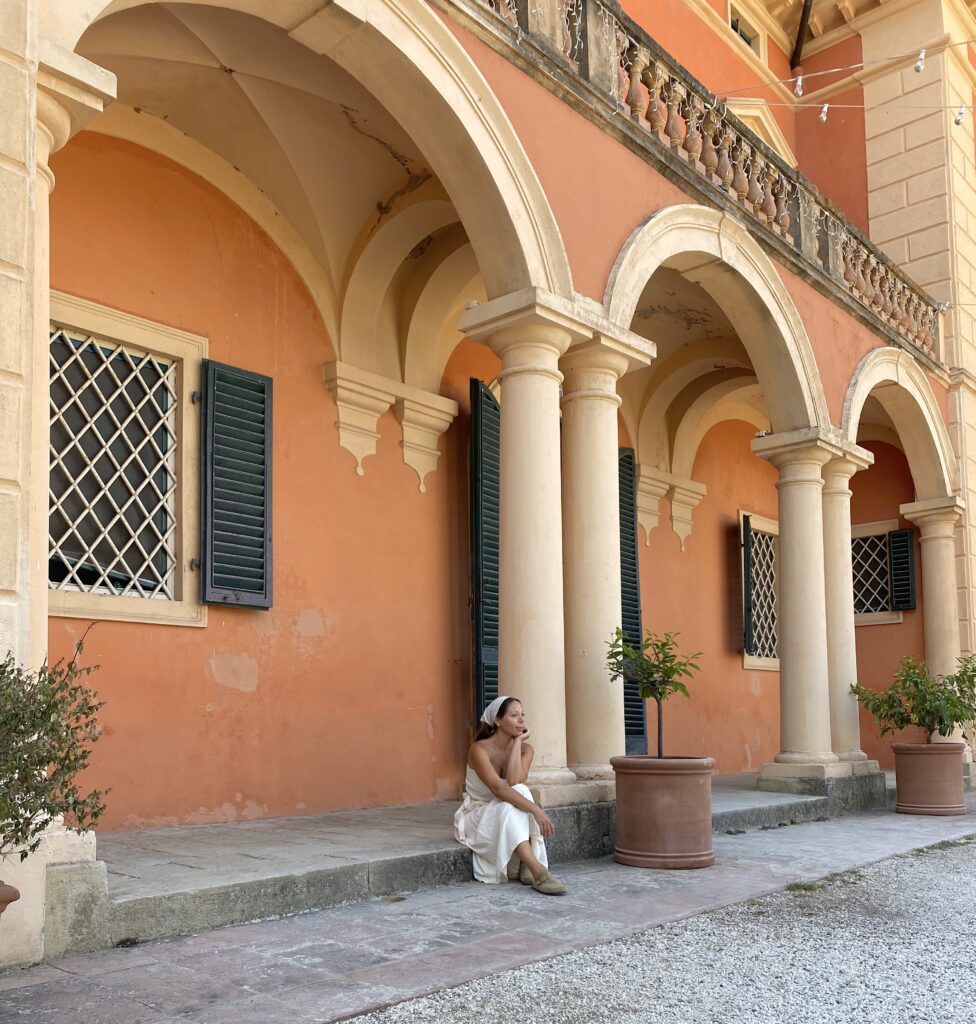
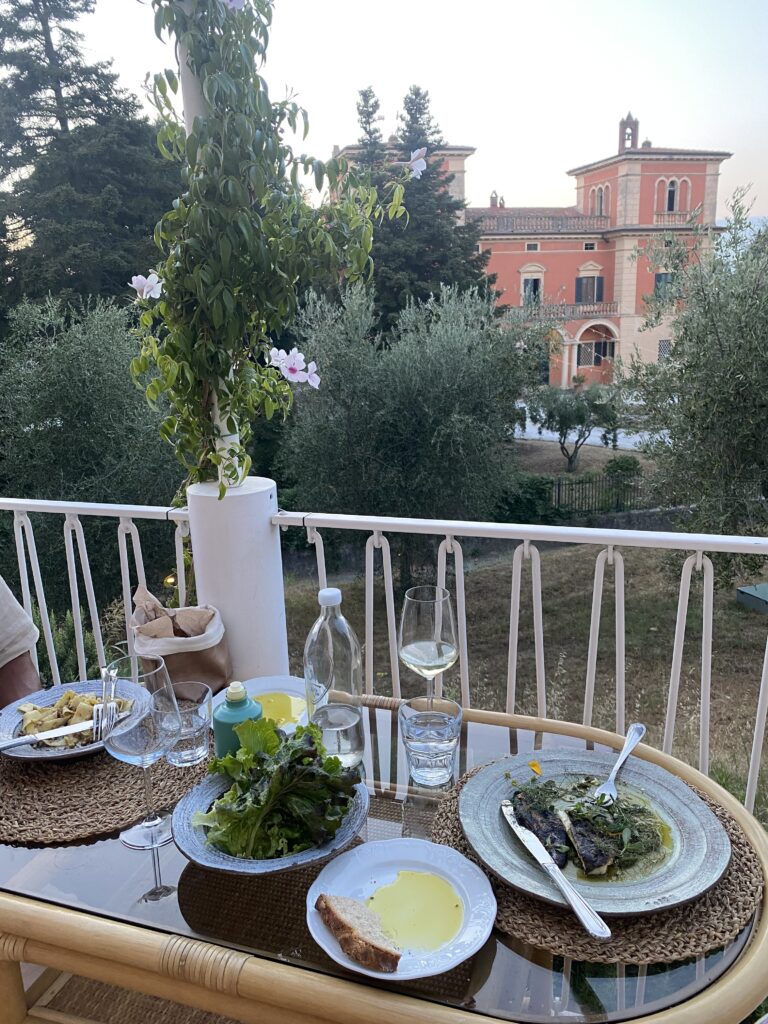
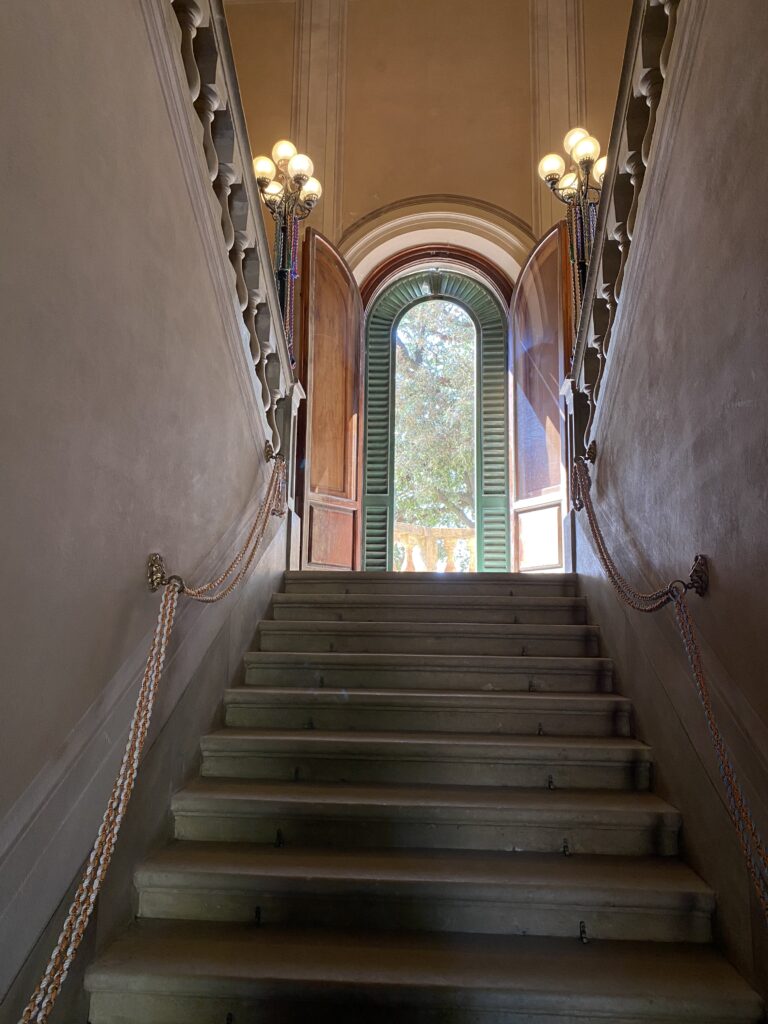
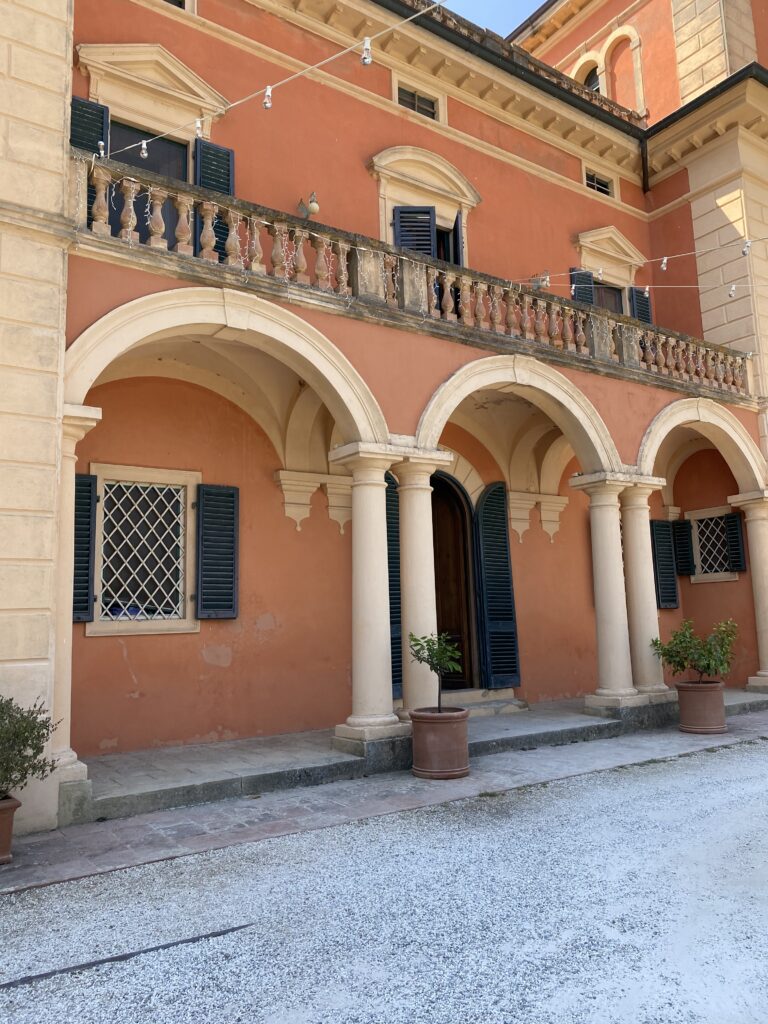
I will also contue to work and plan for our new home in Spain, Villa La Romana. We worked so hard this summer trying to get as much done in the short period of summer. we ended up doing most of the work ourself since it was in the middle of vacation time and most companies closes during vacation in Spain. Especially smaller and local contractors. I learned how to plaster, remove tiles and i’m actually very proud of myself for what we accomplished but also that we dared to follow our dream. Even if it scared us.
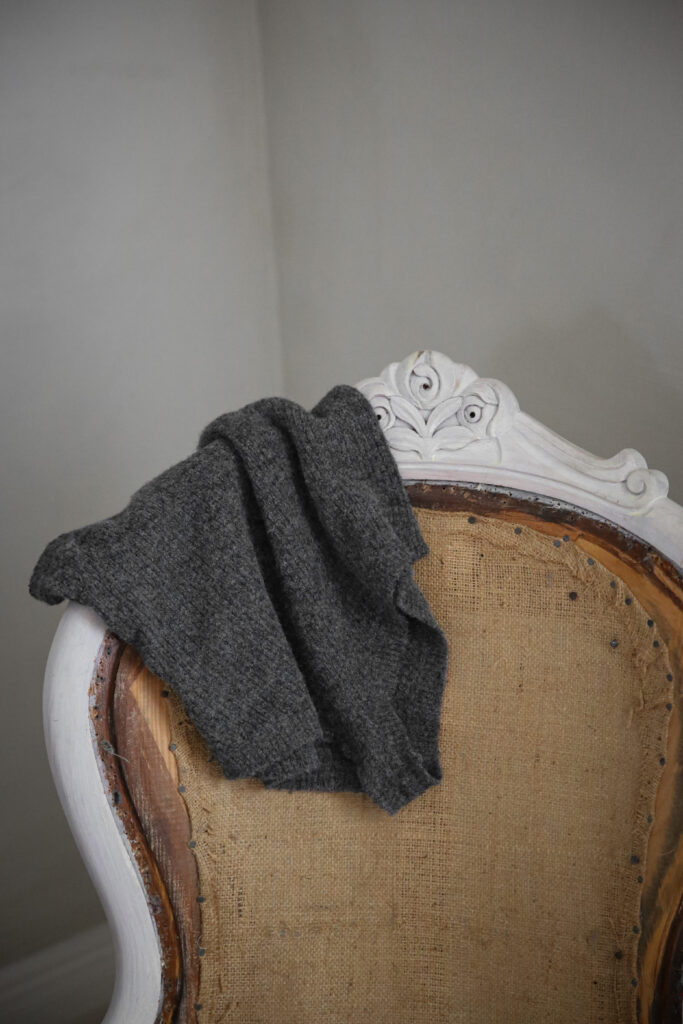
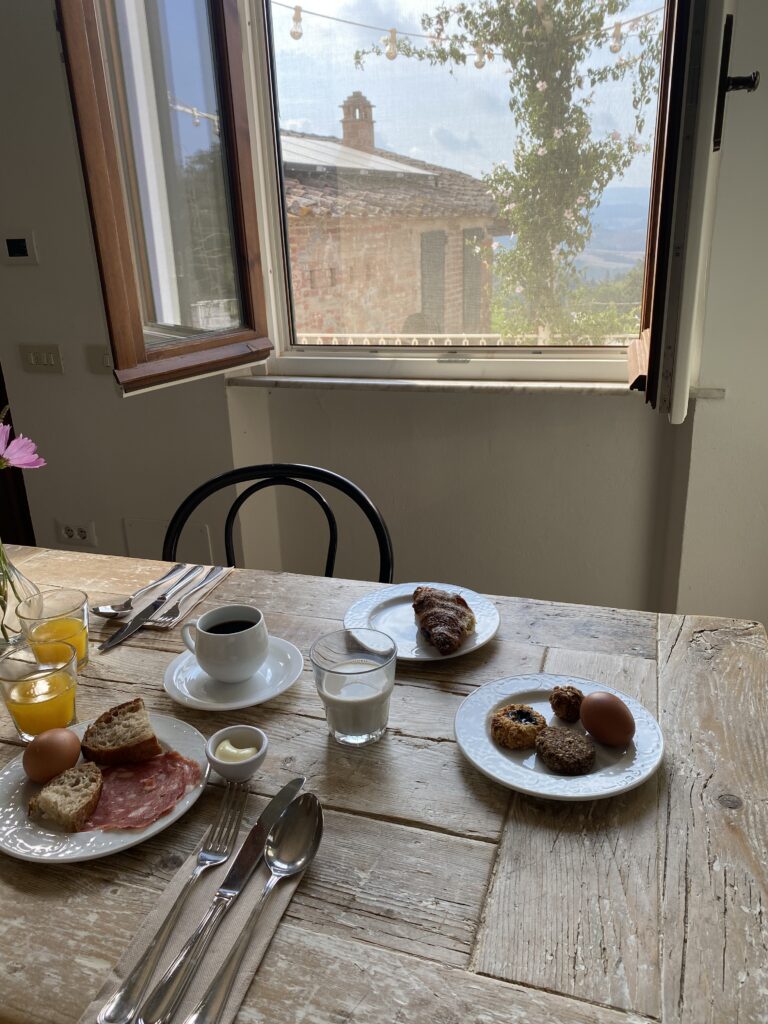
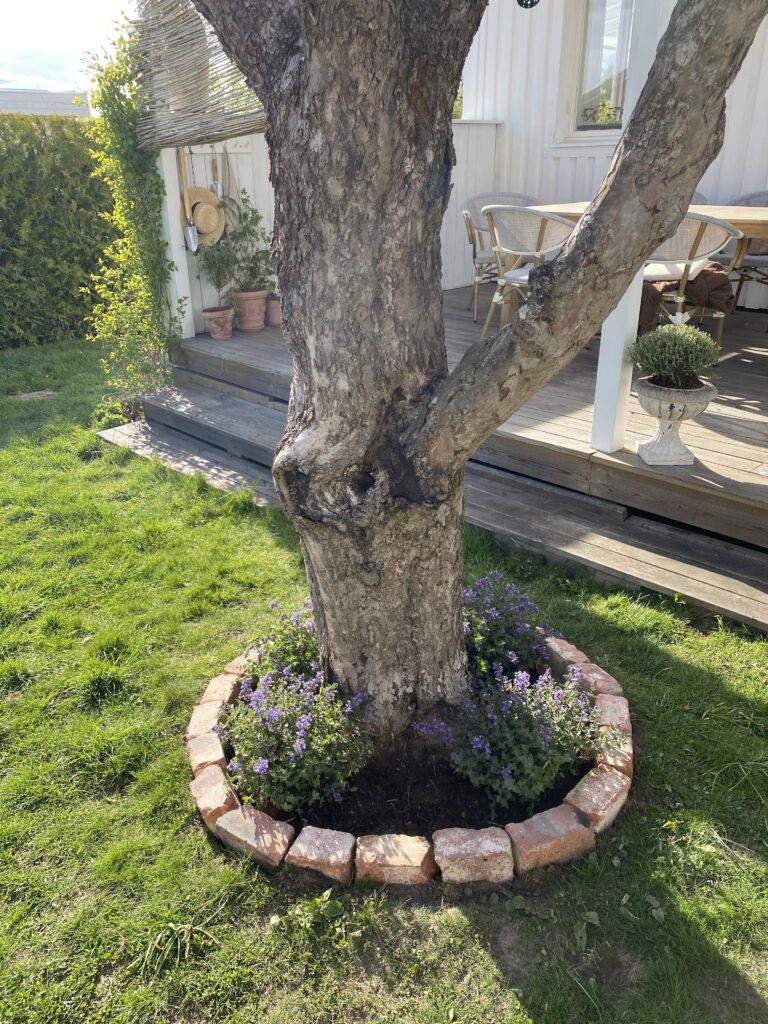
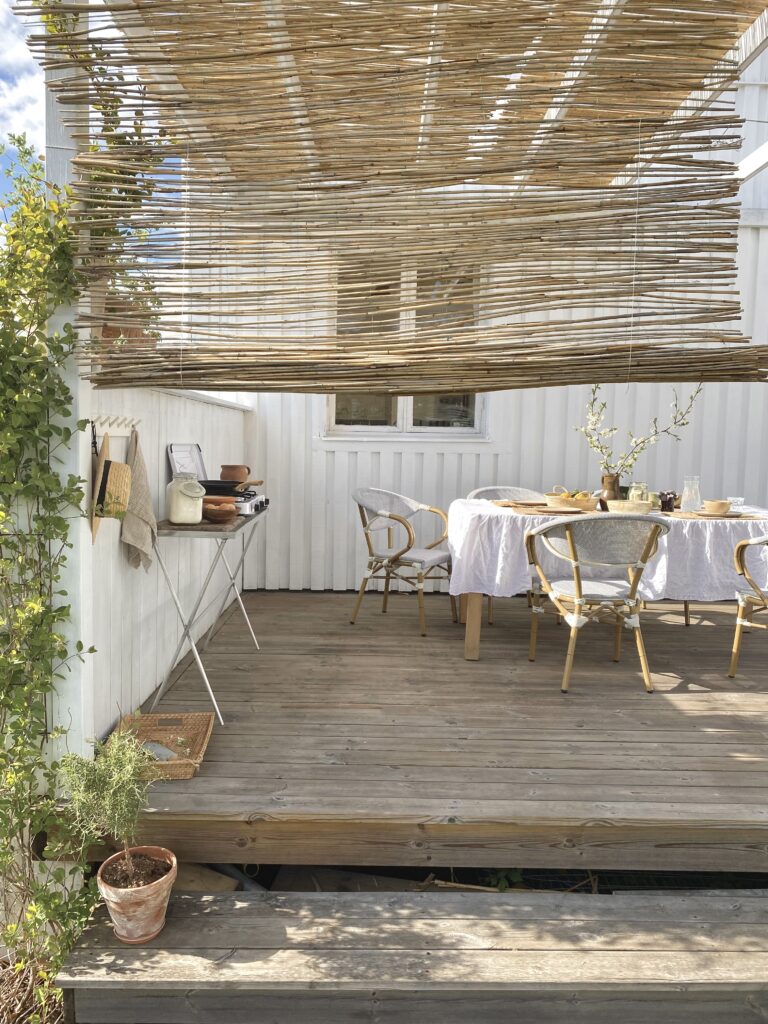
I will make my best to take the time and ensure that September will a month to enjoy the last of bittersweet indian summerdays. As the days grow gradually shorter and the light shifts ever-so-subtly, the very first hints of briskness in the early-autumn air makes me slow down, reflecting, and contemplating layers for the first time in months as summer turns to fall.
Have a wonderful month.
with love
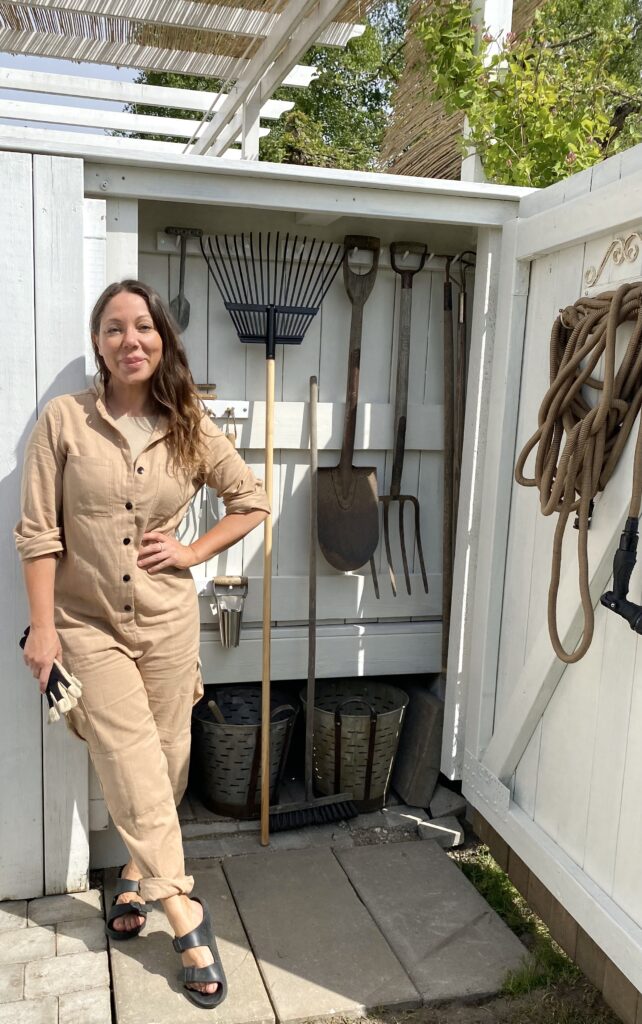
Lina


